When I was younger my mom would make some of these muffins and I remember barely tolerating them…. Instead I opted for the chocolate chip or banana, which are still tasty, but now I find that the more I can pack into a muffin, the more I like it. I love Morning Glory Muffins for grabbing before I hit the gym in the morning. If I haven’t had at least a little something to eat right when I wake up I feel nauseous and light headed. Rather than opting for straight sweetness these have some sticking power – fiber in the carrots and pineapples, some protein in the yogurt and nuts, and also the health fats from walnuts. Another power packed go-to that doesn’t break the calorie bank.
Remember that these are baked at high altitude, so down as sea level the flour level may need to be adjusted slightly to get the consistency you want. 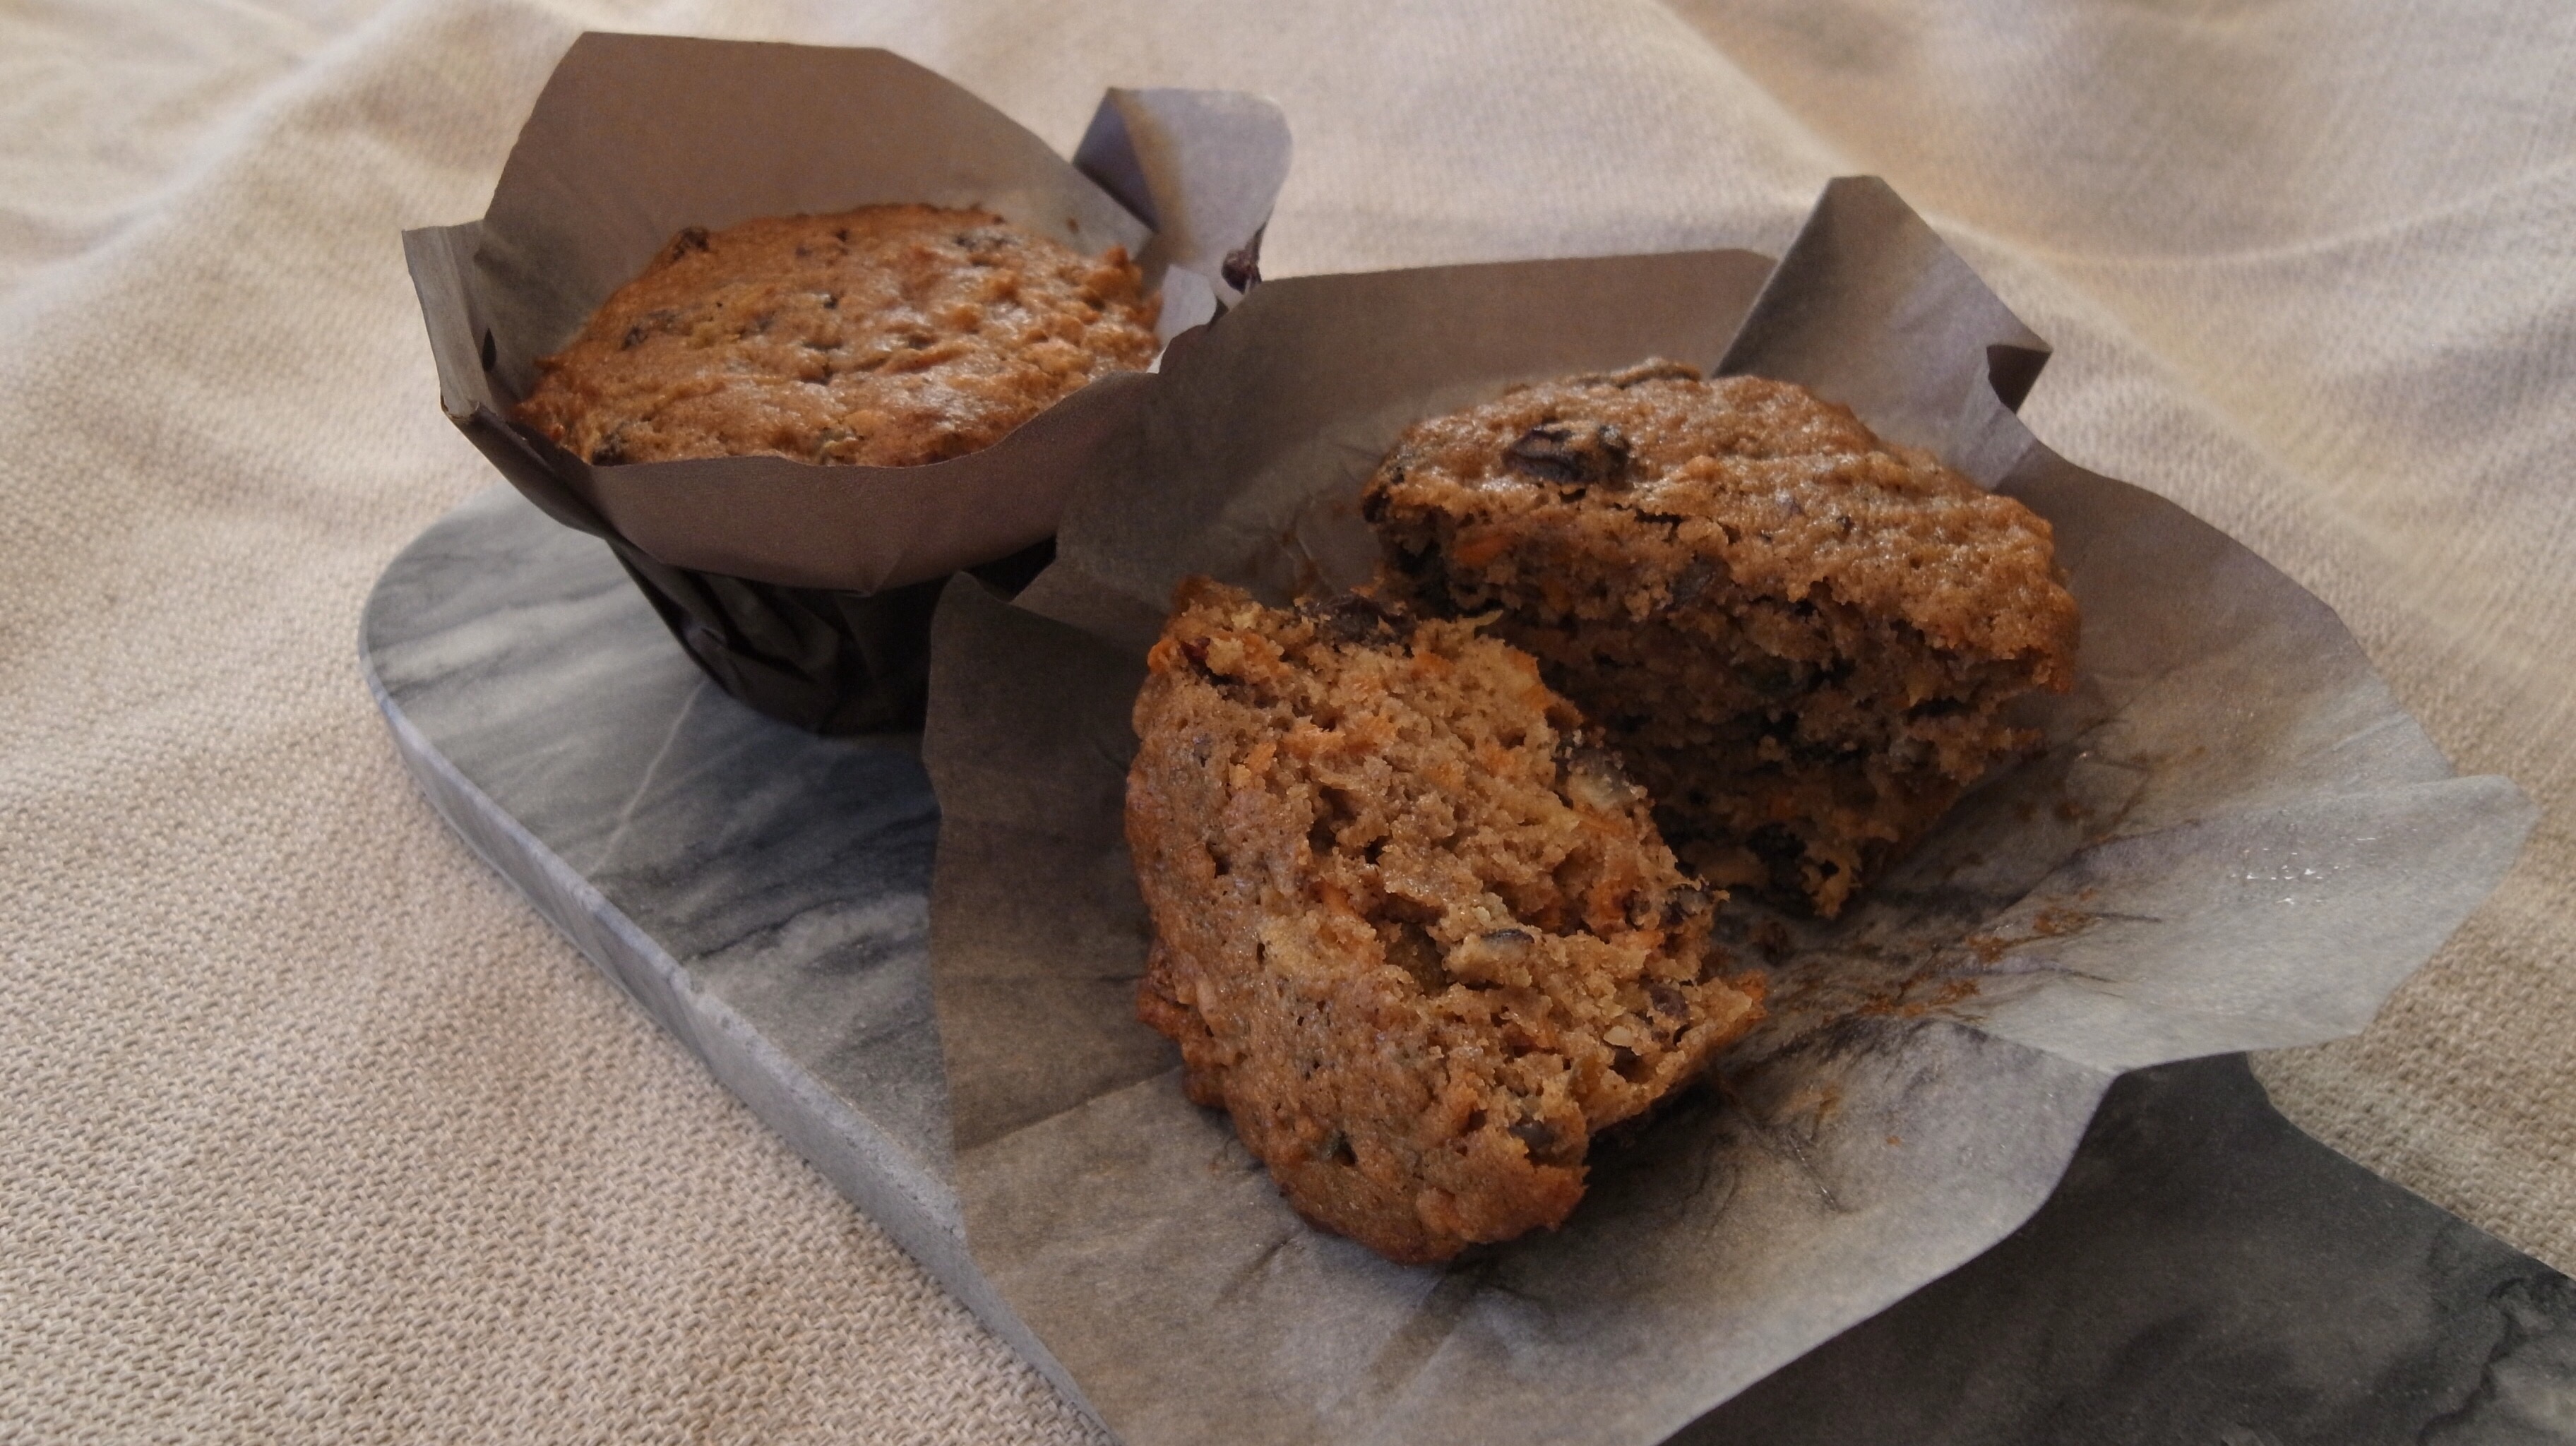
Morning Glory Muffins
Makes about 12-15 muffins
Ingredients
- 1 cup whole wheat flour
- 1/2 cup all-purpose flour (add more if batter is too runny)
- 3/4 cup packed brown sugar (can use 1/2 cup to cut back on sugar)
- 1/2 cup oats
- 1 T ground cinnamon
- 2 tsp baking soda
- 1/2 tsp salt
- 1/2 tsp ginger
- 2 cups grated carrots – about 4 large carrots
- 1 grated apple (no core)
- 3/4 cup crushed pineapple, drained
- 1/2 cup plain fat-free yogurt
- 3 eggs
- 1/3 cup oil
- 1/2 cup chopped walnuts
- 1/2 cup raisins
Directions
- Preheat over to 350F. Line the muffle tin with liners and spray with non stick cooking spray. This is important or your muffins will stick to the paper.
- In a small bowl, cover raising with hot water and set aside to soak.
- In a large bowl, whisk together flour, sugar, soda, spices, and salt.
- Stir in carrots, Apple, pineapple, nuts, and oats.
- In a separate bowl, beat eggs, oil, and yogurt. Add to flour/fruit & vegetable mixture.
- Drain raisins and add to the rest of ingredients.
- Spoon batter into muffin liners about 2/3 full.
- Bake at 350F for 25-28 minutes or until a toothpick comes out clean and the tops are springy to the touch.
- remove from oven and let cool at least 5 minutes.
These freeze incredibly well, so I like to keep them in the freezer and just pull one out at a time in the morning. 🙂
 Now go make these for the weekend!
Enjoy!!