Creamy Roasted Hazelnut Butter

About five or six years back, I was in a Middle East specialty grocery store and found a jar of hazelnut butter.  Not just the normal Nutella themed chocolate and hazelnut, but straight up hazelnut butter and it was delicious! Since that time I have yet to locate it in another grocery store and I’m too lazy and/or cheap to buy it online when it’s so easy to make!

Basically, so stupidly easy I’m kicking myself for not doing it sooner, but to be fair, I was on a regular old peanut butter kick and then cashew butter – both also delicious.

Creamy Hazelnut Butter

Makes about 2 cups

Ingredients

  • 1 pound raw hazelnuts
  • 1/2 tsp salt
  • 1 T sugar, honey, or agave
  • 1/2 tsp vanilla

Directions

  1. Preheat over to 350F.
  2. Arrange hazelnuts on a foil lined baking tray and roast in the over for 7-10 minutes or until a light golden brown.
  3. Let cool just slightly and transfer to a clean towel. To remove the skins of the hazelnuts (they’re kind of bitter), scoop the hot hazelnuts into a pile in the center of the towel (take care due to the high heat of the nuts). Bring the four corners of the tea towel together and gather it up in one hand, so that all of your hazelnuts are scooped up in the bottom of the tea towel. Using your other hand, squish the bottom and the sides of the tea towel so that all the hazelnuts are rubbing up against each other. Do this for a couple minutes until most of the skins are removed.
  4. Separate out the skins from the nuts. I use a slotted serving spoon – it’s big enough to get more than a few nuts at a time and the holes are small enough that the nuts won’t fall through but the skins will.
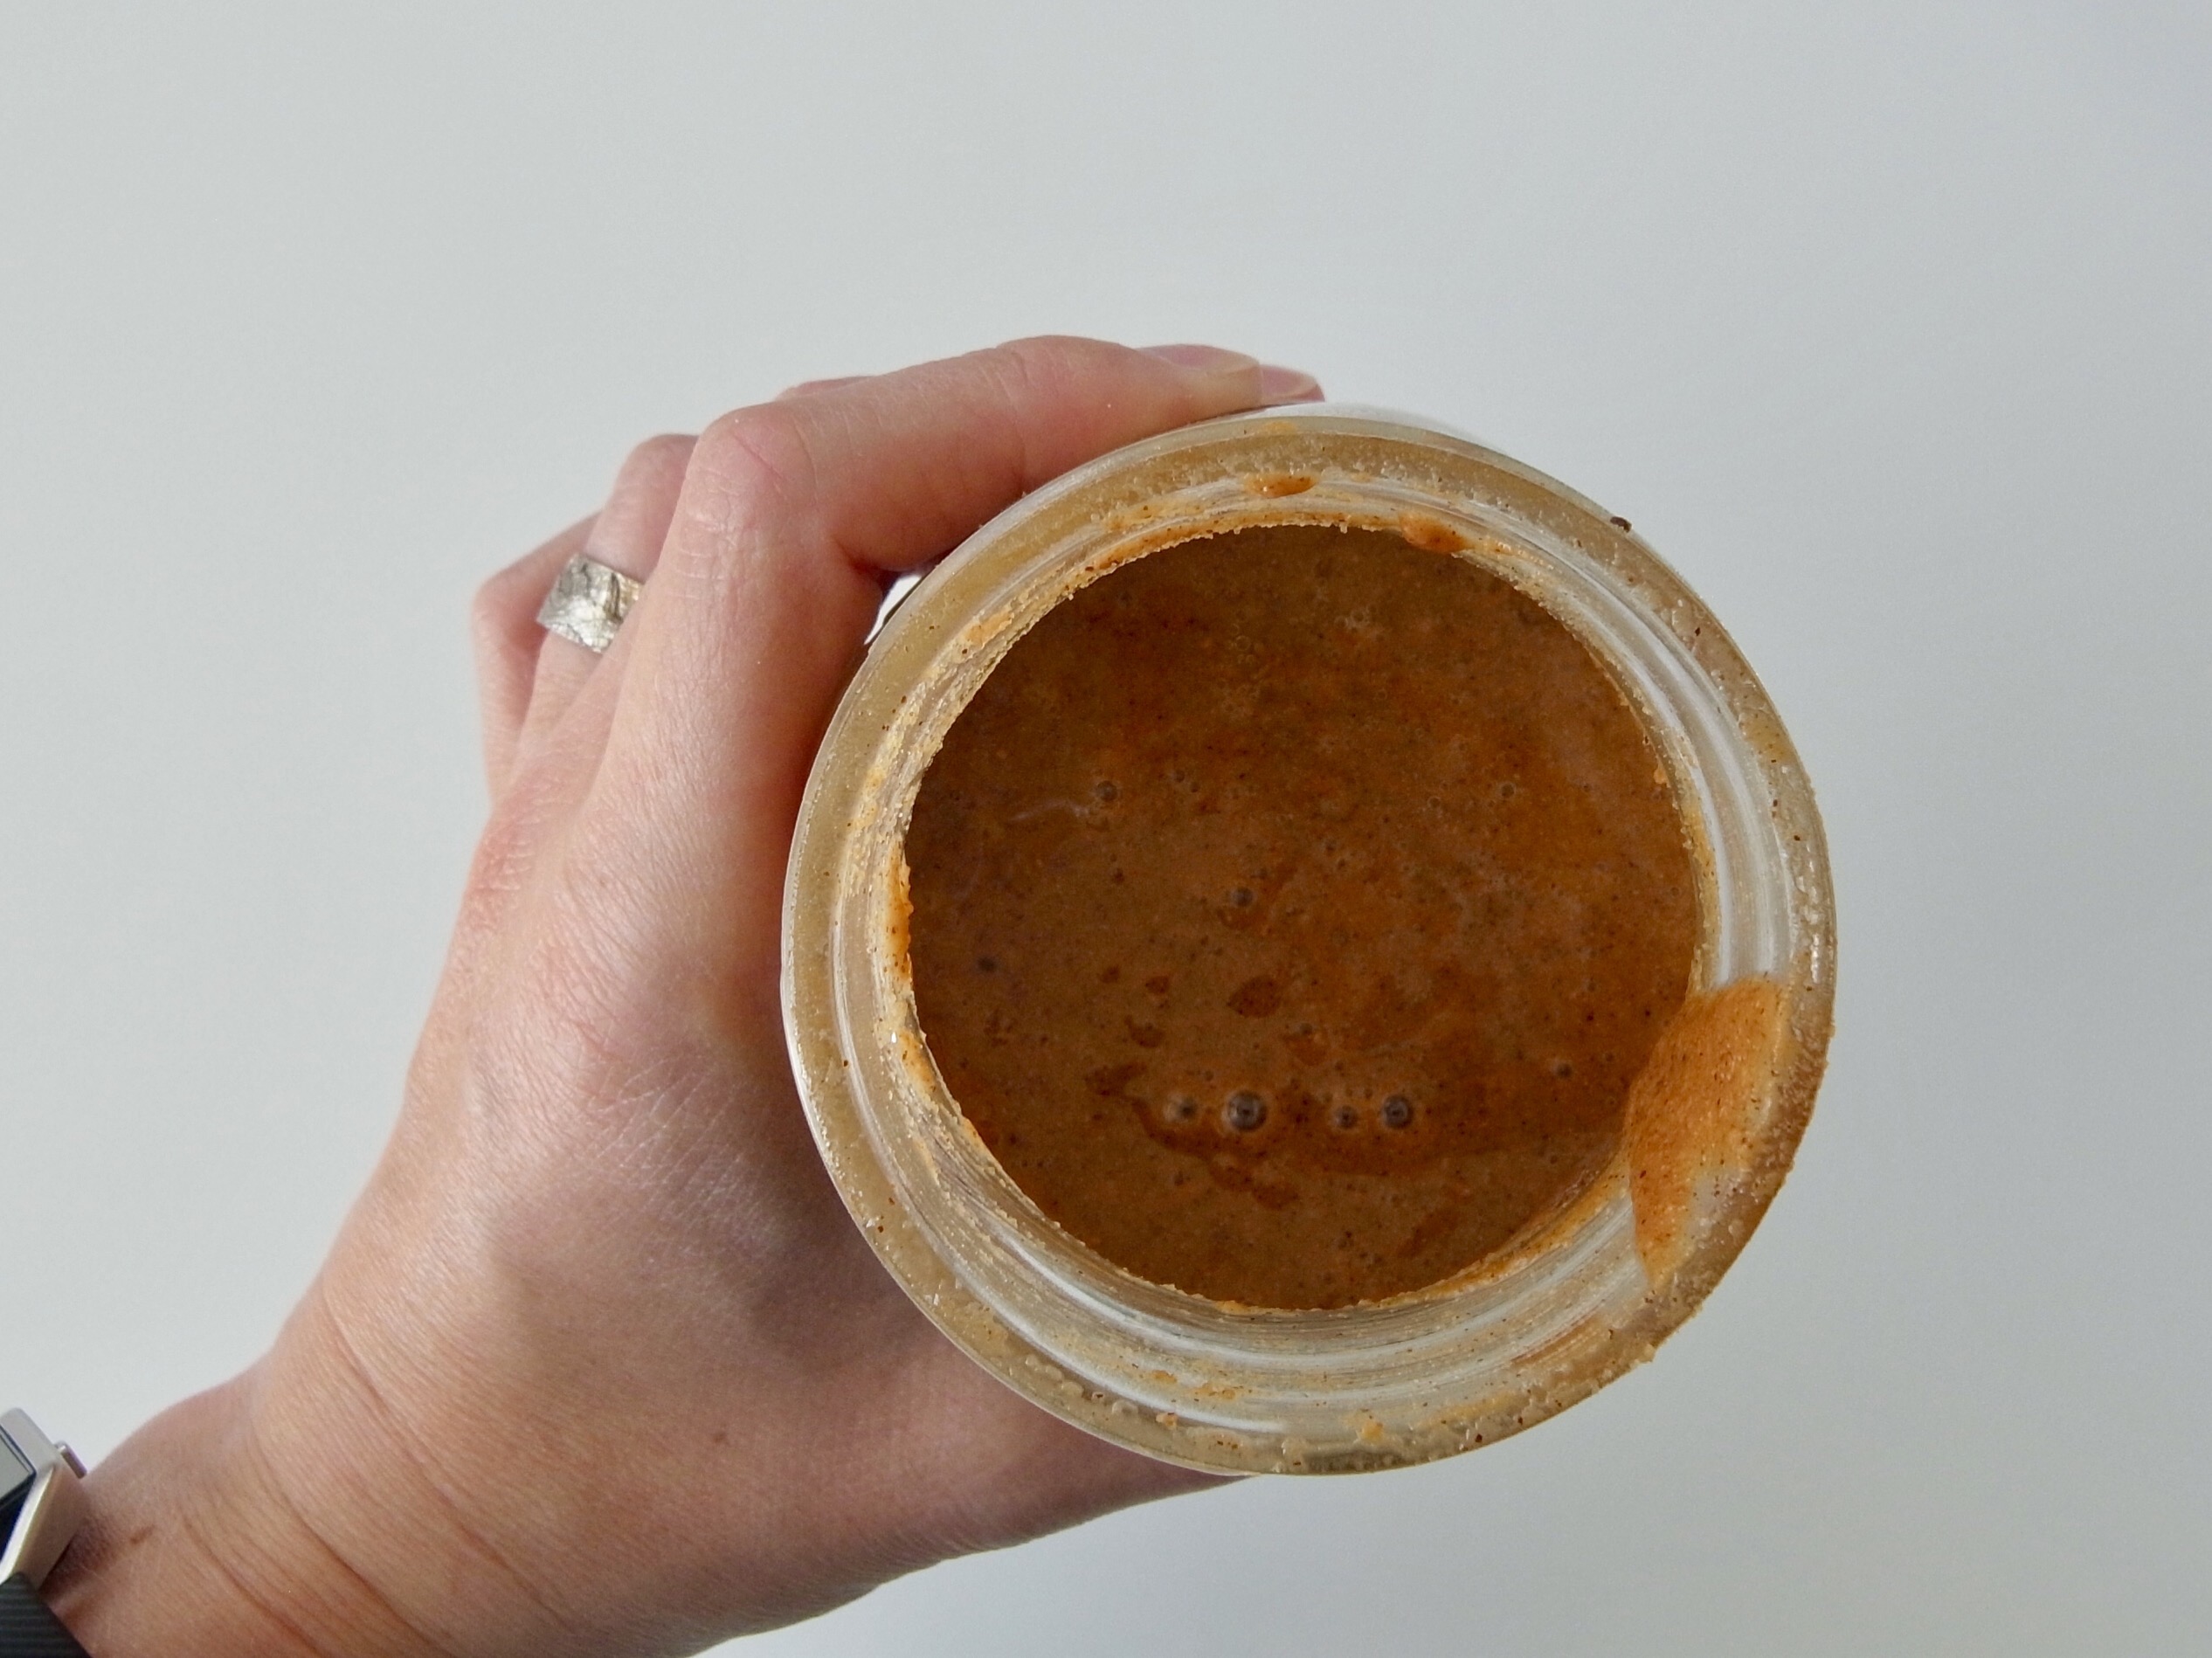
  5. Place warm nuts* in a food processor and grind until smooth. Add in vanilla, salt, and sweetener (if desired) and continue to blend until a smooth butter is formed – yes, it should be kind of runny. If it hasn’t yet reached that consistency, just be patient, it will get there.

*Warm nuts tend to work a little better and faster by making the oil more available during the processing.

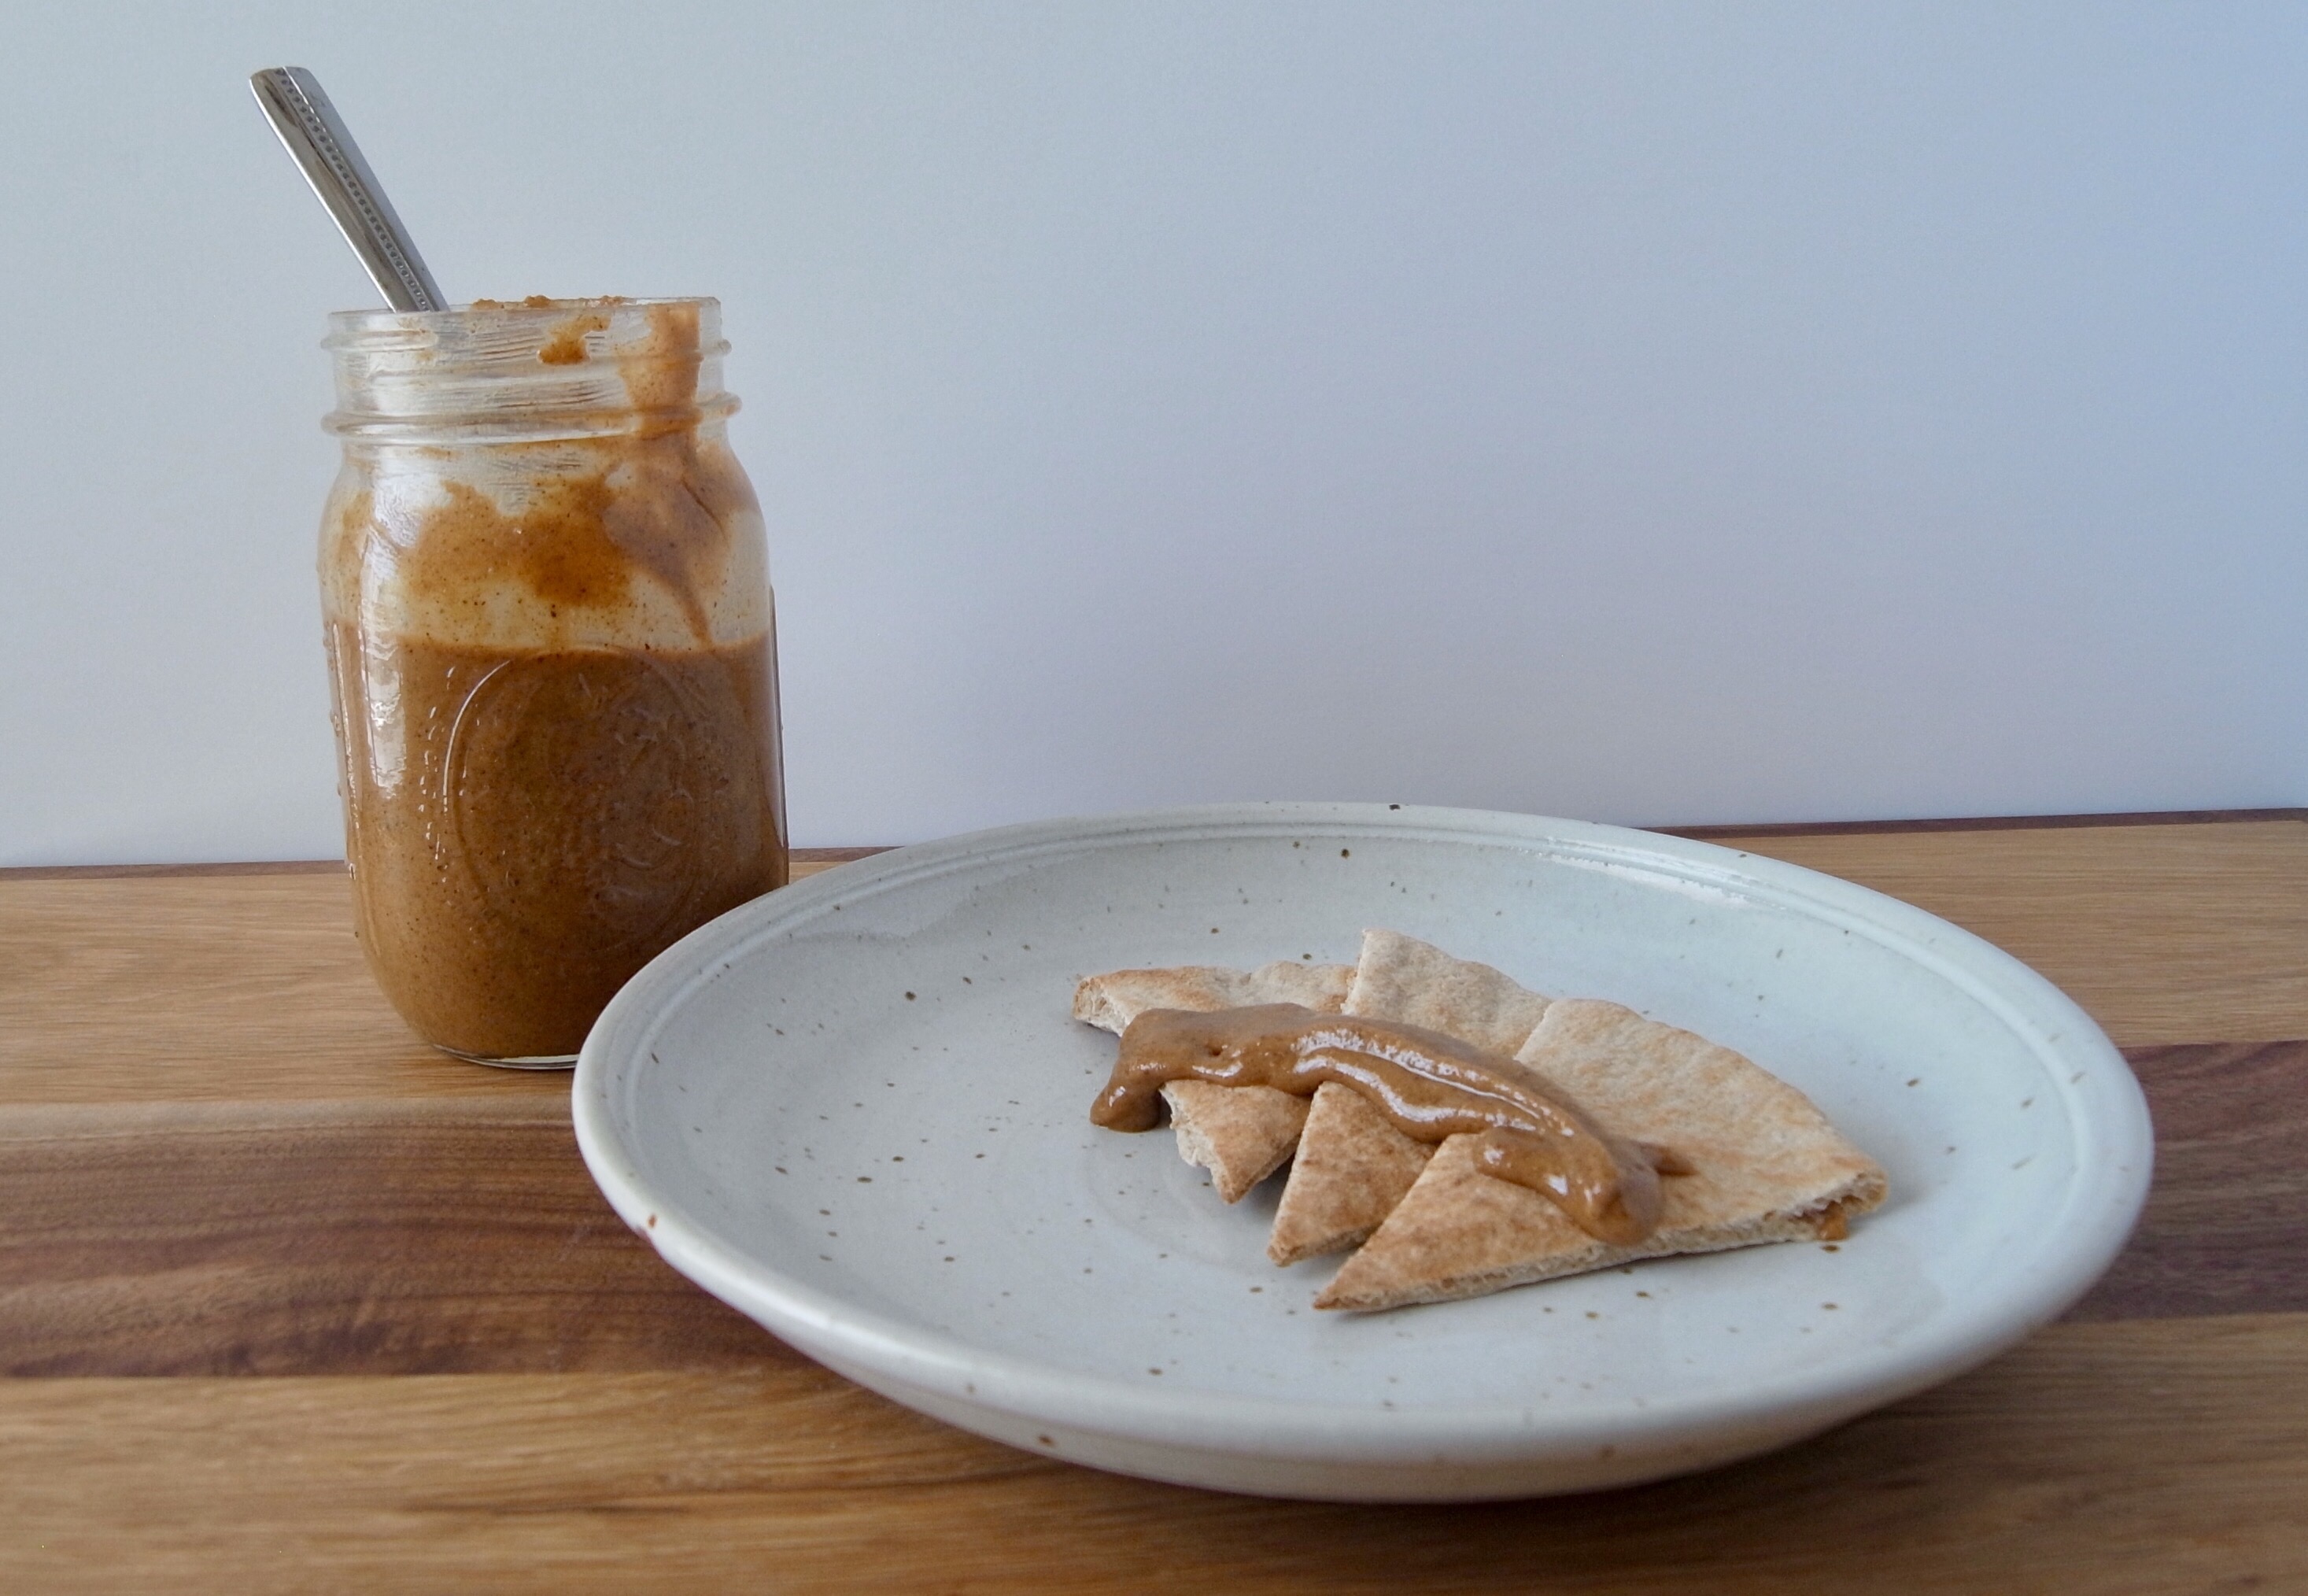
You can keep it stored in an air tight container. I like mason jars because you can easily see through them and they store about 2 cups perfectly.

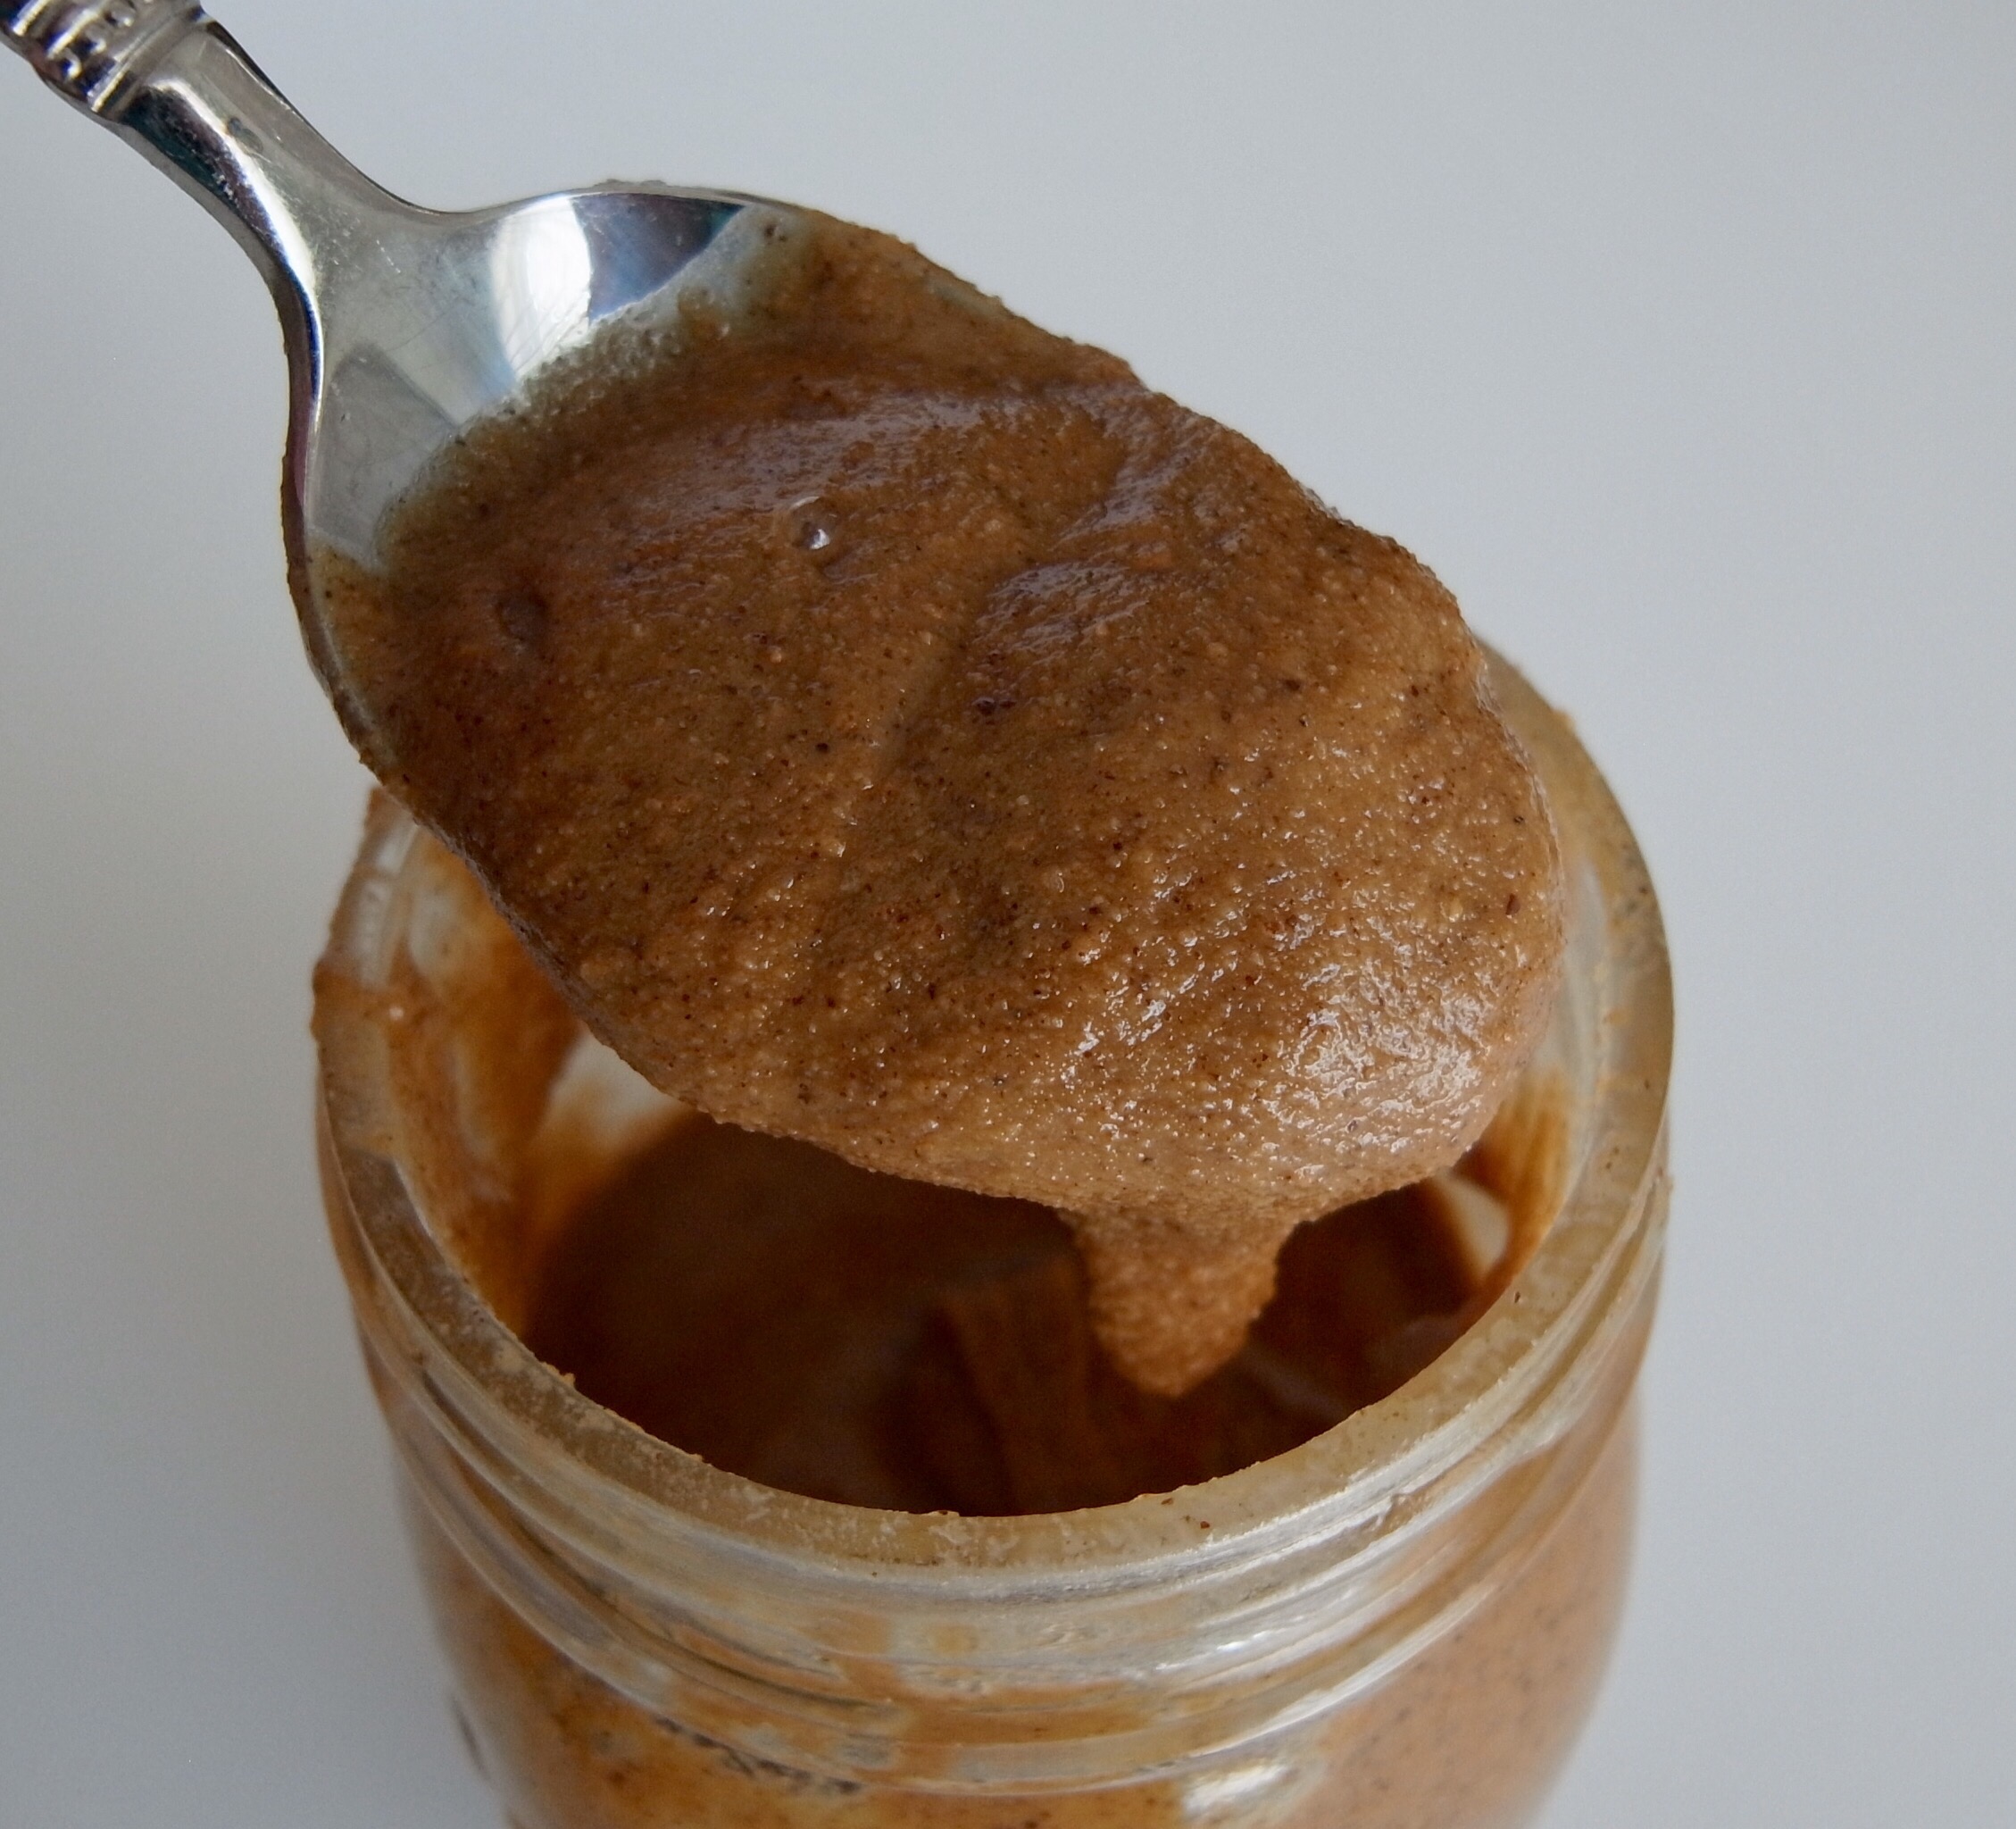
My hazelnut butter is a little on the darker side because I toasted the nuts just a bit extra. If you like you’re lighter, just watch very closely and removed when they’ve gathered just a hint of golden. You can also make the butter raw, but won’t be able to remove the skins. Just a bit of trade offs. I also added a touch of sweetness to mine because I was trying to get as close as possible to the flavor I found in that Middle East grocery (which was akin to the chocolate hazelnut without the chocolate, but still some sweetness).

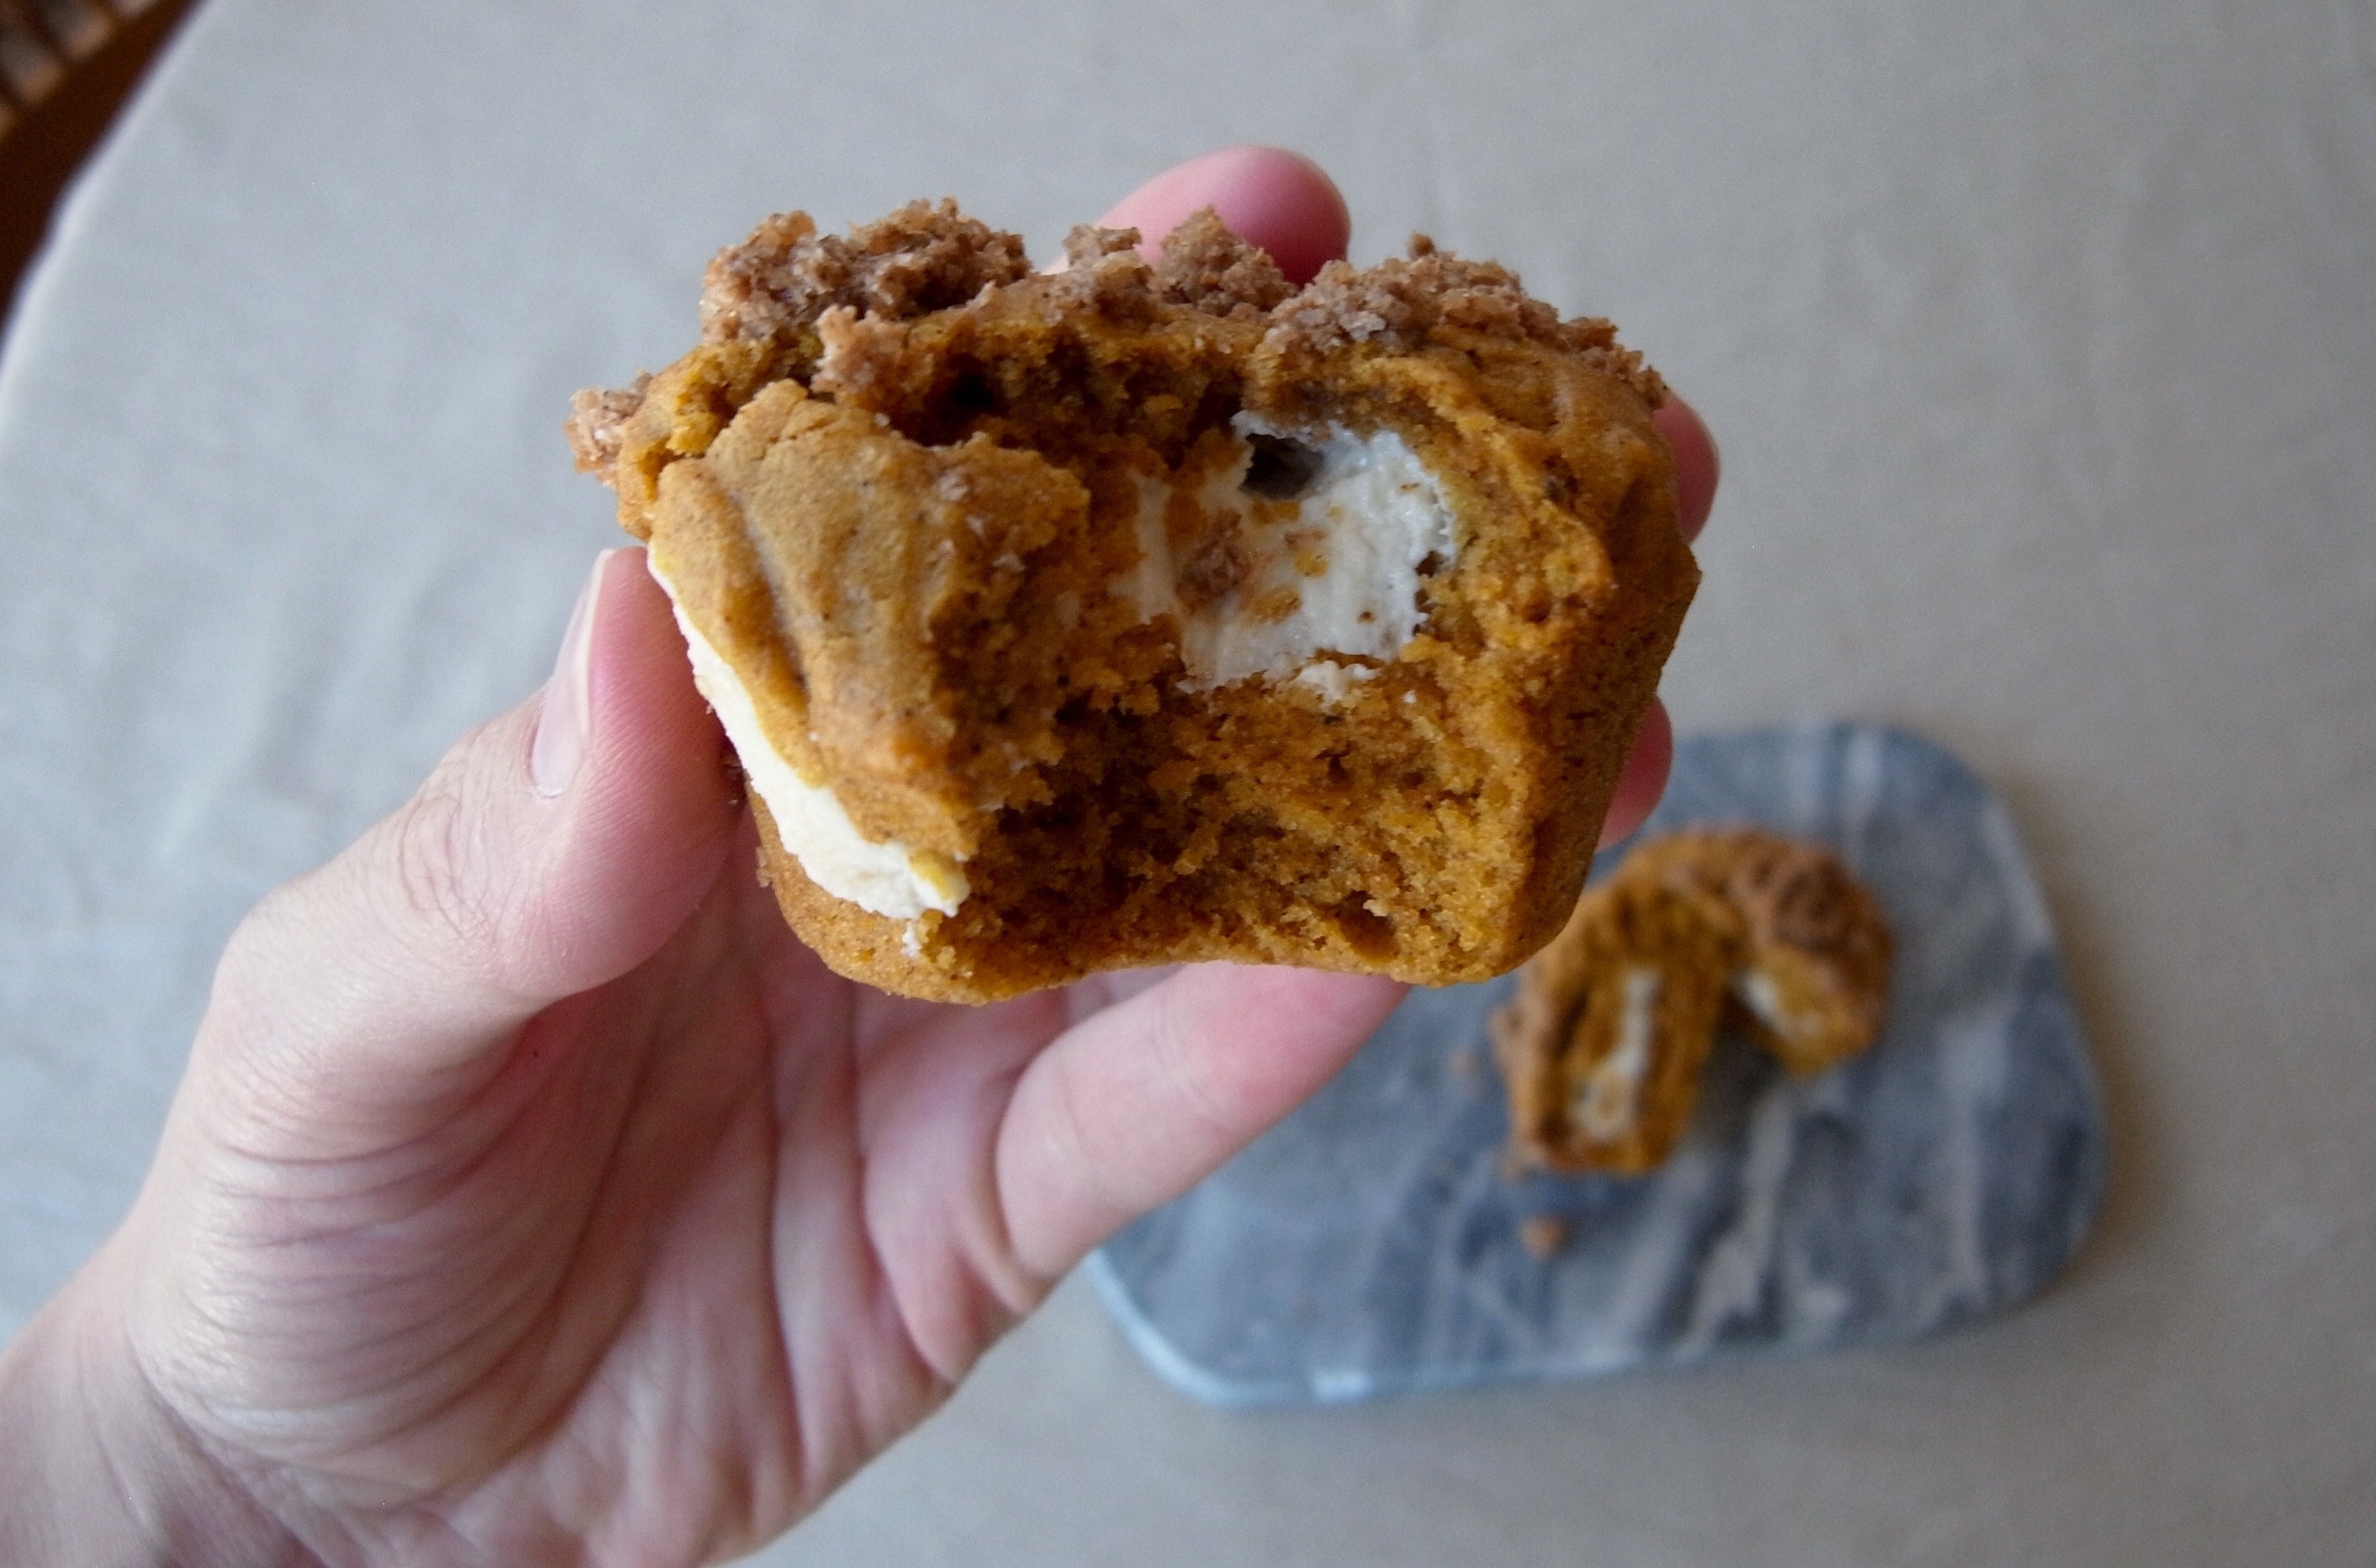
Stick around for a to-die-for dessert coming to the blog in the next couple of weeks that features this fantastic spread – hazelnutty goodness.

What are your favorite nuts butters? Do you stick with the classic peanut butter or almond or branch out into walnut, pecan, cashew, and hazelnut?


Double Cherry Scones with Mascarpone

I’ve been waiting to share this with you all for a while and I’m not really sure why I was holding on to it for so long? They’re pretty delicious. And they go great with a cup of coffee or Earl Grey tea – with honey and almond milk.

Since it’s winter and there never seems to be enough light, I had finished these scones the evening before and as I’m about to leave for work the next morning I notice that the light was perfect, so I set up my space in front of the living room window – because that’s where the morning light is and snap a few of these… causing me to be a few minutes late for work. But it was worth it?? My neighbor across the street was leaving at this same time and I’m sure wondered what the heck I was doing. Oh well, all in the name of that “just right” food pic.

These scones have twice the cherry since I couldn’t decide if I preferred dried or “fresh” – and why not both? And I think it was a terrific decision.

Double Cherry Scones with Mascarpone Drizzle

Makes 8 scone wedges

Ingredients

  • 1 c all-purpose flour (may need a couple extra Tbsp for high elevation)
  • 1 c whole wheat flour
  • 1/4 c sugar
  • 2 tsp baking powder
  • 1/2 tsp salt
  • 3 T butter
  • 1/2 c +2 T buttermilk
  • 1 tsp vanilla extract
  • 1 large egg
  • 1/2 c dried cherries
  • 2/3 c fresh or frozen cherries, pitted and cut in half
  • 2 tsp flour
  • 1 large egg white, lightly beaten with a splash of water
  • 2 T large granule sugar, such as turbinado

Drizzle

  • 4 oz mascarpone cheese, softened to room temperature
  • 1 1/2 c powdered sugar
  • 1 tsp vanilla extract
  • 2-3 T milk or heavy cream
  • 2 T soft butter

Directions

  1. In a small bowl, cover the dried cherries with boiling water and set aside.
  2. Preheat oven to 350F.
  3. Combine flours, sugar, baking powder, and salt in a large bowl. Cut in butter with a pastry blender, a fork, or 2 knives until the mixture forms a course meal. Using a food processor for this portion is also acceptable.
  4. In a medium bowl combine buttermilk, vanilla, and the egg.
  5. Drain the water from the dried cherries and discard.
  6. Mix dried and fresh cherries into the liquid mixture. Add this mixture into the flour mixture and stir until just combined (flour is all incorporated) – do not over work the dough or the scones will be tough.
  7. Turn the dough onto a lightly floured surface. Dust the top of the dough with 2 tsp of flour and pat into an 8-10 inch circle.
  8. Cut the dough into 8 wedges (I like using the pizza cutter for this or a large chopping knife). Arrange wedges 1/2 in apart on a parchment lined baking sheet. Separating the wedges is important or it won’t bake evenly and middle will be mushy.
  9. Brush egg white over wedges and sprinkle with course grain sugar.
  10. Bake at 350F for 25 minutes or until golden.
  11. While the scones bake, in a small bowl combine the mascarpone cheese, powdered sugar, butter, cream, and vanilla. Careful to add the sugar in slowly to prevent a powdered sugar covered kitchen.
  12. While warm, drizzle mascarpone topping over scones.


What the scones look like without the drizzle – still just as pretty.

Enjoy!! Now if only I were eating this while sitting in a nice comfy chair at my favorite coffee shop. Scones are my coffee shop kryptonite.

What is your favorite coffee or tea shop treat?


Spinach Mushroom Bacon Strata

It’s been a month… or almost two since I posted a recipe – how did that happen?! Well, I’ll ramble about exactly how that happened in a moment, but for those who only care about the recipe and food – we’ll talk about that first. 🙂

Obviously breakfast is my favorite meal of the day – maybe this blog should have been all about breakfast, but I’m pretty sure someone already claimed that… And finding new brunch type recipes that can easily traverse into lunch or dinner is a win in my book. Strata can do just that.

For this strata I was inspired by some day old baguette. I bought the “wheat” kind but from the photos it honestly doesn’t appear that way – I swear I did. For whatever reason I always picture mushrooms in strata and so an idea was born. Mushroom, spinach (obviously), bacon (for C), and then for the cheese I chose some Monterey Jack. One thing to remember especially when making a strata and not a straight up egg bake is that for the egg mixture to soak into the bread you’ll need at least 8 hours or up to a day in the refrigerator.

Spinach Mushroom Bacon Strata

Serves 8 generously – have a side salad too

Ingredients

  • 2 T olive oil
  • 1 white onion, diced
  • 8 oz baby bella mushrooms, cleaned and sliced
  • 3 c tightly packed baby spinach, roughly chopped
  • 6-8 c cubed bread (I used a French baguette 2″x18″ loaf, but feel free to adjust based on how bready you like your strata)
  • 2 c Monterey Jack cheese, shredded
  • 7 large eggs
  • 2 c milk
  • 4 strips of peppery bacon
  • ½ teaspoon salt
  • ¼ teaspoon pepper

Directions

  1. Heat olive oil over medium heat.
  2. Add onion and cook until soft. Transfer to large bowl with bread cubes. 
  3. In the hot pan, add the mushrooms and cook until mushrooms begin to release moisture.
  4. Add spinach and toss until wilted. Remove from heat.
  5. Add mushroom/spinach mixture to bread, tossing to combine. 
  6. Wipe out pan and return to heat. Cook bacon in pan until crispy and transfer to plate with paper towels to cool. When cool enough to handle, chop or crumble bacon into small pieces and add to bread mixture. 
  7. Lastly add in shredded cheese and fold to combine. 
  8. In medium bowl, whisk together eggs, then add milk and seasonings. 
  9. Pour egg mixture over  bread mixture in the large bowl and mix to combine. Transfer mixture to greased 9″x13″ glass baking dish.
  10. Refrigerate mixture for 8 hours, or up to overnight, covered.
  11. Preheat oven to 325 degrees F.
  12. Bake, uncovered, for 55-65 minutes, until golden brown and cooked through. Middle should be set and not jiggle or knife inserted into center comes out clean. 

Just the perfect brunch or weekend lunch. 🙂

Ok, so why the long break? Being entirely honest – I have felt completely uninspired and blah this whole past month. Most of it stems from my day job – I’ve been overrun and it’s hard to see the end in sight. For weeks at a time I’ve come home completely exhausted without an ambition to make food (thank goodness for C!), let alone formulate something to eat for dinner. No joke if C wasn’t here I’d probably be living on cereal and completely protein deficient. While I love what I do (or at least the idea of it), I don’t particularly care for it when it interrupts my personal life, wiggling its way into my evenings, weekends, and even morning workout time. When I don’t get time for my passions I tend to get a little cranky and blunt.

I’ve had some inspiration the past few days, so I’m going to see where it leads. I’m out of the office most of the month of October and hopefully not being in a dreaded cube will help (seriously soul sucking). Fall is my favorite season (perhaps a bit basic but whatever) and having grown up with pumpkins I do have a few new recipes to share celebrating autumn and harvest time.

How have you made it though those uninspired months? What do you do to ensure work-life balance?


Banana Bread French Toast Style Oatmeal

Even though I’m just back from vacation, I feel like I’m getting the vacation blues after being back to work for a week. Or maybe it’s just an entire week or two with a case of the Mondays? Some days I really connect with Sadness from Inside Out (Disney Pixar) “I’ll just lie here until tomorrow”- I think she might be my favorite character from that movie. Occasional melancholy is perfectly healthy. …In any case, maybe some yummy food will turn things around (noting that food can neither fix nor solve a problem), which is exactly why I went for some healthier comfort food.

And since breakfast is probably my favorite meal of the day, we’re back to breakfast! I’ve been on a major hot oatmeal kick lately and this time around adding some extra protein with an egg.  Yes, you heard that right, the best way to get the creamiest oatmeal is whipping in and egg. While yogurt is still my all time favorite and go to breakfast, these oats have been creeping their way up and are relatively “quick” to throw together before heading out the door for work.

Banana Bread French Toast Style Oatmeal

Serves 1

Ingredients

  • 1/2 c old fashion oats
  • 1 c water
  • Pinch of salt
  • 1 medium banana mashed
  • 1/4 c milk of choice
  • 1 egg
  • 1/2 tsp vanilla extract
  • Toppings of choice: toasted almonds, cocoa nibs, dried cherries or cranberries, or whatever is your favorite.
  • Honey

Directions

  1. In a small pot on the stove, heat the water until boiling. Add the oats and stir until combined and oats are mostly cooked.
  2. Next, stir in your mashed banana to whip into oats followed by a touch of milk (2 T to 1/4 c).
  3. Once oats are back up to heat and bubbling, add in the egg and whip fiercely with a whisk or wooden spoon to fully incorporate the egg without getting large chunks of cooked egg (which is not what we’re going for here).
  4. Lastly stir in the vanilla and remove from heat.
  5. Spoon the creamy oats into a bowl, drizzle with desired amount of honey, and top with favorite toppings. I had toasted almonds, cocoa nibs, and cranberries on hand, but really lots of different toppings will work just fine.

If you have time on a work morning I would savor the morning with this treat, but it is also the most delicious breakfast after a walk with the dog on a Saturday morning. Oh, and I suppose you could multiply the recipe as well if you want to share. 😉

Enjoy!

What is your favorite breakfast grain?

How do you cope with a case of the Mondays?


Savory Waffles with Bacon and Chiles

I’m back to the most important meal of the day – brunch, obviously. So maybe you’re not a sweet breakfast/brunch person. Why ever not?

For me, I typically need something a little sweet – usually in the form of fruit of some kind, but C needs his three egg omelet on the weekends and will only yield to something sweet for a side. So when I’m trying to compromise, I make some of my “sweet” breakfast favorites into something more savory. The bacon is of course optional if you’re going vegetarian but I wouldn’t cut out the spice.

Savory Waffles with Bacon and Chiles

Serves 4-5

Ingredients

  • 2 eggs
  • 1 c buttermilk (I’ve also tried it with kefir – still good)
  • 1/2 c all-purpose flour
  • 1/2 c corn meal
  • 1 tsp salt
  • 1/2 tsp Smoked Paprika
  • 1 tsp baking powder
  • 1/4 c chopped green onions (divided)
  • 2-3 T green chiles (roasted and diced)
  • 2 strips of bacon, cooked and crumbled/diced
  • 1/4-1/3 c shredded Pecorino Romano cheese or other dry hard cheese such as parmesan
  • Additional eggs for topping

Directions

  1. Cook bacon as desired (pan, oven, microwave) until crisp. Let cool and crumble.
  2. Beat buttermilk and eggs in a large bowl. I
  3. n a medium bowl sift together flour, cornmeal, paprika, baking powder, and salt. Stir dry ingredients into wet ingredients until just combined.
  4. Stir in bacon, green onions, chiles, and cheese.
  5. Cook waffles until golden brown in your waffle iron. Spray with non-stick spray between each batch to keep from sticking.
  6. While the waffles cook, fry over-easy or sunny-side-up eggs in a tablespoon of olive oil in a large pan. Top waffles with the runny eggs for a scrumptious “syrup”.

I actually didn’t like fried eggs, much less runny eggs until just two years ago when I had it with polenta for the first time. Needless to say I was hooked and now it’s my go-to whenever I’m looking to add some more protein to a leftover pizza, polenta, or stir fry.

Dig in!


Pumpkin Cream Cheese Muffins with Wheat Germ Streusel

Yes, another breakfast recipe – probably because being the most important meal it is my favorite meal. And I love muffins for their easy access on weekday mornings when I’m trying to get a quick bite before the gym at 5am… ok 5:15am.

Pumpkin is one of my favorite flavors and has been well before it categorized be as “basic”. Since my parents have raised pumpkins (and still sell them every fall) since I could crawl, I grew up with everything pumpkin and absolutely love winter squash. I would not be lying if I said I eat just a cup or 2 of squash for my lunch some days. Seriously, I probably have a problem and likely nearing Vitamin A toxicity with all the kale, spinach, and winter squash I inhale. And because I have the best mother in the world (does saying this make me your favorite daughter, Mom?), she packs up a duffle bag full of baked and frozen squash for me every Christmas to take back with me. These muffins are actually just remaking some pumpkin muffins she made first.

Typically when I list pumpkin in a recipe – especially for baking, I’ve likely actually used a kabocha winter squash. This means if you’re using squash as well you’ll probably have to add a little water to the batter so things aren’t as thick. I also wanted to “healthify” the streusel a bit so I subbed in some wheat germ for nuttiness and swapped out brown sugar for turbinado sugar for a little extra texture and crunch.

Pumpkin Cream Cheese Muffins with Wheat Germ Streusel

Makes 12-15 muffins

Ingredients

Streusel

  • 2 T Turbinado or regular brown sugar
  • 2 T whole wheat flower
  • 2 T wheat germ
  • 1/2 tsp ground cinnamon
  • 2 T melted butter

Cream Cheese Filling

  • 8 oz Greek Style Cream Cheese
  • 1/4 c powdered sugar
  • 2 T honey

Muffin Batter

  • 1/2 c sugar
  • 1/2 c vegetable oil
  • 1 c pumpkin puree, I used home roasted winter squash puree
  • 2 eggs
  • 1 c all-purpose flour
  • 3/4 c whole wheat flour
  • 1/2 tsp baking soda
  • 1/2 tsp salt
  • 1 1/2 tsp cinnamon
  • 1/2 tsp ginger
  • 1/2 tsp nutmeg
  • 1/4 tsp cloves
  • Extra water if batter is too thick

Directions

  1. Whip together cream cheese, honey and sugar very well.  Use a mixer or food processor.  When it is all combined, pop it back in the fridge to stay cold while you prep the rest of the muffins.  Having this mixture as cool as possible will prevent the cream from melting away too much during baking. I like using a Greek style cream cheese because it doesn’t create pockets of air in your muffins where the filling once was.
  2. For the muffin batter, mix the sugar, oil, pumpkin, and eggs together very well in a large mixing bowl.  Then plop the flour, baking soda, and pumpkin pie spices (cinnamon, nutmeg, ginger, and cloves) on top of this blended wet mixture.  Stir well to incorporate and fully mix everything together. If using less oil be careful not to over mix.
  3. For the streusel, mix all the dry ingredients first, then stir in butter until combined and forms a nice crumbly texture.
  4. Line muffin tins with paper cups, or lightly oil them. Spoon about 1-2 T of batter into the bottom of each muffin.  Make sure this batter is spread thinly and evenly across the bottom of each muffin tin.
  5. Next, distribute a spoonful (approx 1 T) of the cream cheese filling in each.
  6. Finally, evenly distribute the remainder of the batter over the top of the cream cheese and sprinkle with streusel.
  7. Bake at 350F for 20-25 minutes.  Let cool before you eating, unless you are ready to deal with a molten center.

These also freeze really well.  If they last that long!

Happy baking!