
As recently as a few year ago, you couldn’t get me to eat dates for anything. They are one of my dad’s favorite fruits for baked products (cookies mainly) and growing up I remember finding the stash of dates hidden back in a cupboard and wondering why my mom had a package of wrapped cockroaches? Yay, I thought dates were pretty gross looking and therefore could not taste good. Well, here I am eating my words and they taste deliciously like dates. Although I didn’t immediately warm up to anything dates (I still think dates in smoothies is just too sweet), I think the first time thinking “they’re not so bad” is when I had them in wrapped in bacon and stuffed with blue cheese. Holy yum. I will take that on any menu please.
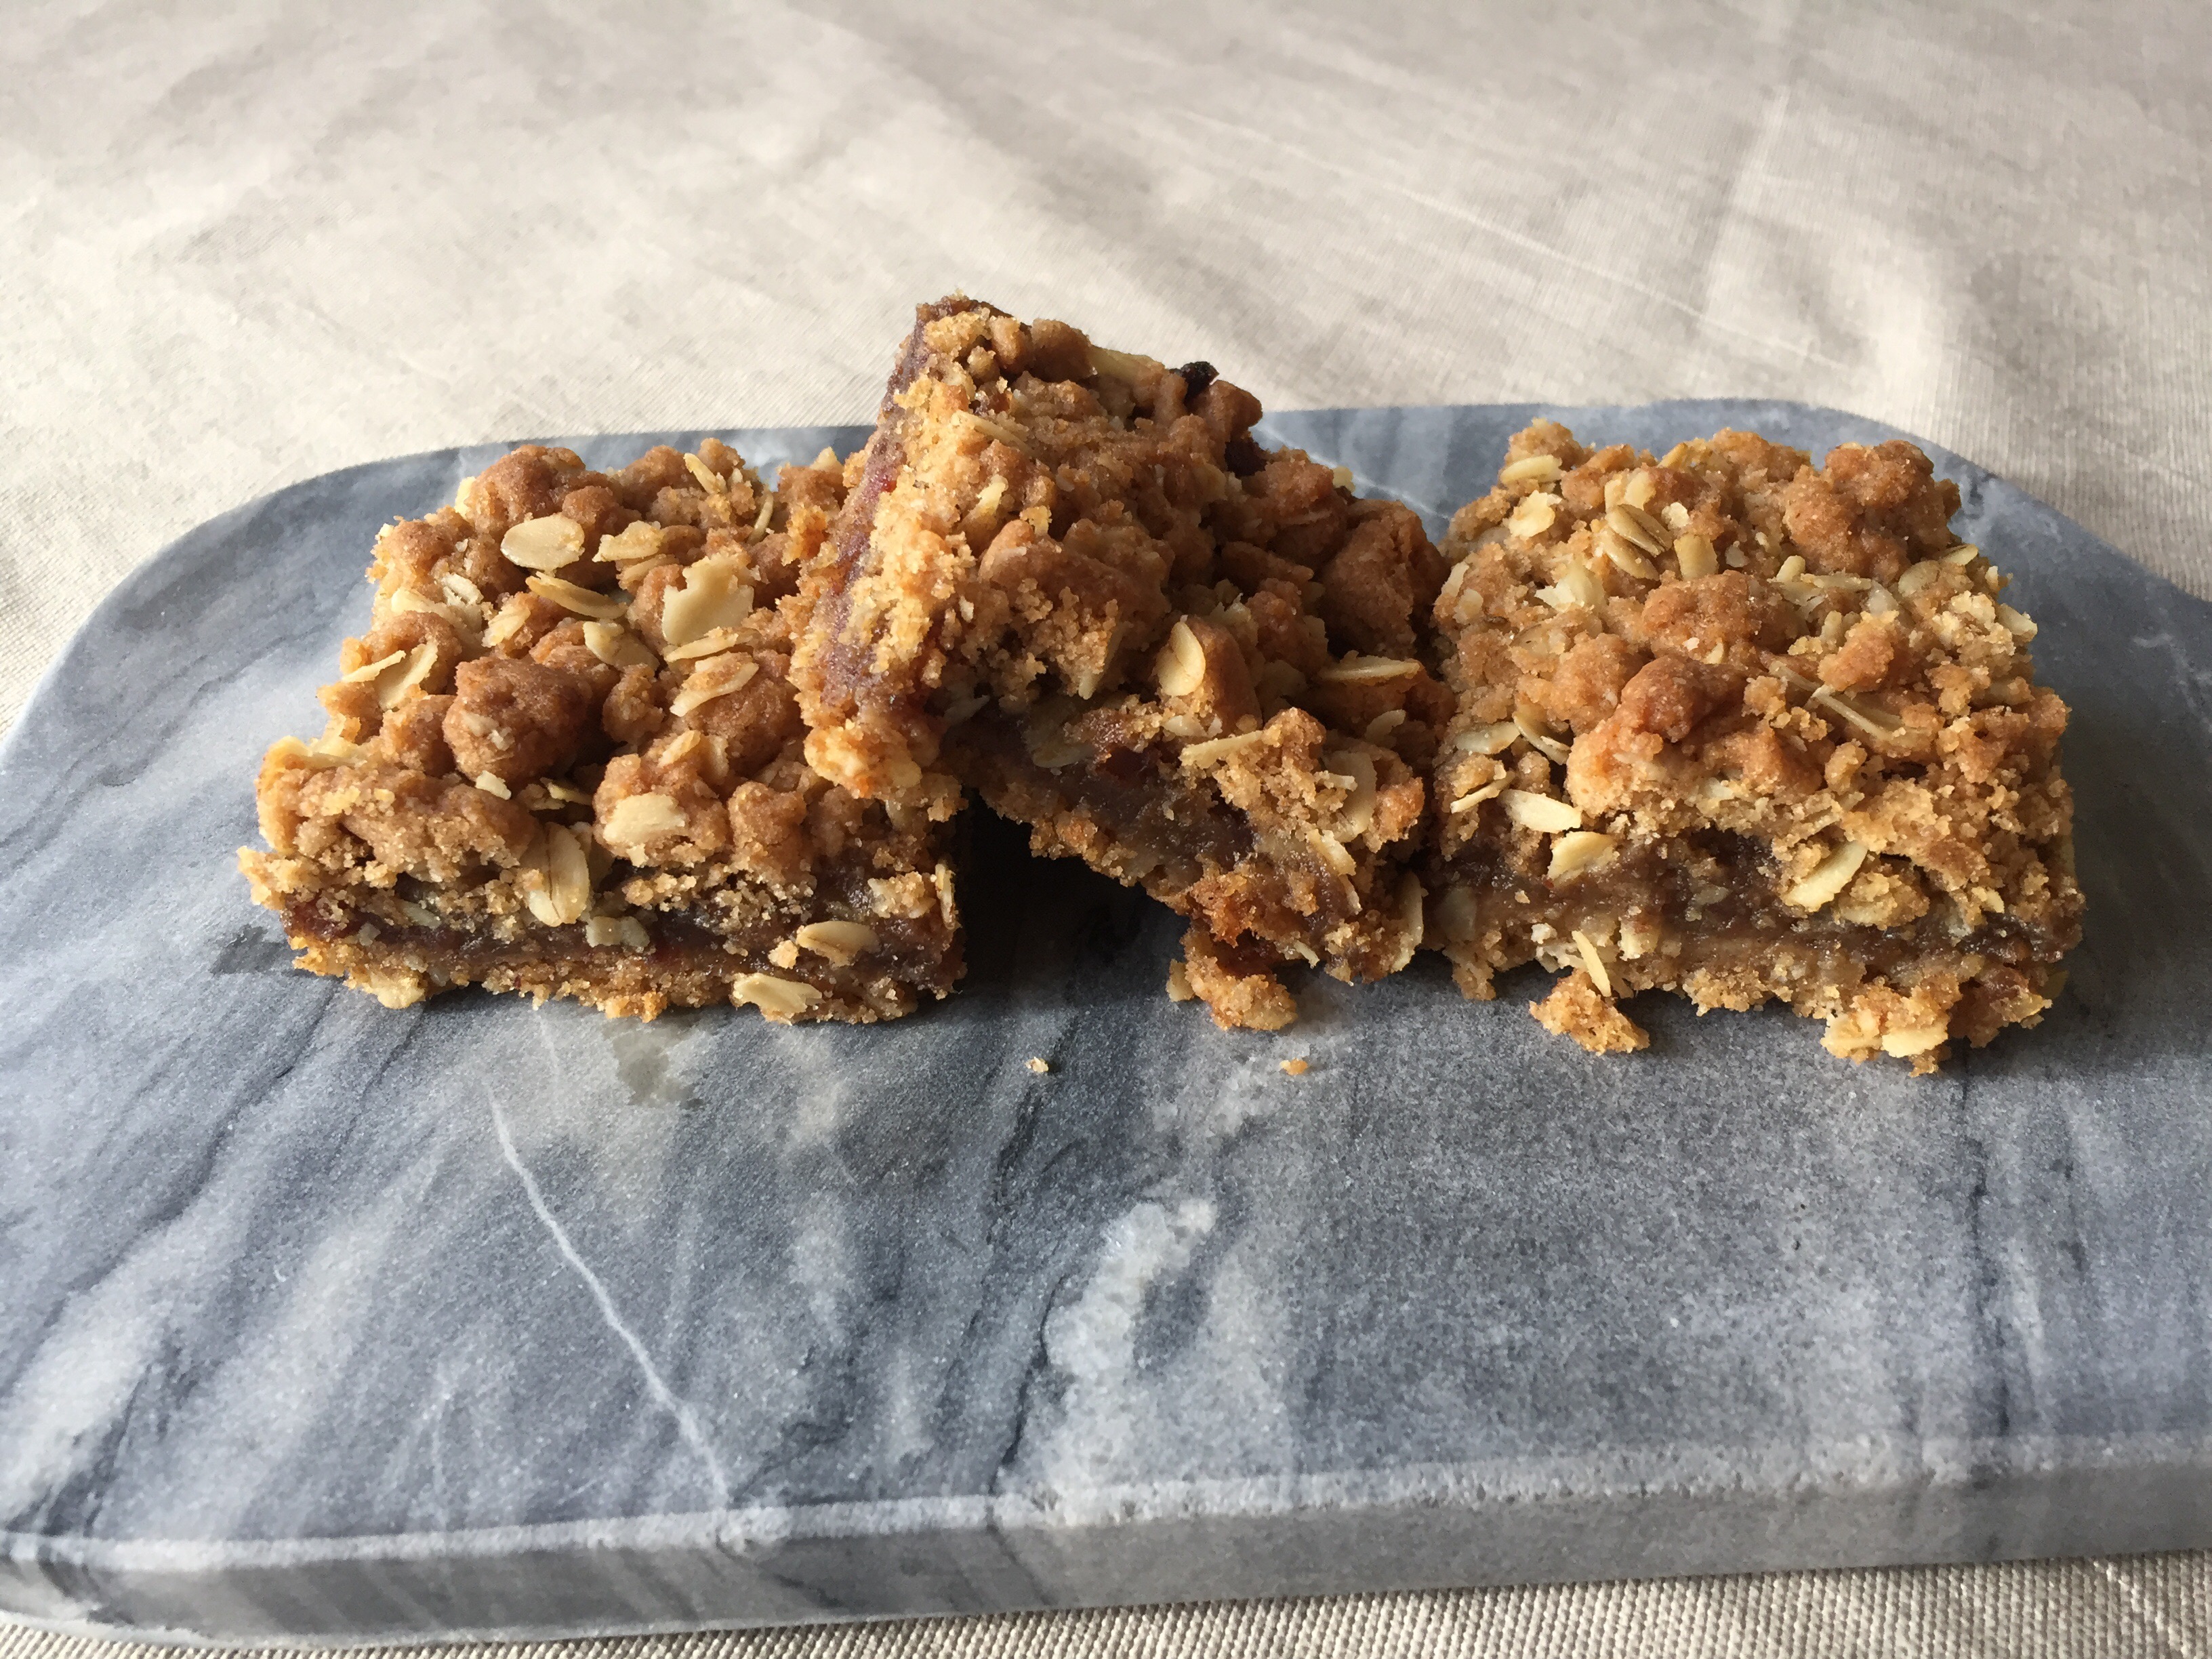
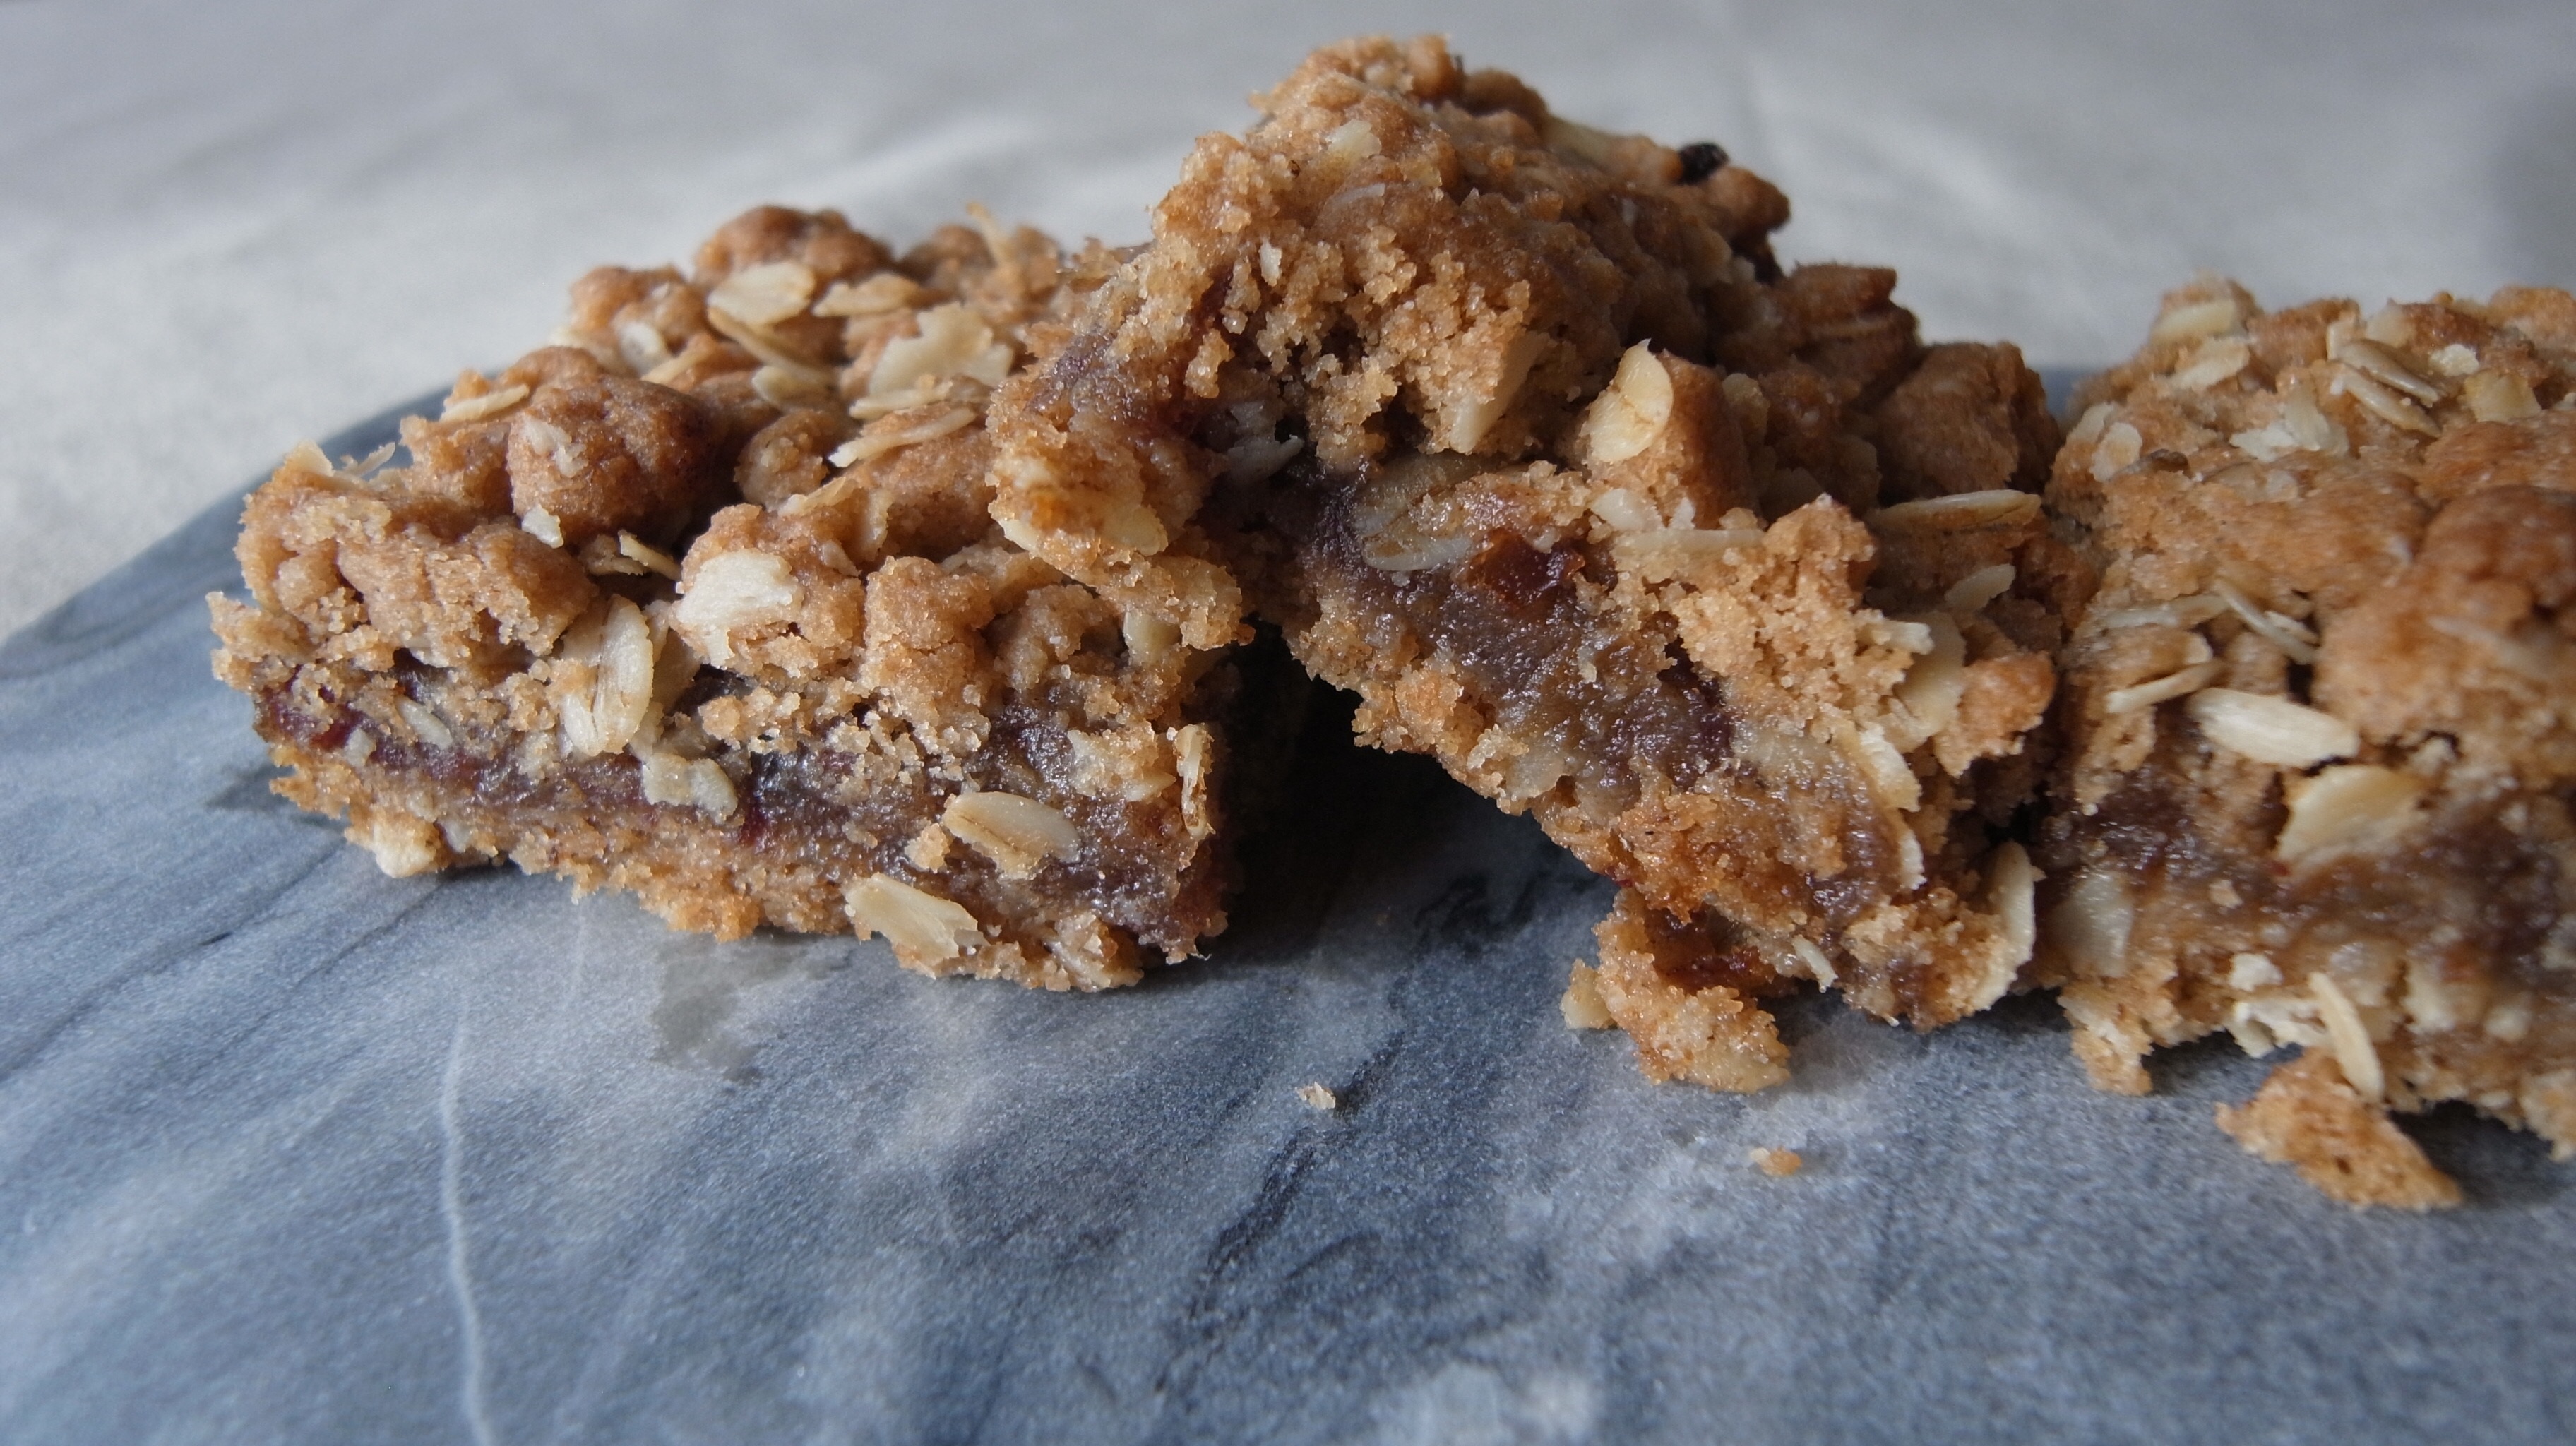 I eventually started experimenting with trying dates in other forms and just recently was turned on to date bars when a we had a catered lunch for an event and the caterer brought date bars as an extra. After one bite I knew I needed to learn to make my own. I modified this recipe from a standard date bar recipe, but held out a portion of the sugar because the dates really are sweet enough on their own.
Hold-the-Sugar Date Bars
Makes 36 bars
Ingredients
Date Filling
- 3 cups chopped pitted dates (1 lb)
- 1 cup water
Bars
- 3/4 cup packed brown sugar
- 1 cup butter or margarine, softened
- 1 1/2 cups whole wheat flour
- 1 1/2 cups oats (I used old fashion, but quick would also work)
- 1/2tsp baking soda
- 1/2 tsp salt
Directions
- Pit dates if not already pitted. Then finely chop in a food processor.
- In 2-quart saucepan, cook dates and water over low heat about 10 minutes, stirring constantly, until thickened. Cool 5 minutes.
- Heat oven to 400°F. Spray bottom and sides of a 13×9 pan with non-stick cooking spray.
- In large bowl, cut the butter into the brown sugar with a pastry blender until well mixed. Cut in flour, oats, baking soda and salt until crumbly (you may want to switch to a large spoon if needed). Press half of the crumb mixture evenly in bottom of pan. Spread with filling. Top with remaining crumb mixture; press lightly.
- Bake 25 to 30 minutes or until light brown. Cool 5 minutes in pan on cooling rack. Cut into 6 rows by 6 rows.
These bars are great for a quick snack and keep great in the freezer. I typically make a large pan, cut them up, and then freeze so I can take one out at a time and not be tempted by the whole pan sitting on the counter.
Enjoy!
