The holidays are fast approaching and trying to find anything healthy for desserts can be tricky! I’ve been doing a bunch of recipe testing over the past weekend for a healthier holiday desserts class I’m teaching in November. The first is something we had occassionally growing up made with apples from our tree outside. Baked Apples! While I recall only eating the apples for dinner, chances are they were the end to an equally tastey meal. My version – only slightly more mature (maybe) adds another flavor note with some orang zest. The second of the two healthier options is a version of another easy spring tart that I fell in love with last year – Caramelized Pear and Honey Cream Tart (droollll).
 Citrus Oatmeal Stuffed Baked Apples
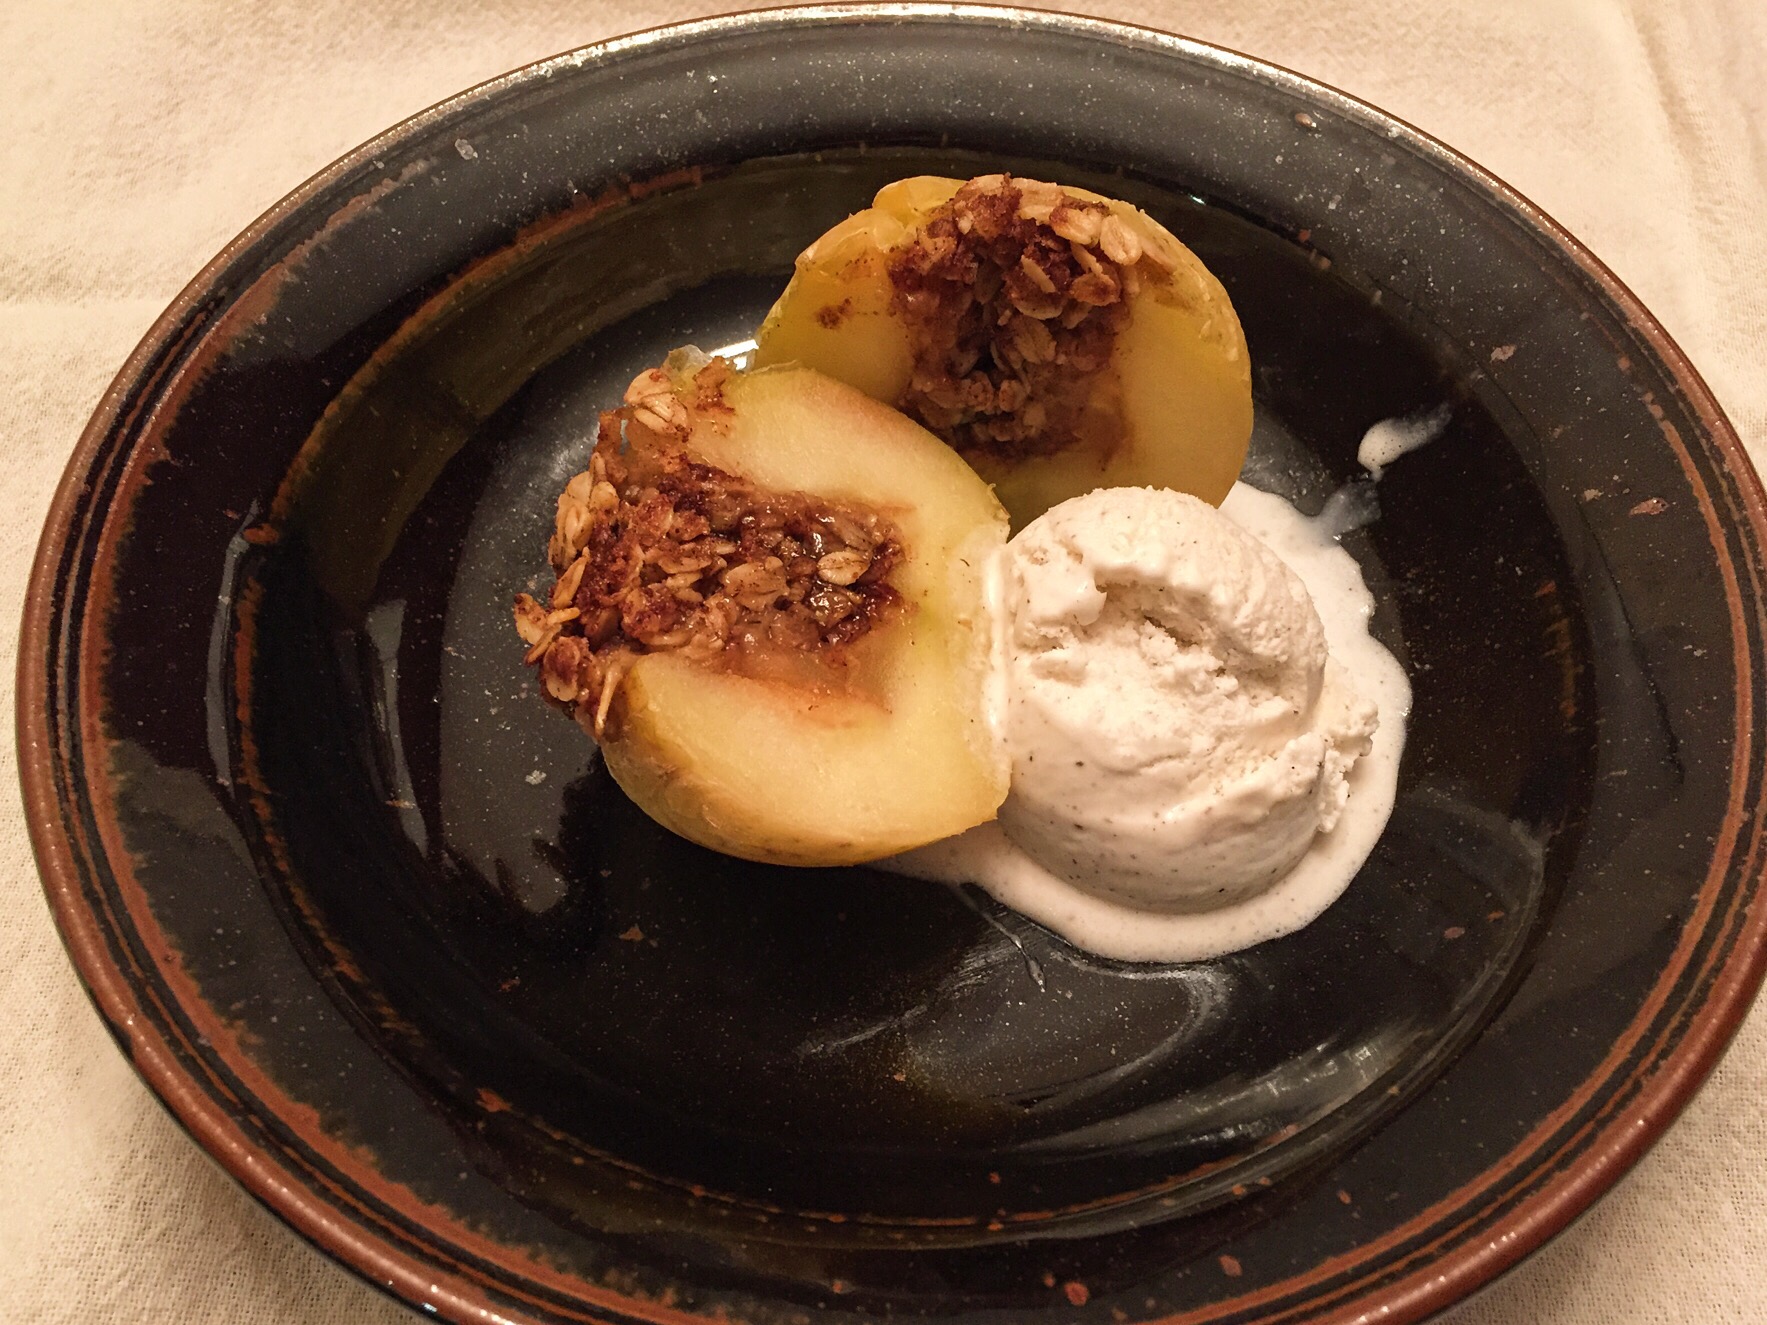
Makes 4 larger apples
Ingredients
- 4 medium to large apples, I used honecrisp but another firm apple would also work
- 1/4 c brown sugar
- 1/4 c old fashion rolled oats
- 1/2 tsp cinnamon
- 1/4 tsp nutmeg
- 1/8 tsp ground cloves
- Zest of 1 orange
- 4 tsp butter
- 1 cup hot water
Directions
- Preheat over to 375F.
- remove the core of the apples, cutting to within a half-inch of the bottom of the apple and creating an opening about 1 inch in diameter. You can use and apple corer, melon baller, or pairing knife.
- Mix the brown sugar, oats, cinnamon, nutmeg, cloves, and orange zest. Pack the mixture into the wells.
- Set the apples in an 8×8 baking dish and top each with a teaspoon of butter. Pour the water into the bottom of the pan and cover loosely with foil. This will help the apples to steam rather than dry in the oven.
- Bake for 20 inutes and remove the foil. Continiue baking uncovered for another 20-30 minutes or until the apples are soft (can be easily pierced with a pairing knife) and sugar has turned into a syrup. The skin of the apples will also become wrinkled and soft by the end of cooking.
- I like to serve with ice cream, but whipped cream or coconut whipped cream could also be good.
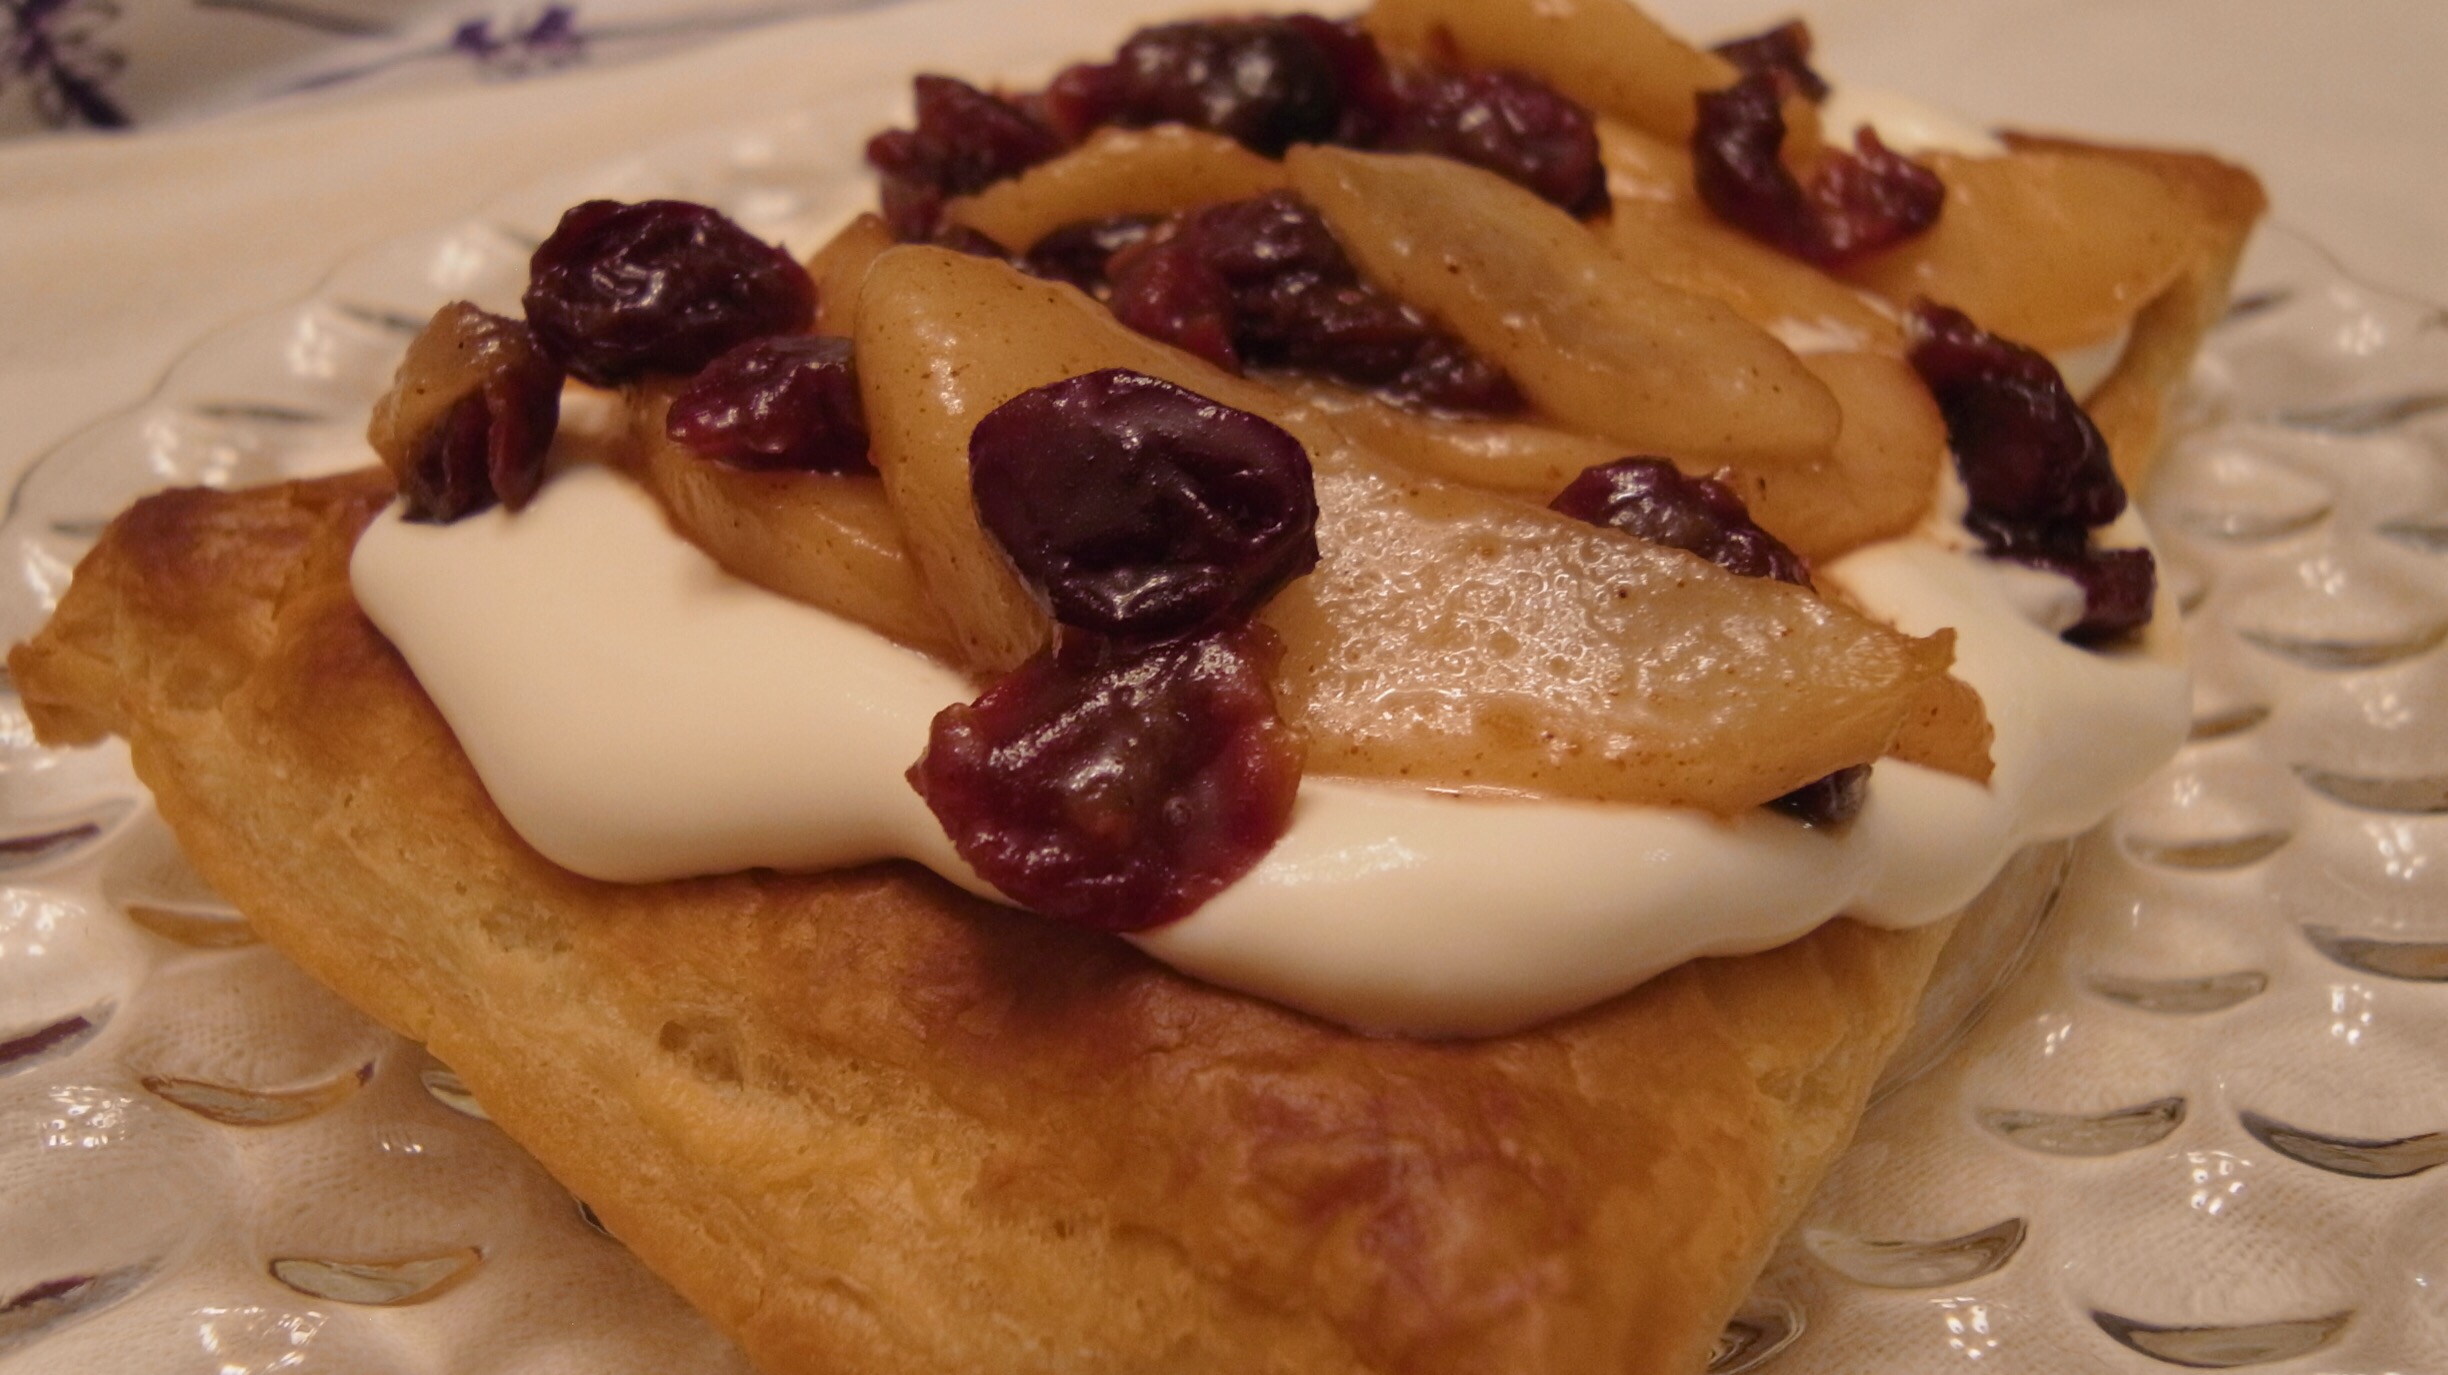
Caramelized Pear and Honey Cream Tart
Serves 16, may be easily halved
Ingredients
- 1 package puff pastry
- 1 cup whipping cream
- 3 T sour cream
- 3 T honey
- 2-3 pears, sliced
- ½ cup dried cherries or cranberries
- ¼ cup brown sugar, optional
Directions
- Preheat oven to 400F.
- Thaw puff pastry and lay flat. Cut into four even squares. Bake on a parchment lined baking sheet for 14 minutes or until nice and golden. Caution, puff pastry may look baked while internal layers remain under baked and collapse.
- While pastry is cooling, whip cream into soft peaks. Beat in sour cream and honey. Leave in refrigerate until ready to assemble.
- In a large pan place cook sliced pears and dried cranberries or cherries over medium heat. Allow fruit to caramelize in their natural sugars or add bit of brown sugar. Once fruit is tender and nicely colored, set aside to cool.
- To assemble, spoon honey cream on top of the puff pastry, dividing evenly, then top with fruit.
- Each piece may be cut into 4 squares for serving
Currently trying to decide on Thanksgiving plans since C and I are hosting this year – perhaps one of these delicious beauties will end up on the menu. 🙂 
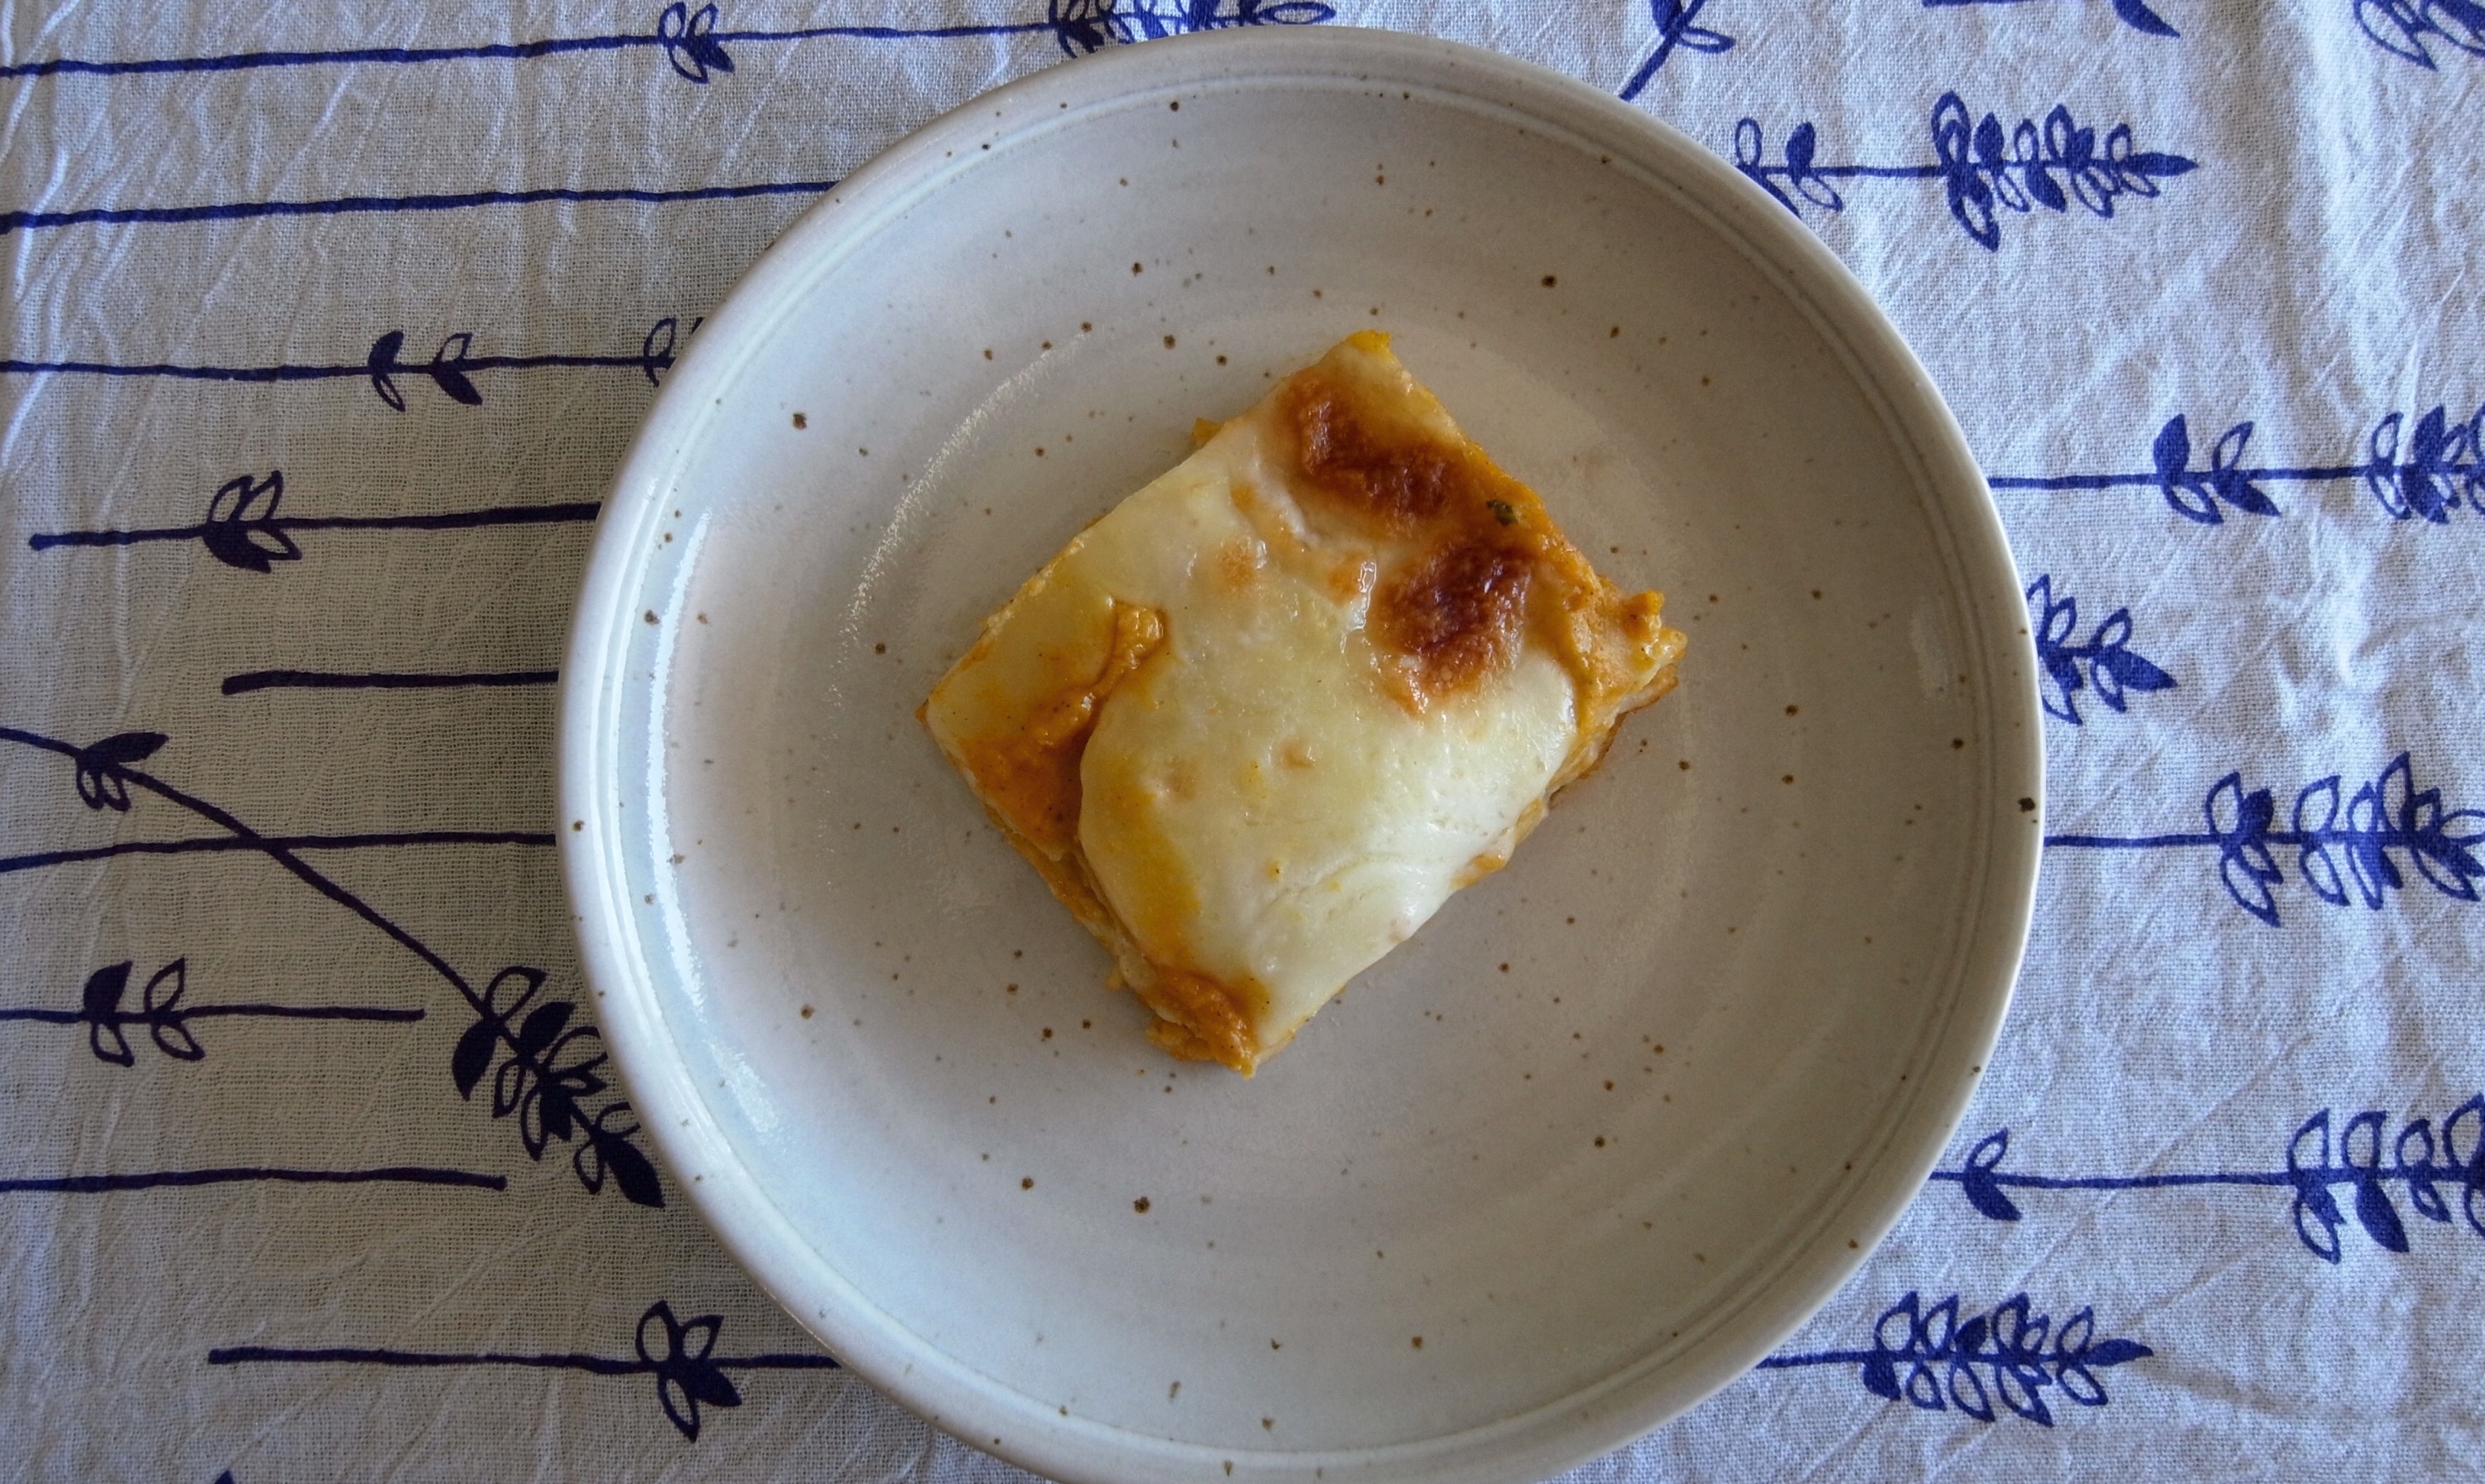
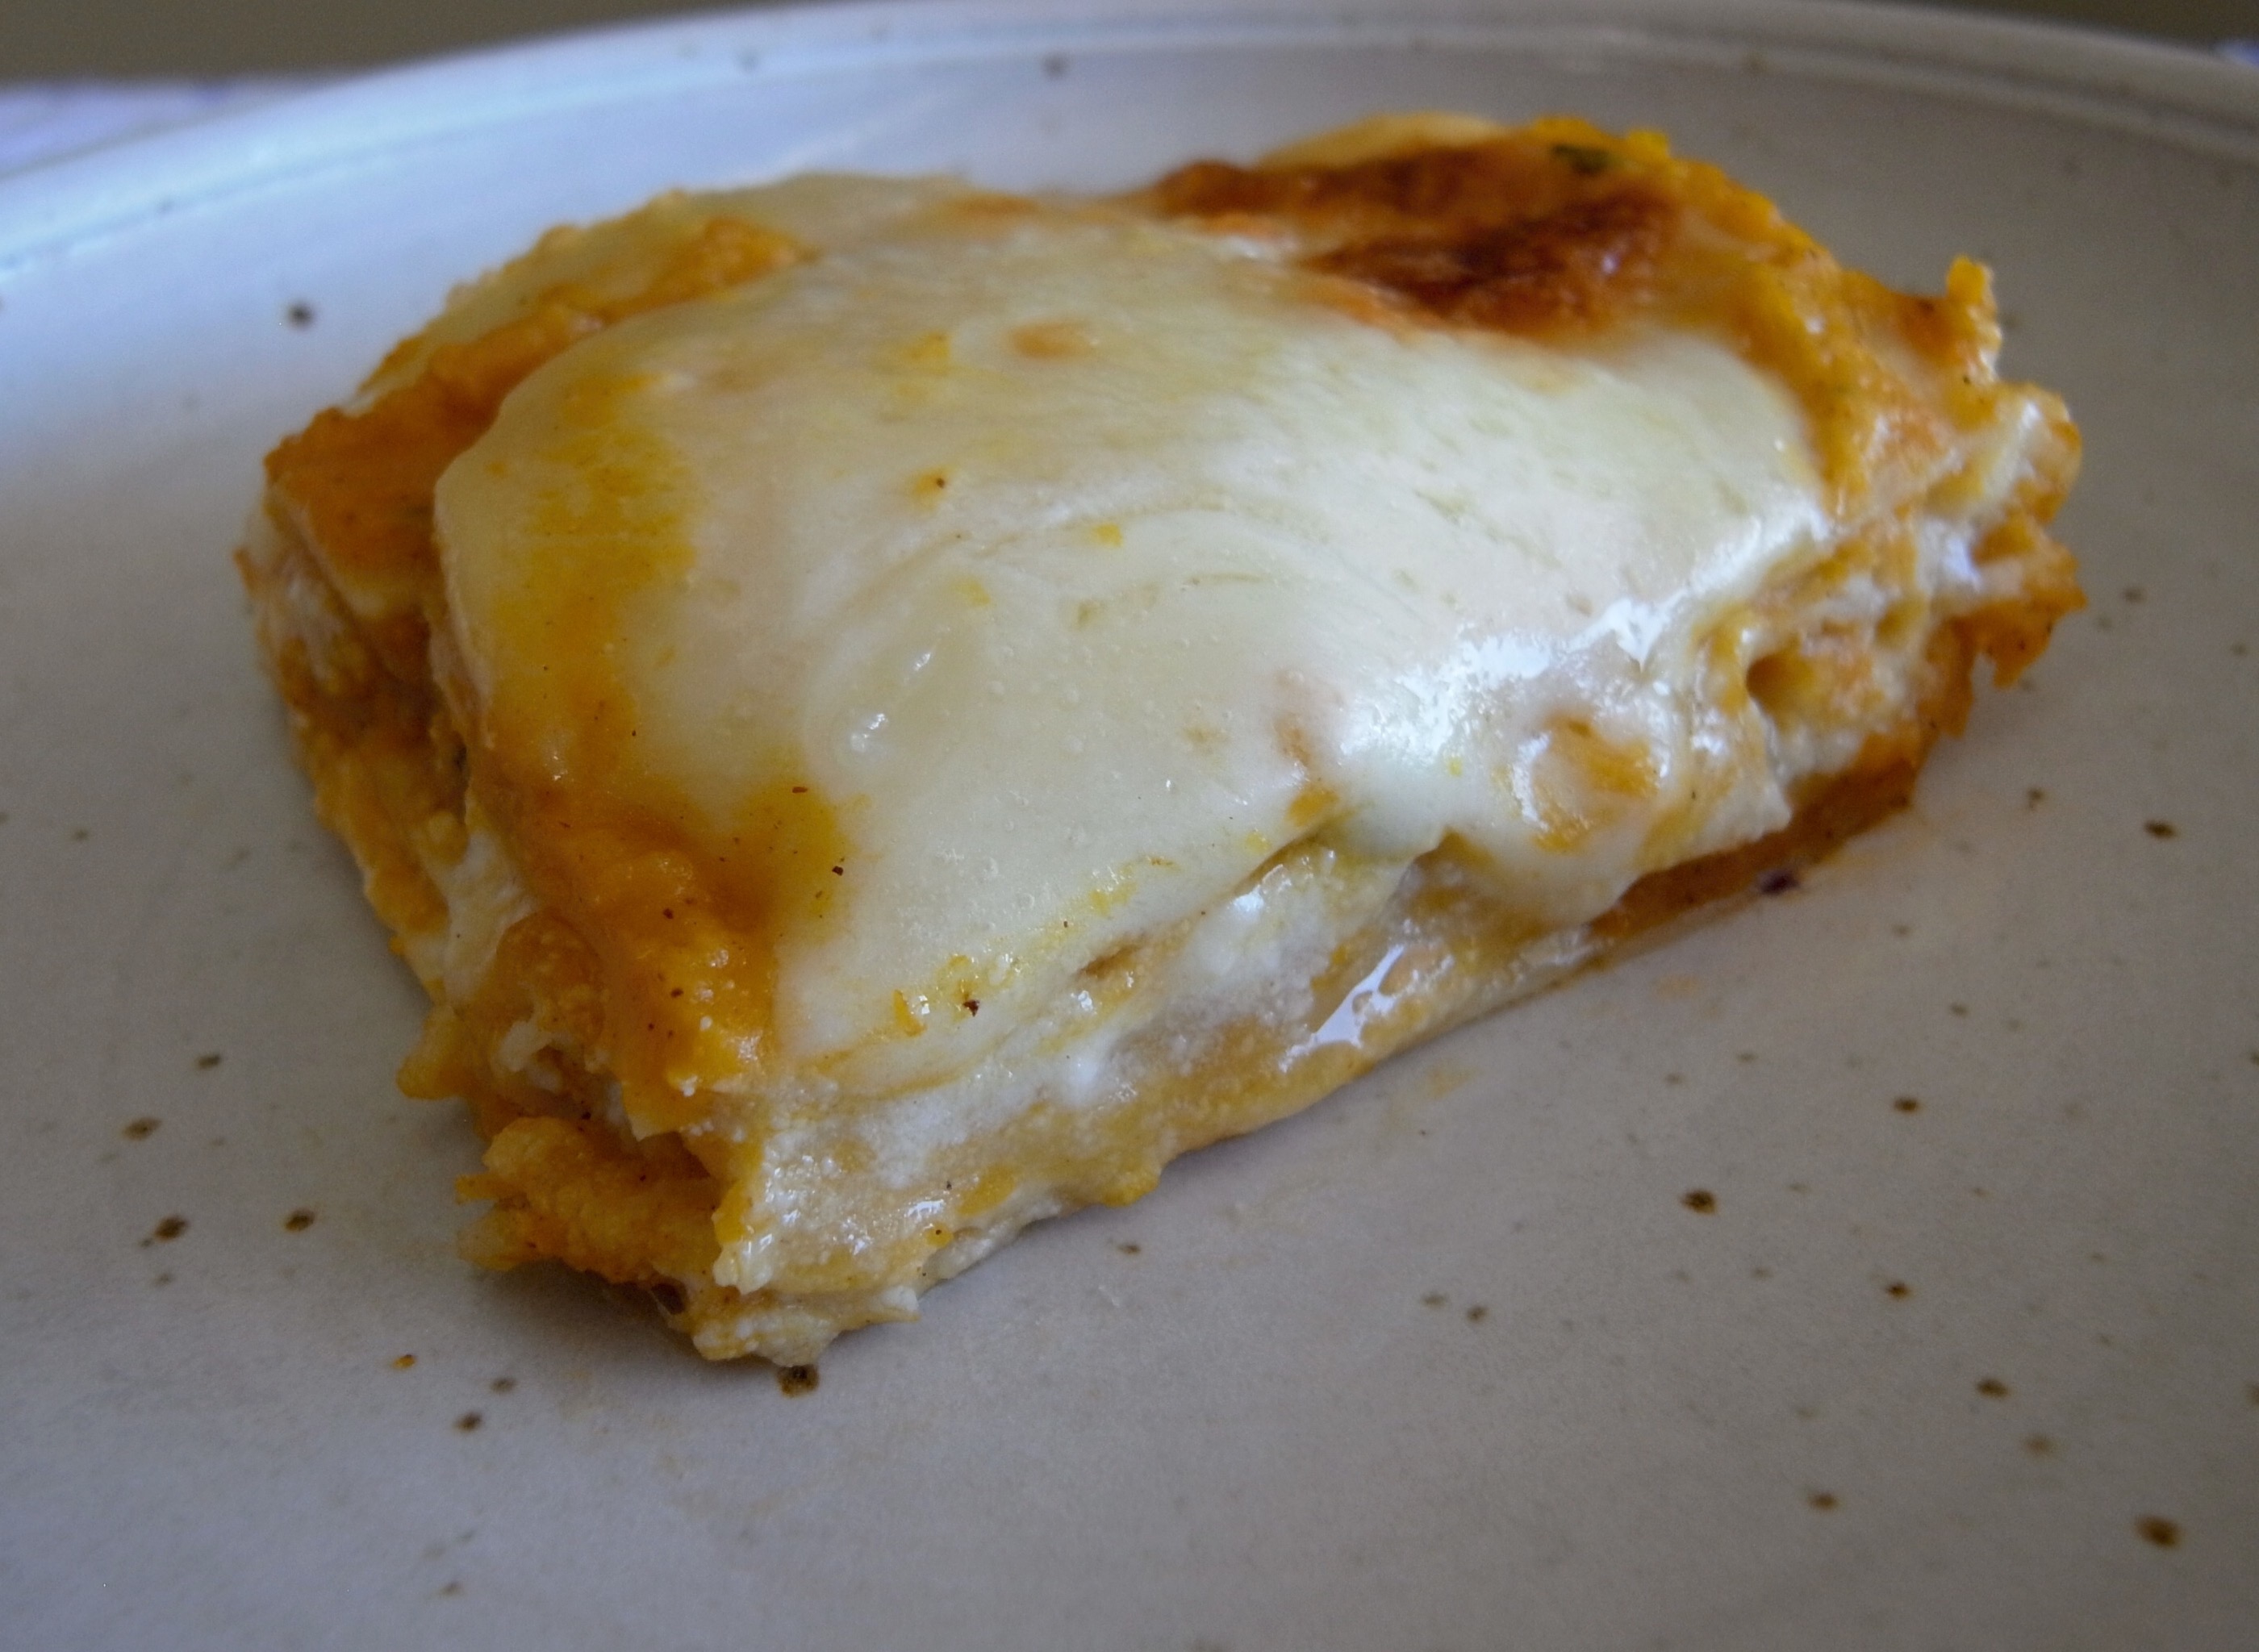
Both taste far better than these picture portray – I promise!