Autumn in New Mexico Means…

Balloon Fiesta! Or at least it typically starts to feel like fall once the festival starts. It’s been averaging 90 degrees as a high throughout September and now that the first weekend of October is here (which is also the start of Balloon Fiesta each year) the temperature dropped to feelng very much like fall. Beautiful crisp mornings and a slight chill in the evenings. I love fall and everything it brings with it. 

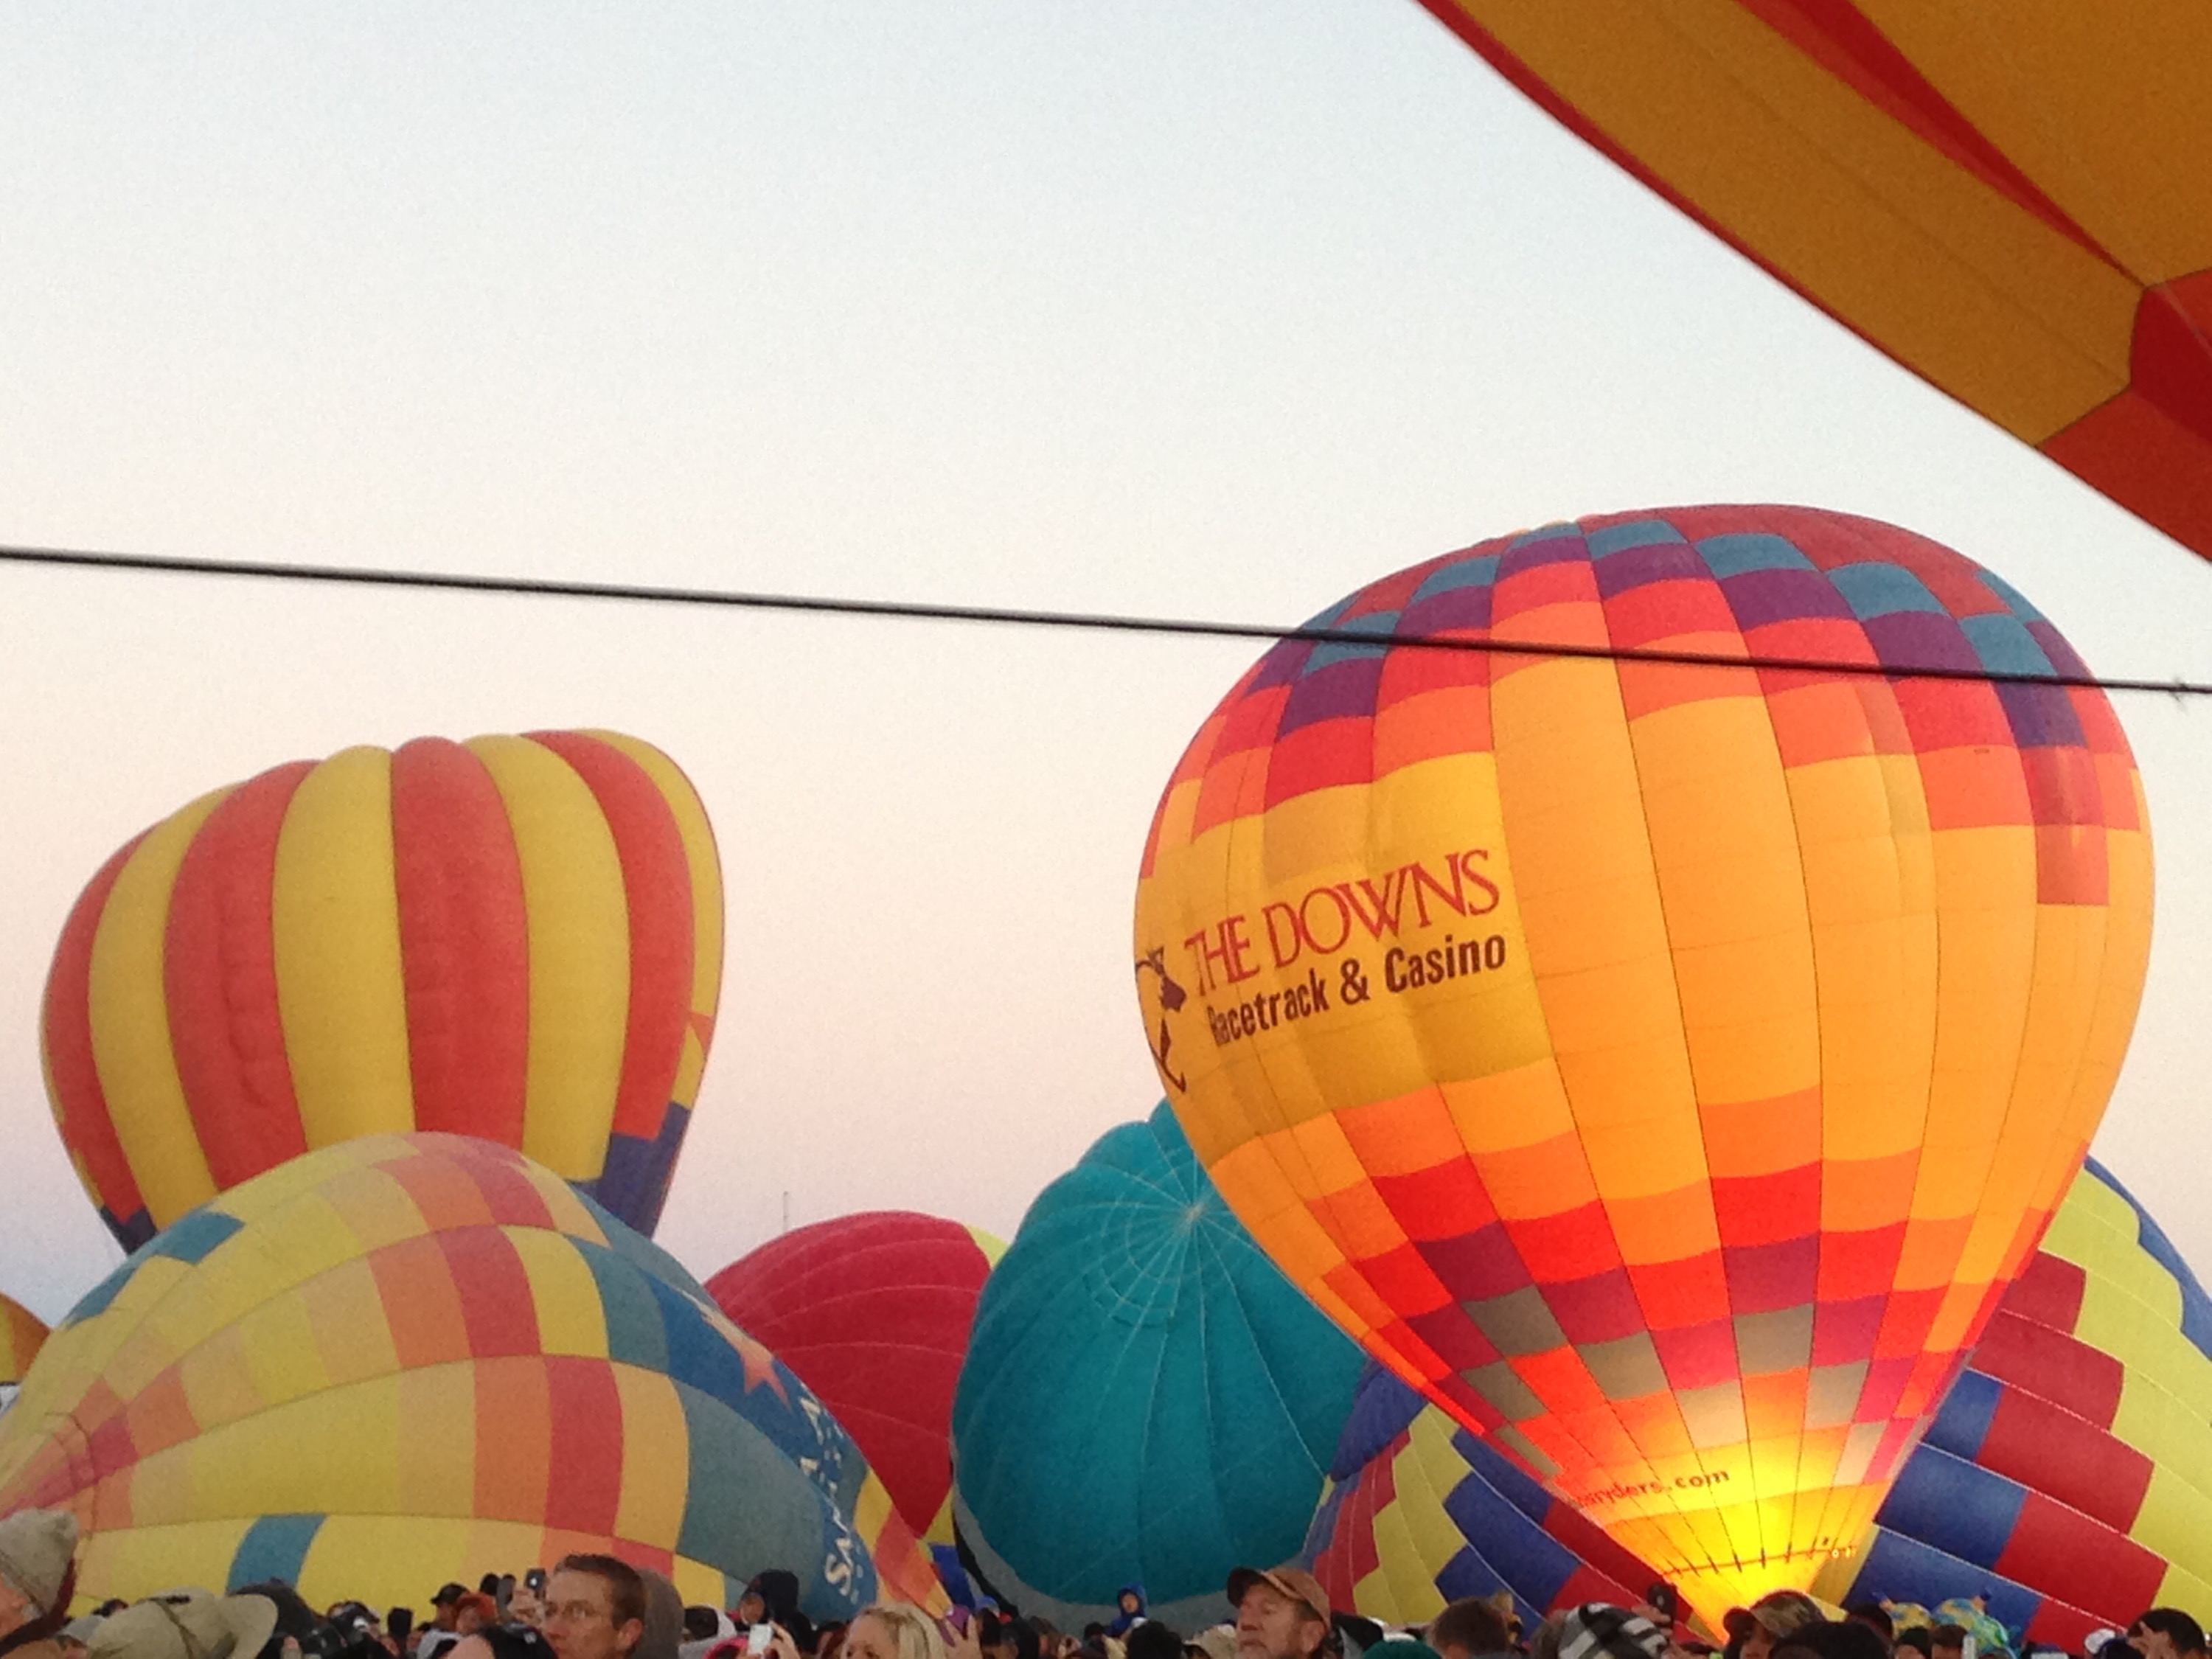
October is a busy month in the wellness world, so I missed posting a recipes last week because I was in Taos for work. It’s beautiful there, everyone should probably visit there at least once in a lifetime. I’m planning to make some pumpkin lasagna at the end of the week, so you’ll have that receip next week. For today, I’m just going to show you how beautiful balloon fiesta in Albuquerque is and do a quck recap of some family visiting in September. 


I didn’t go this year yet – maybe next weekend if there’s time, so these photos are from the 2013 year. 

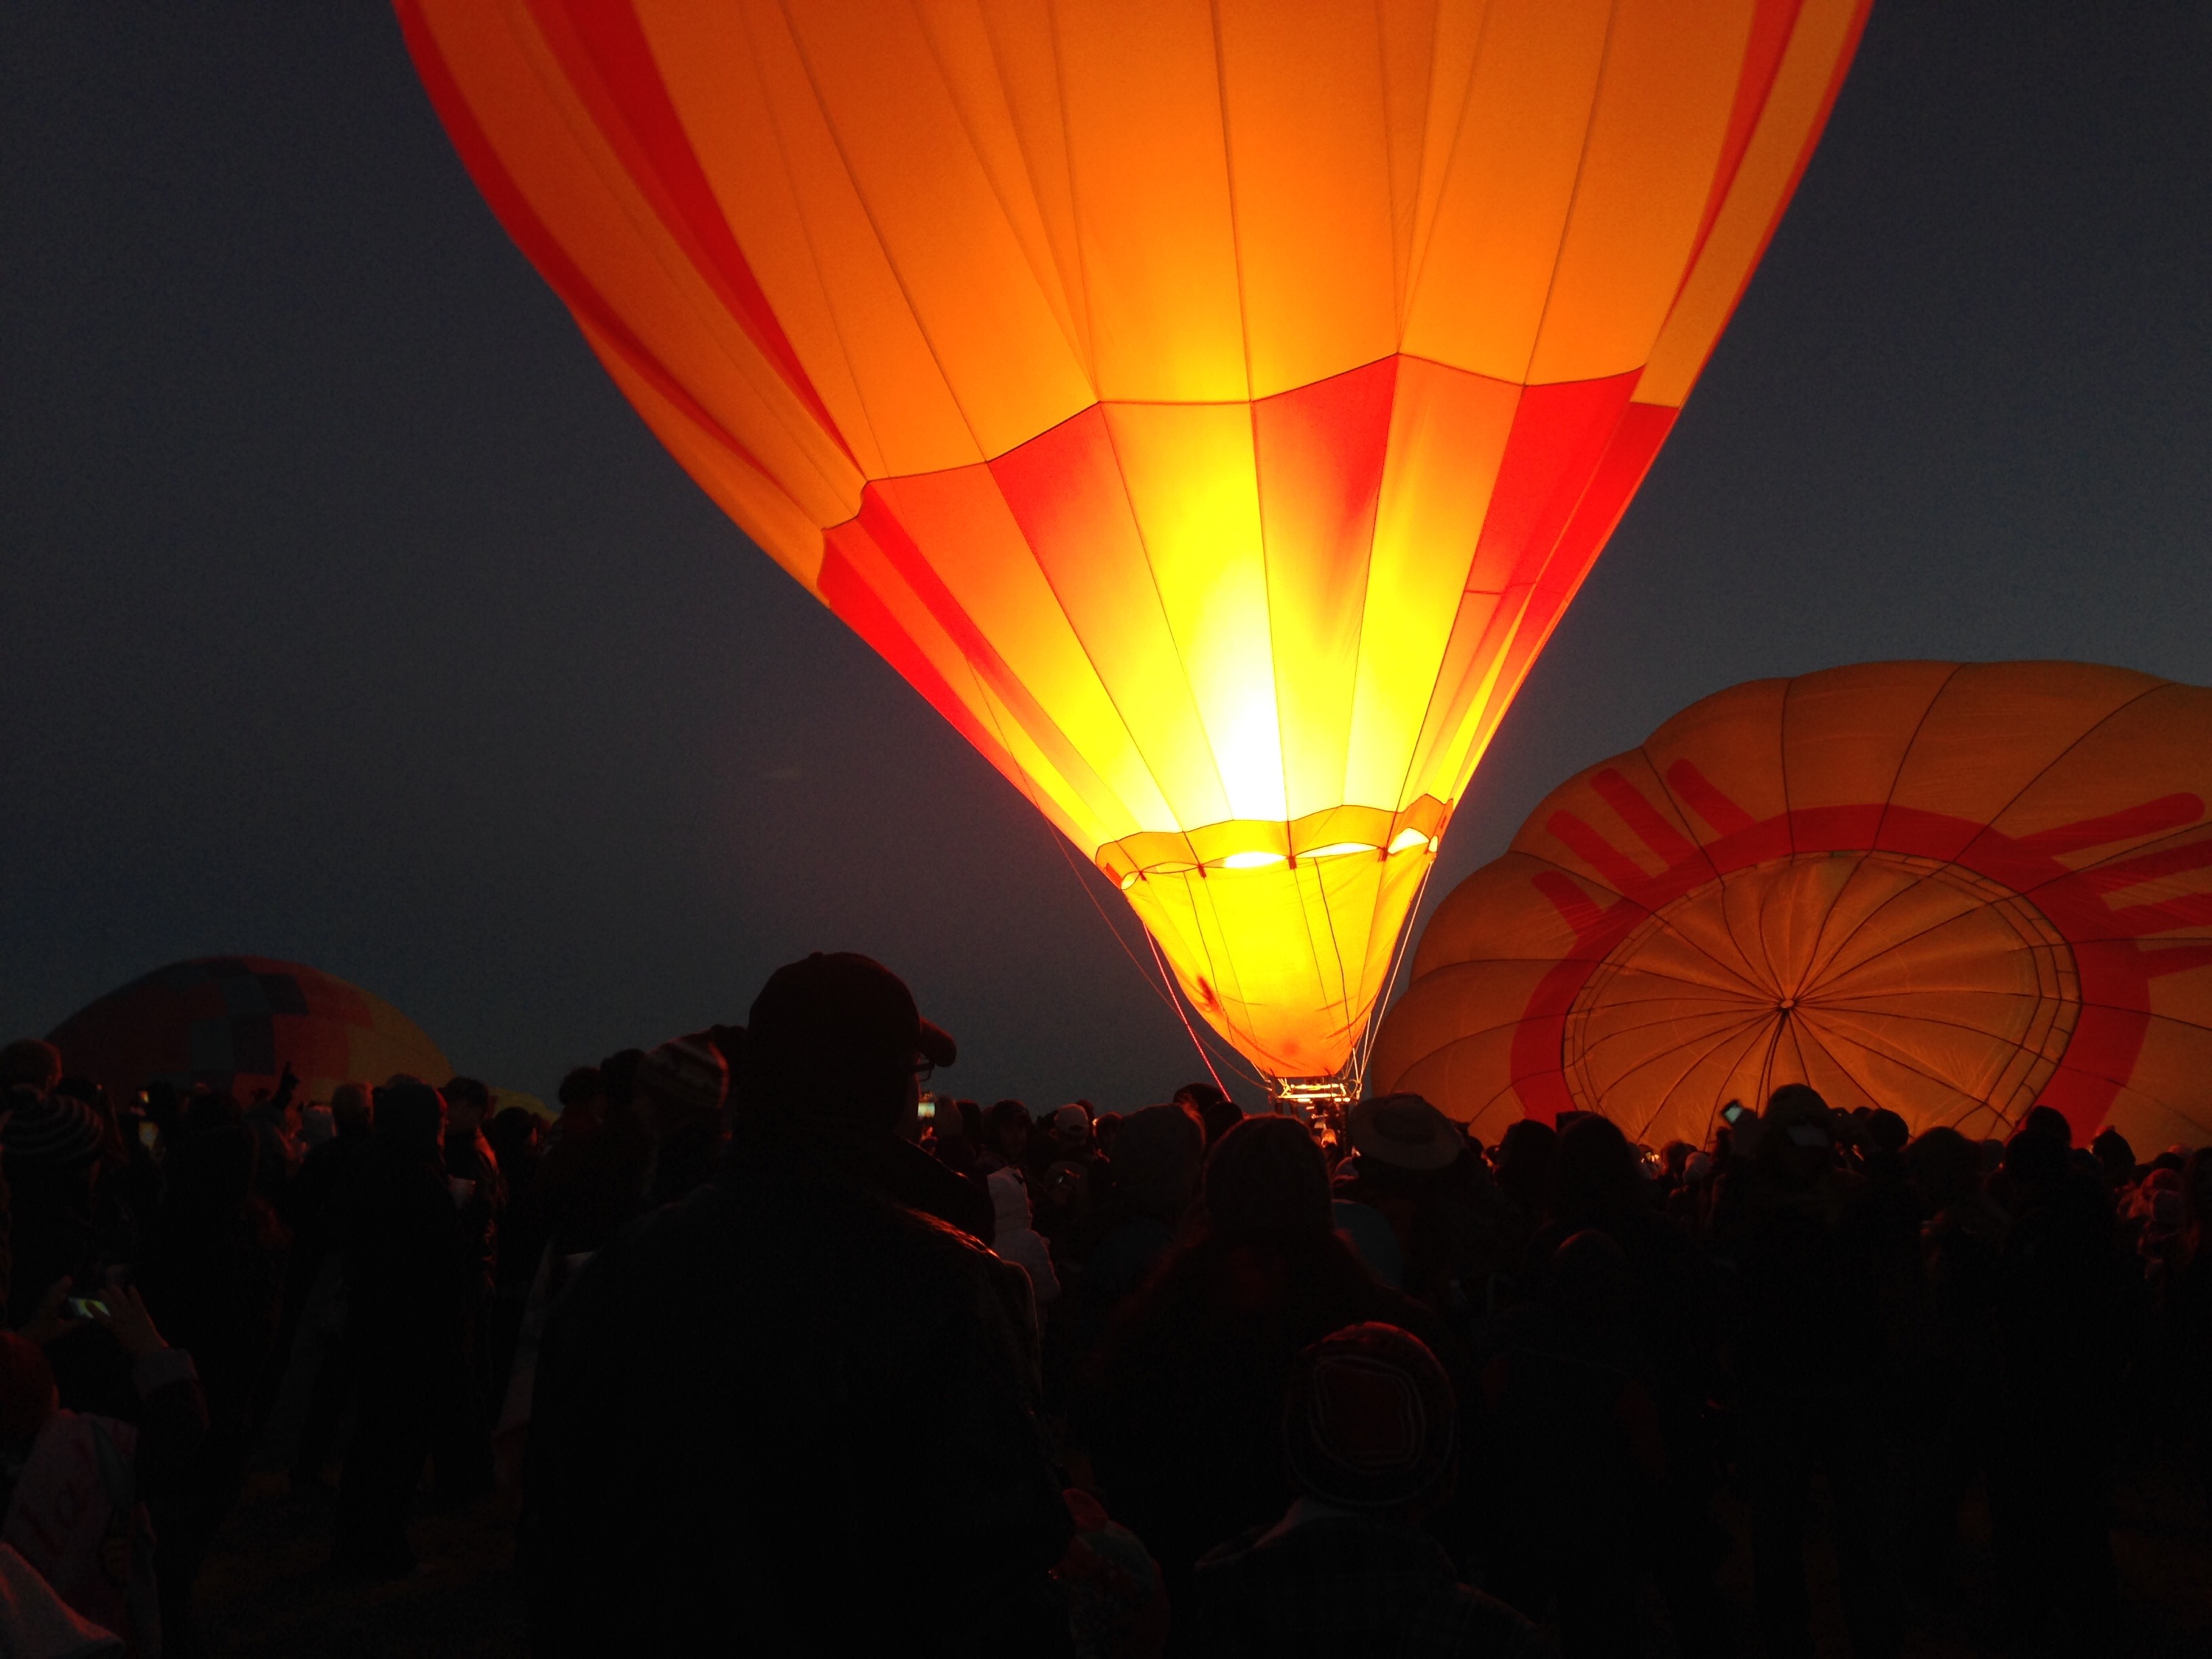
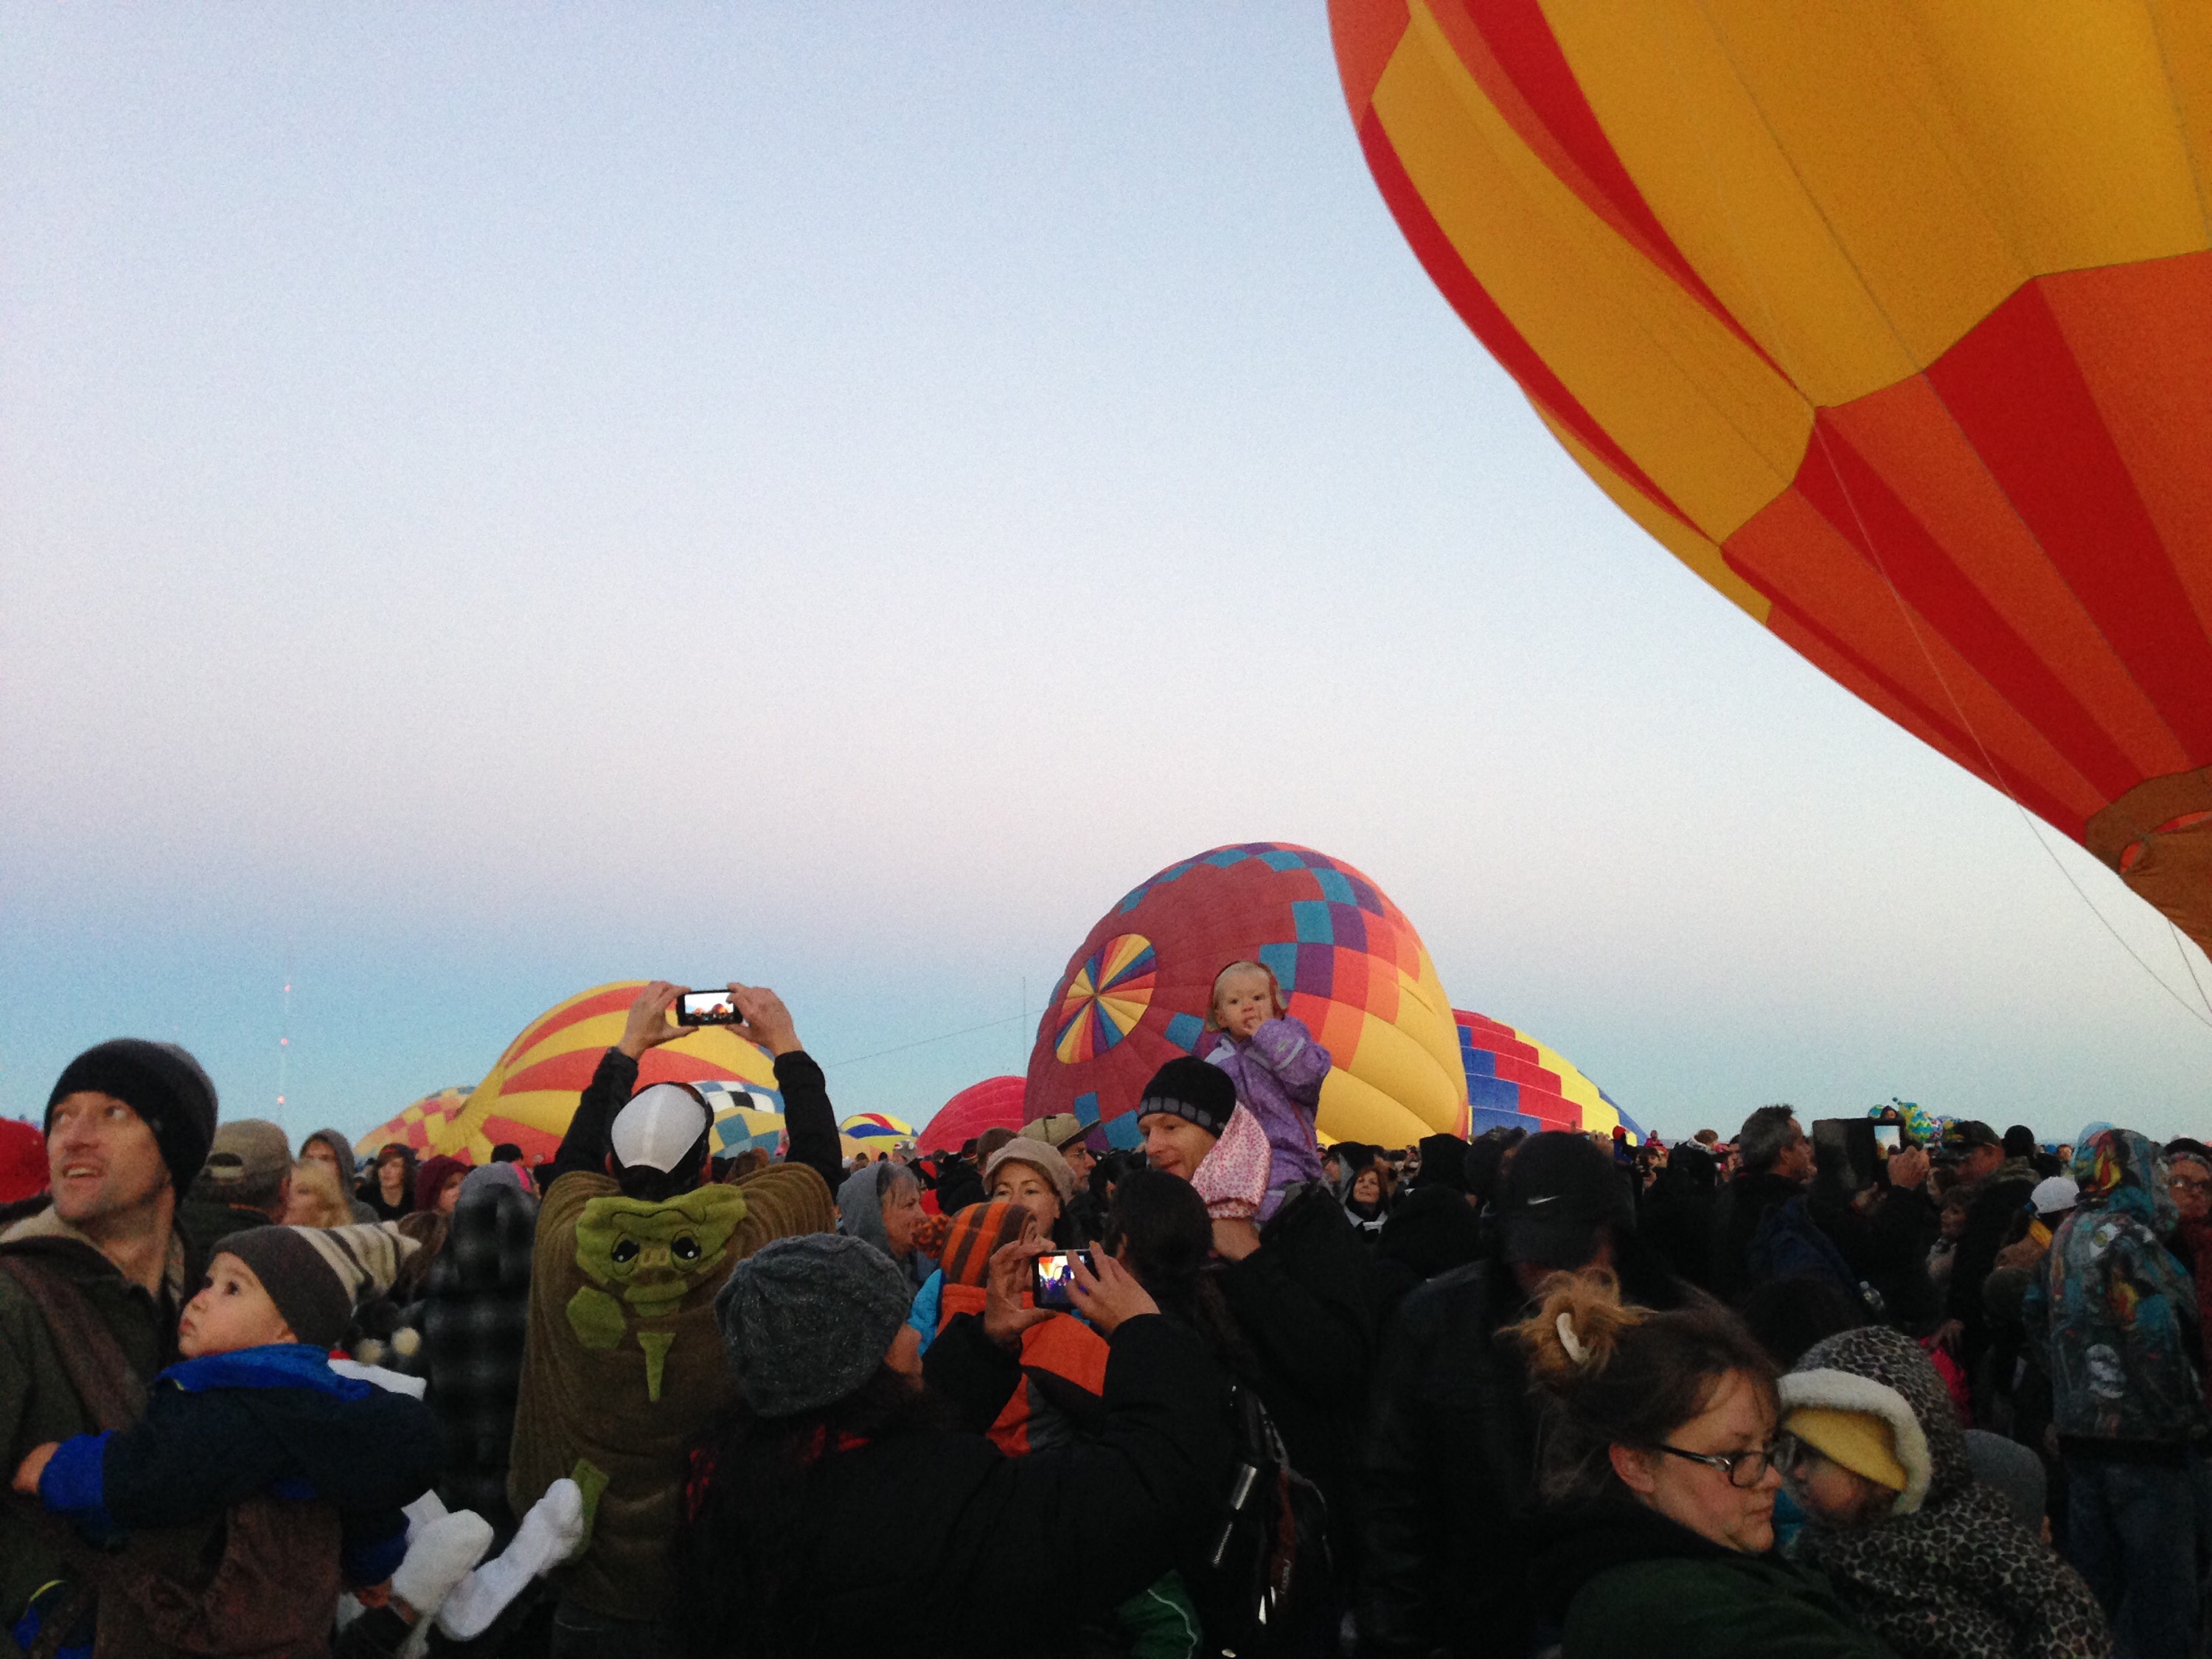
 Lots and lots of people all bundled up. 
  
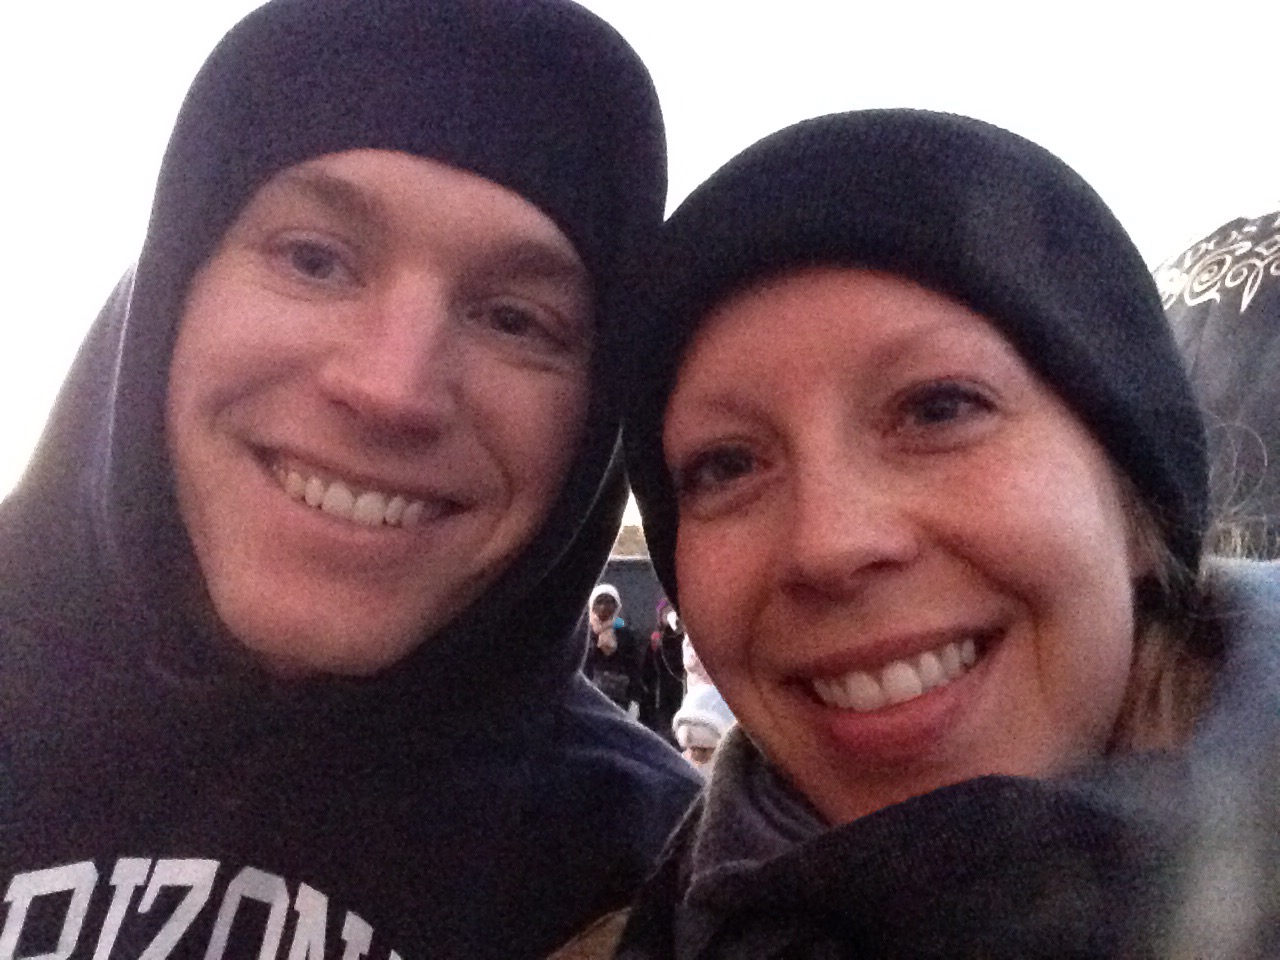
  It’s pretty freaking ccold down on the field in the morning.  
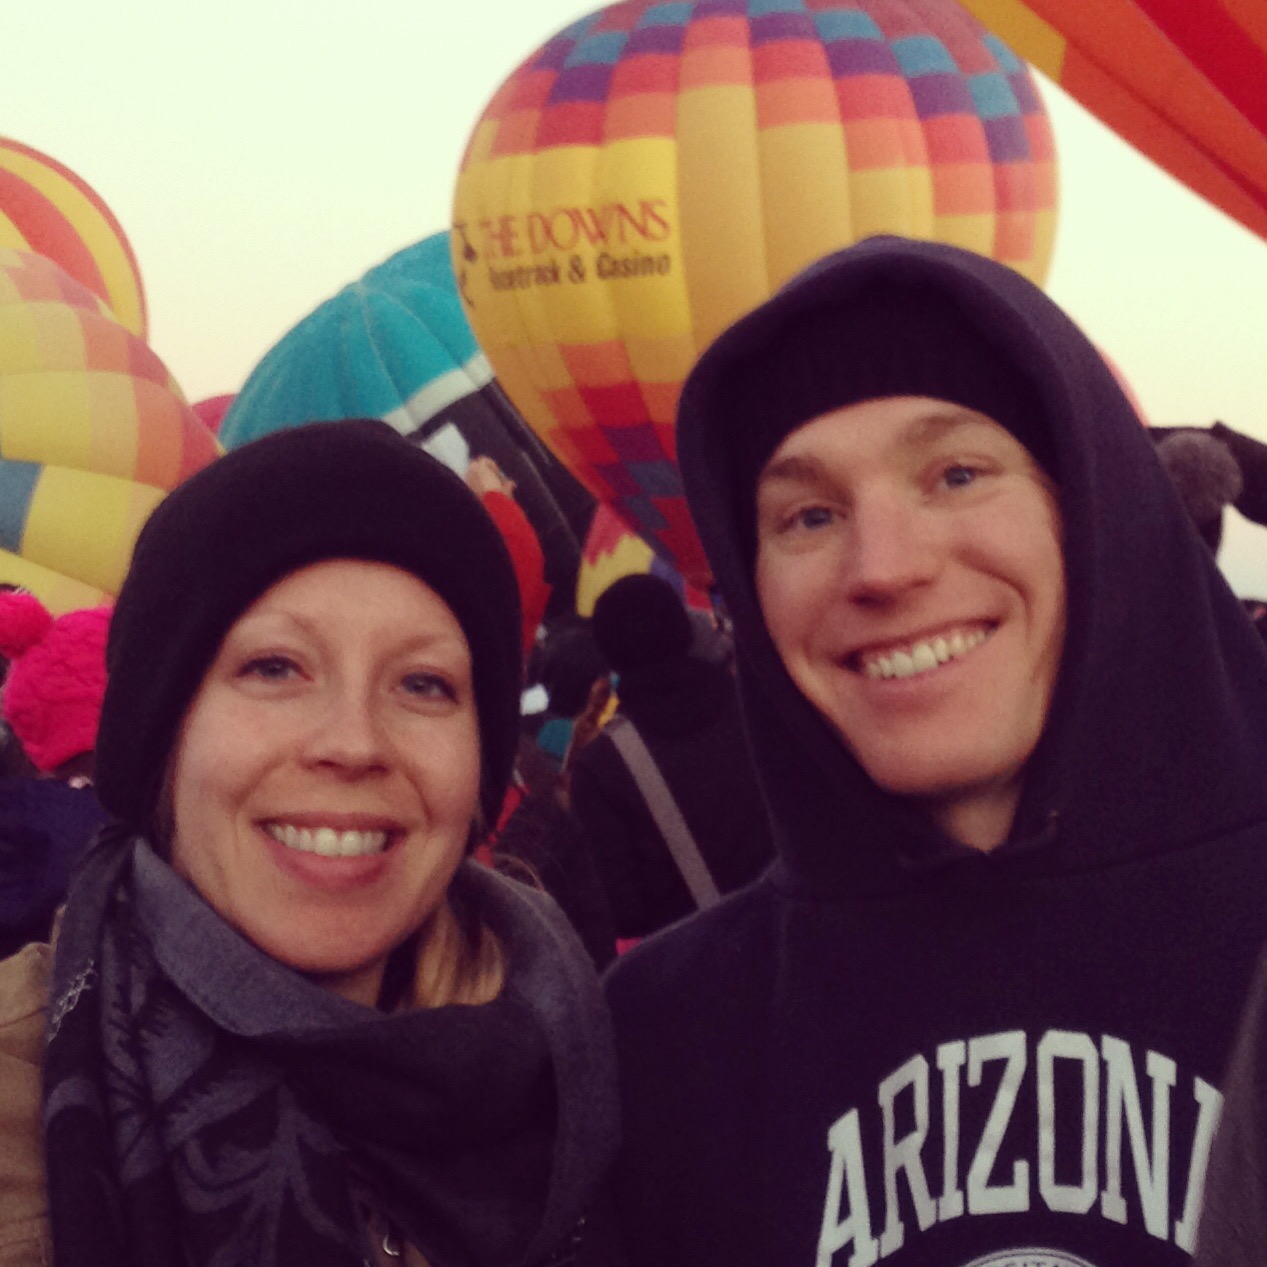
And I almost forgot! Autumn also means my little nephew’s birthday! My sister and bro-in-law came to visit Albuquerque in September. The litte one turns two very soon! This boy is the apple-of-my-eye. 

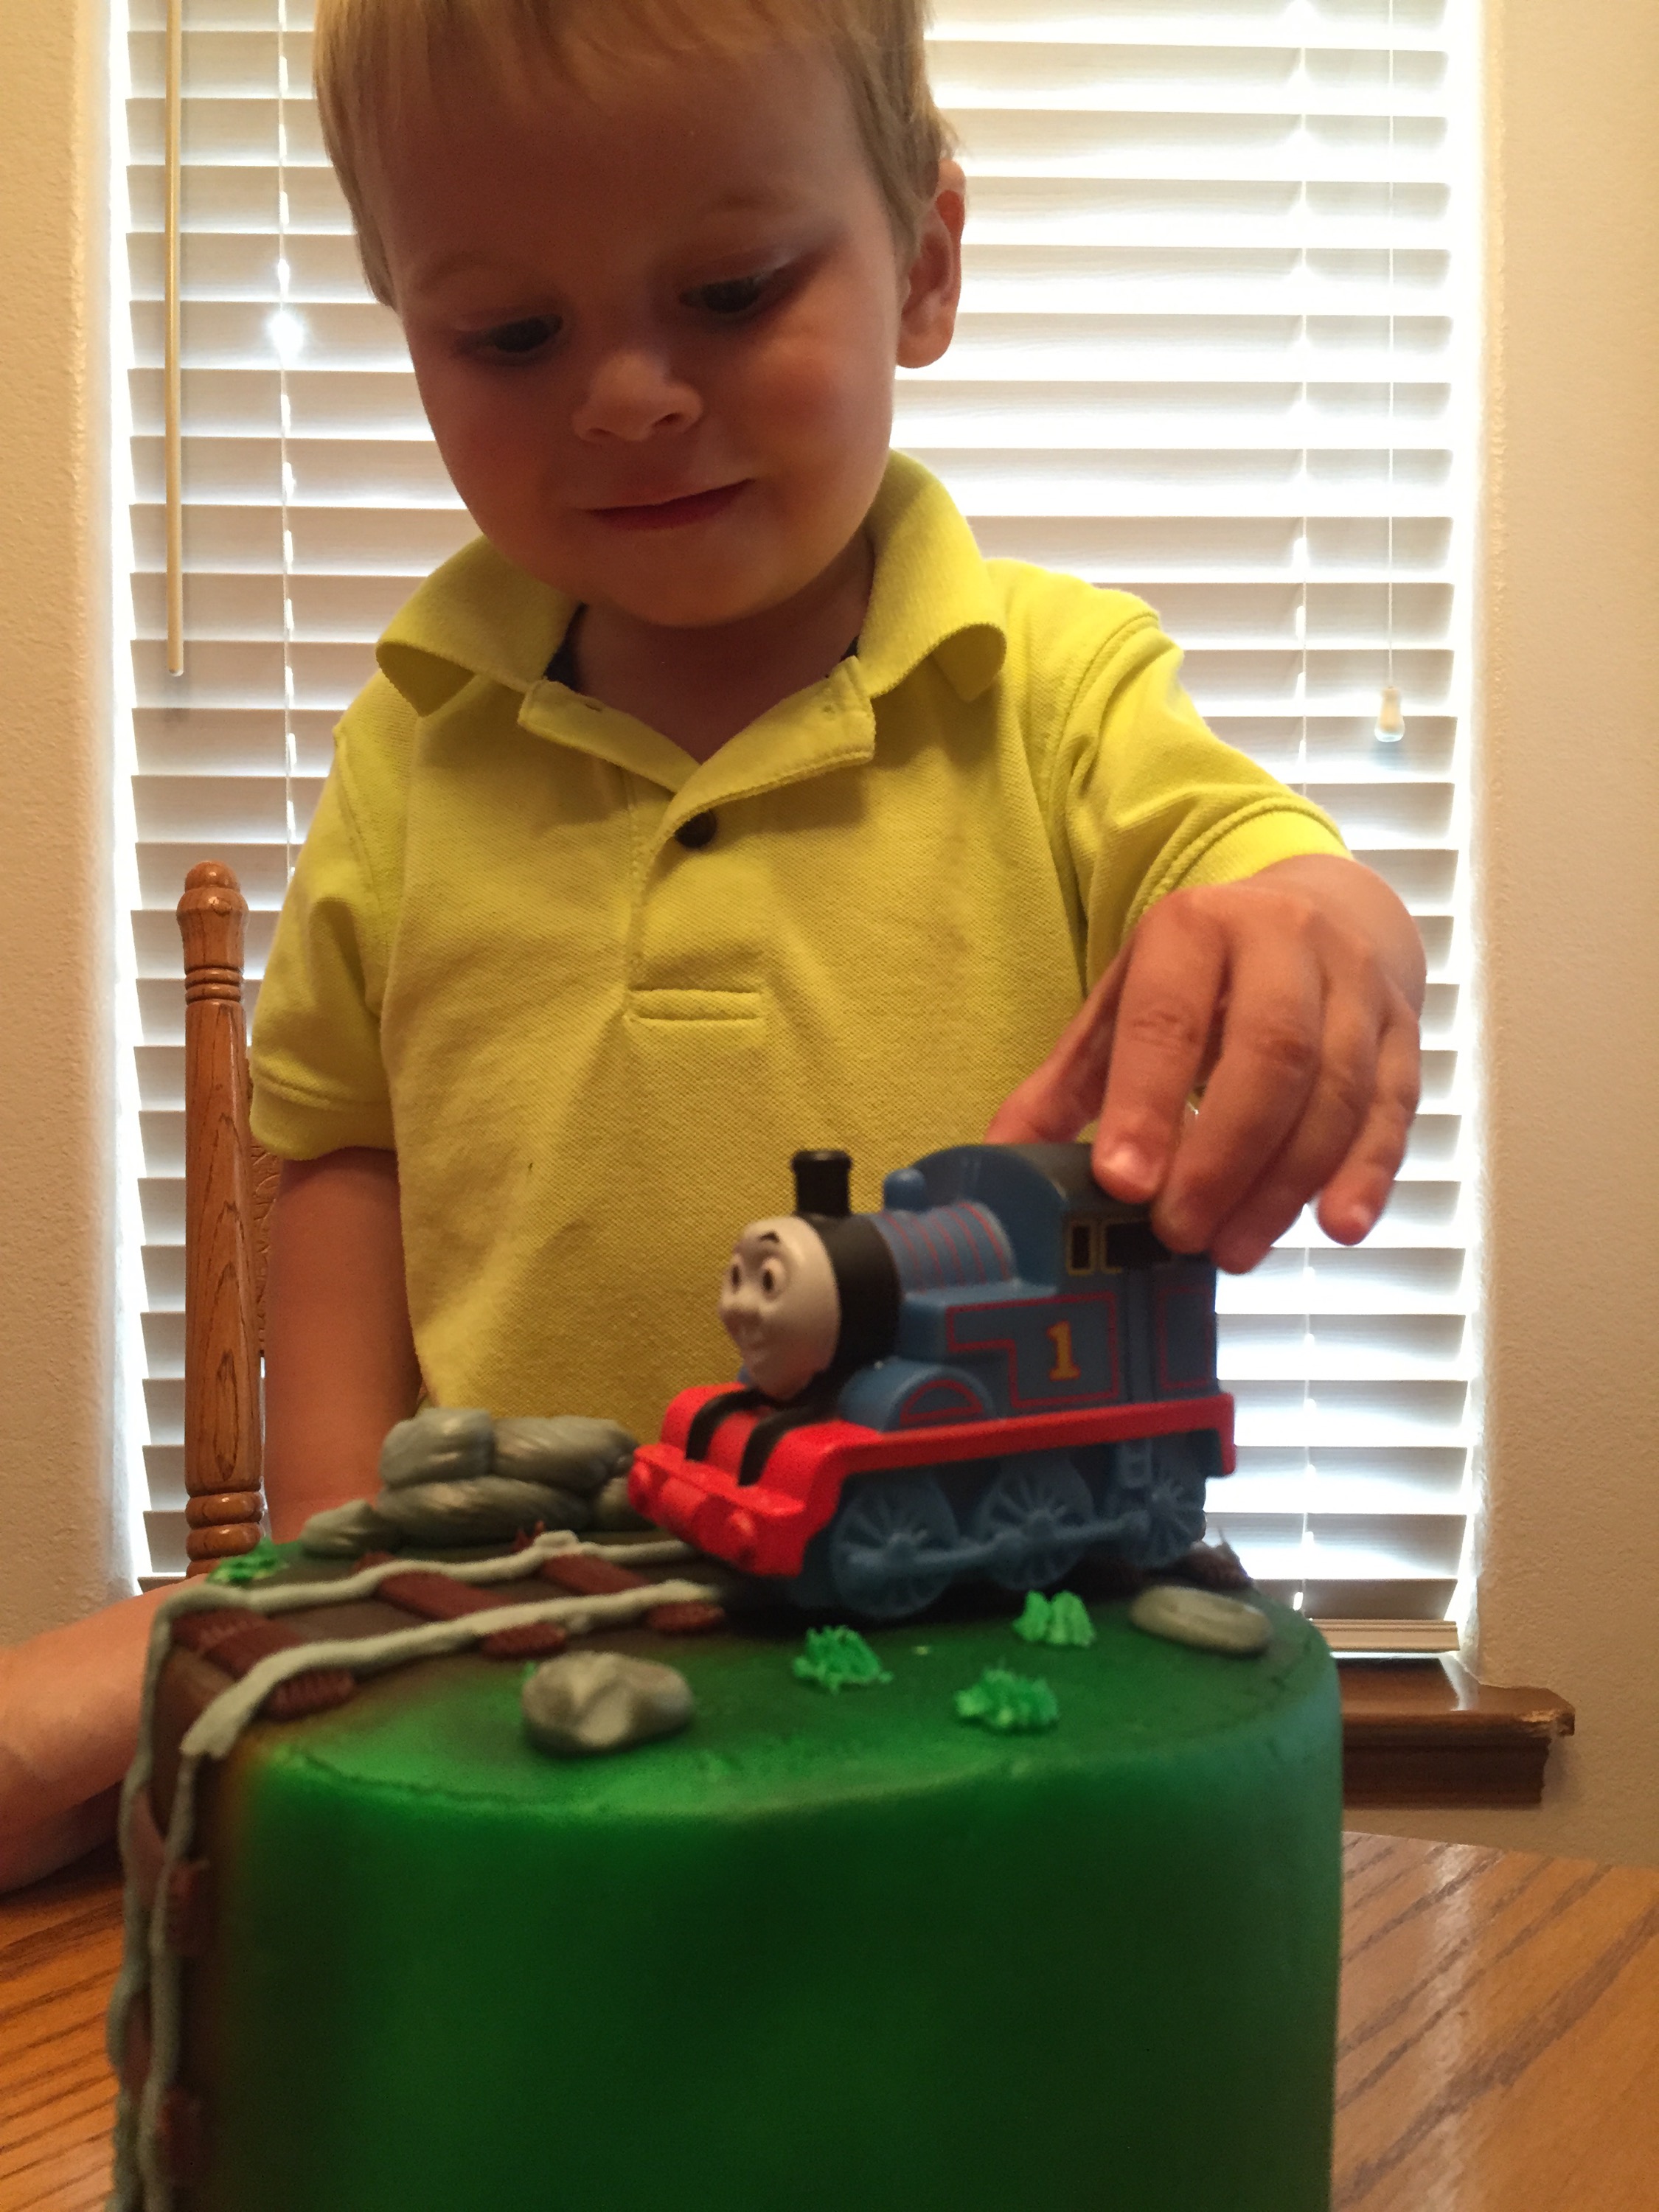
I got him a Thomas cake to celebrate because he loooooves Thomas. I think it was a hit. πŸ˜‰  
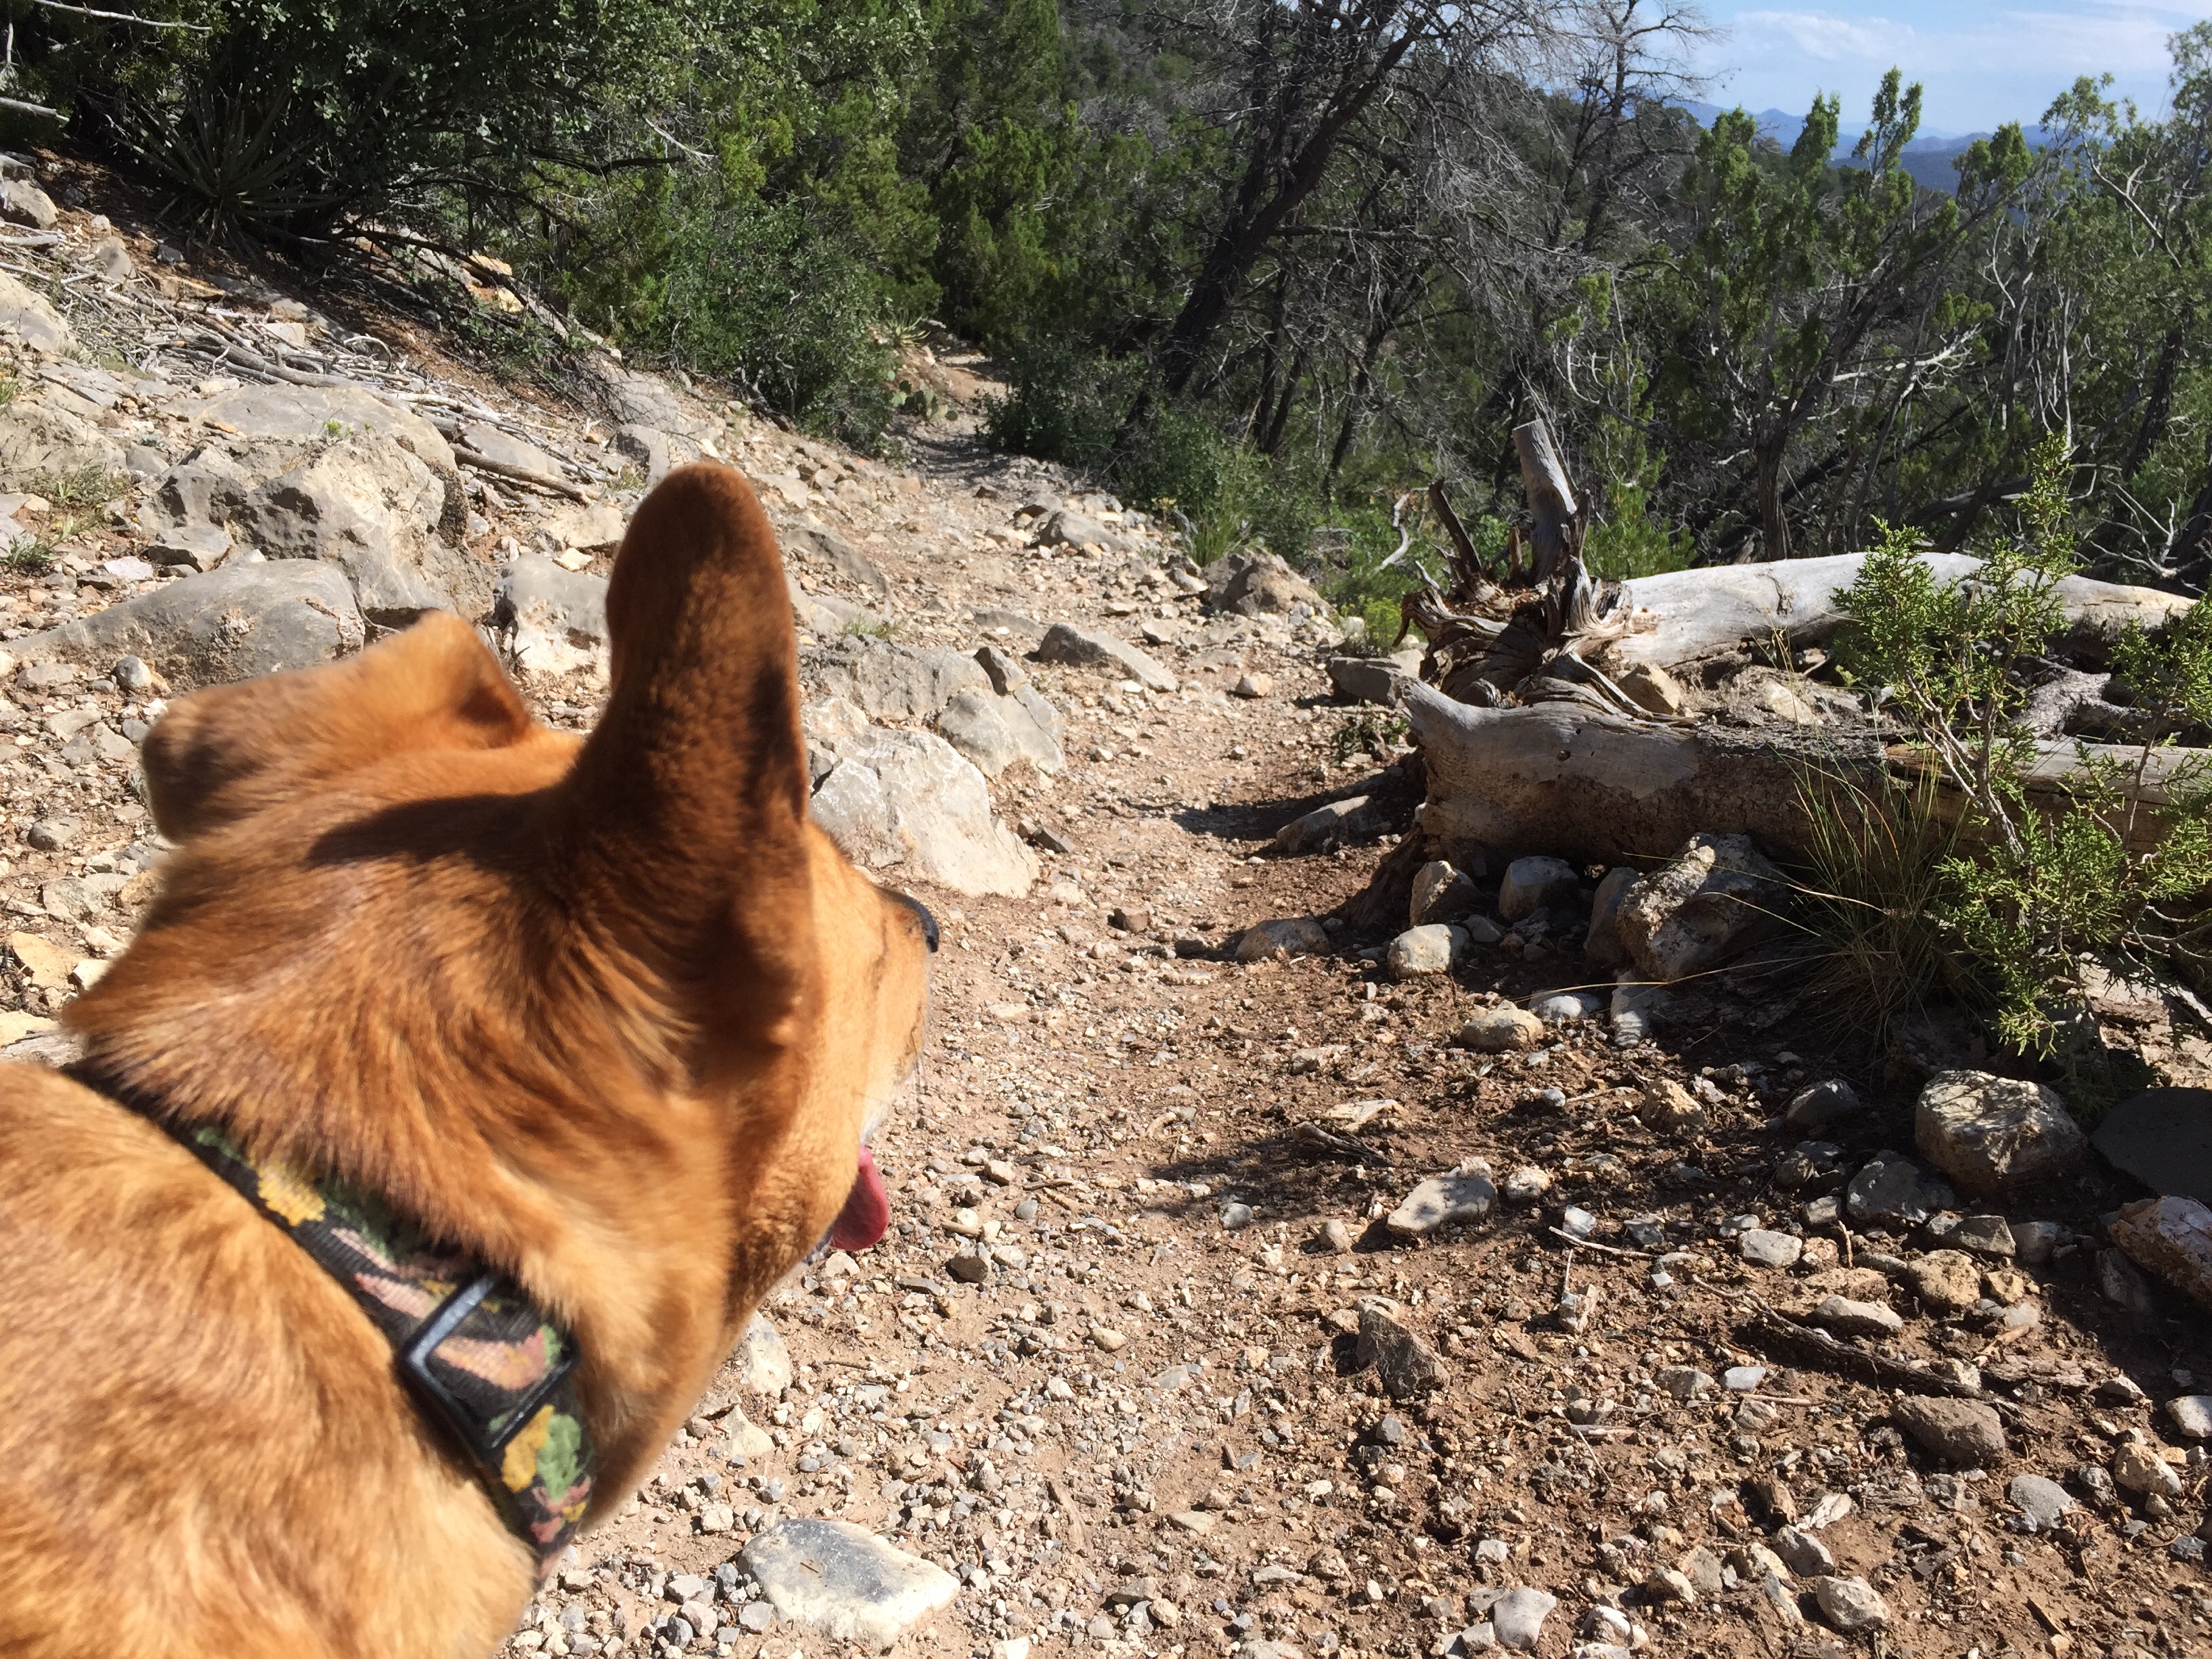
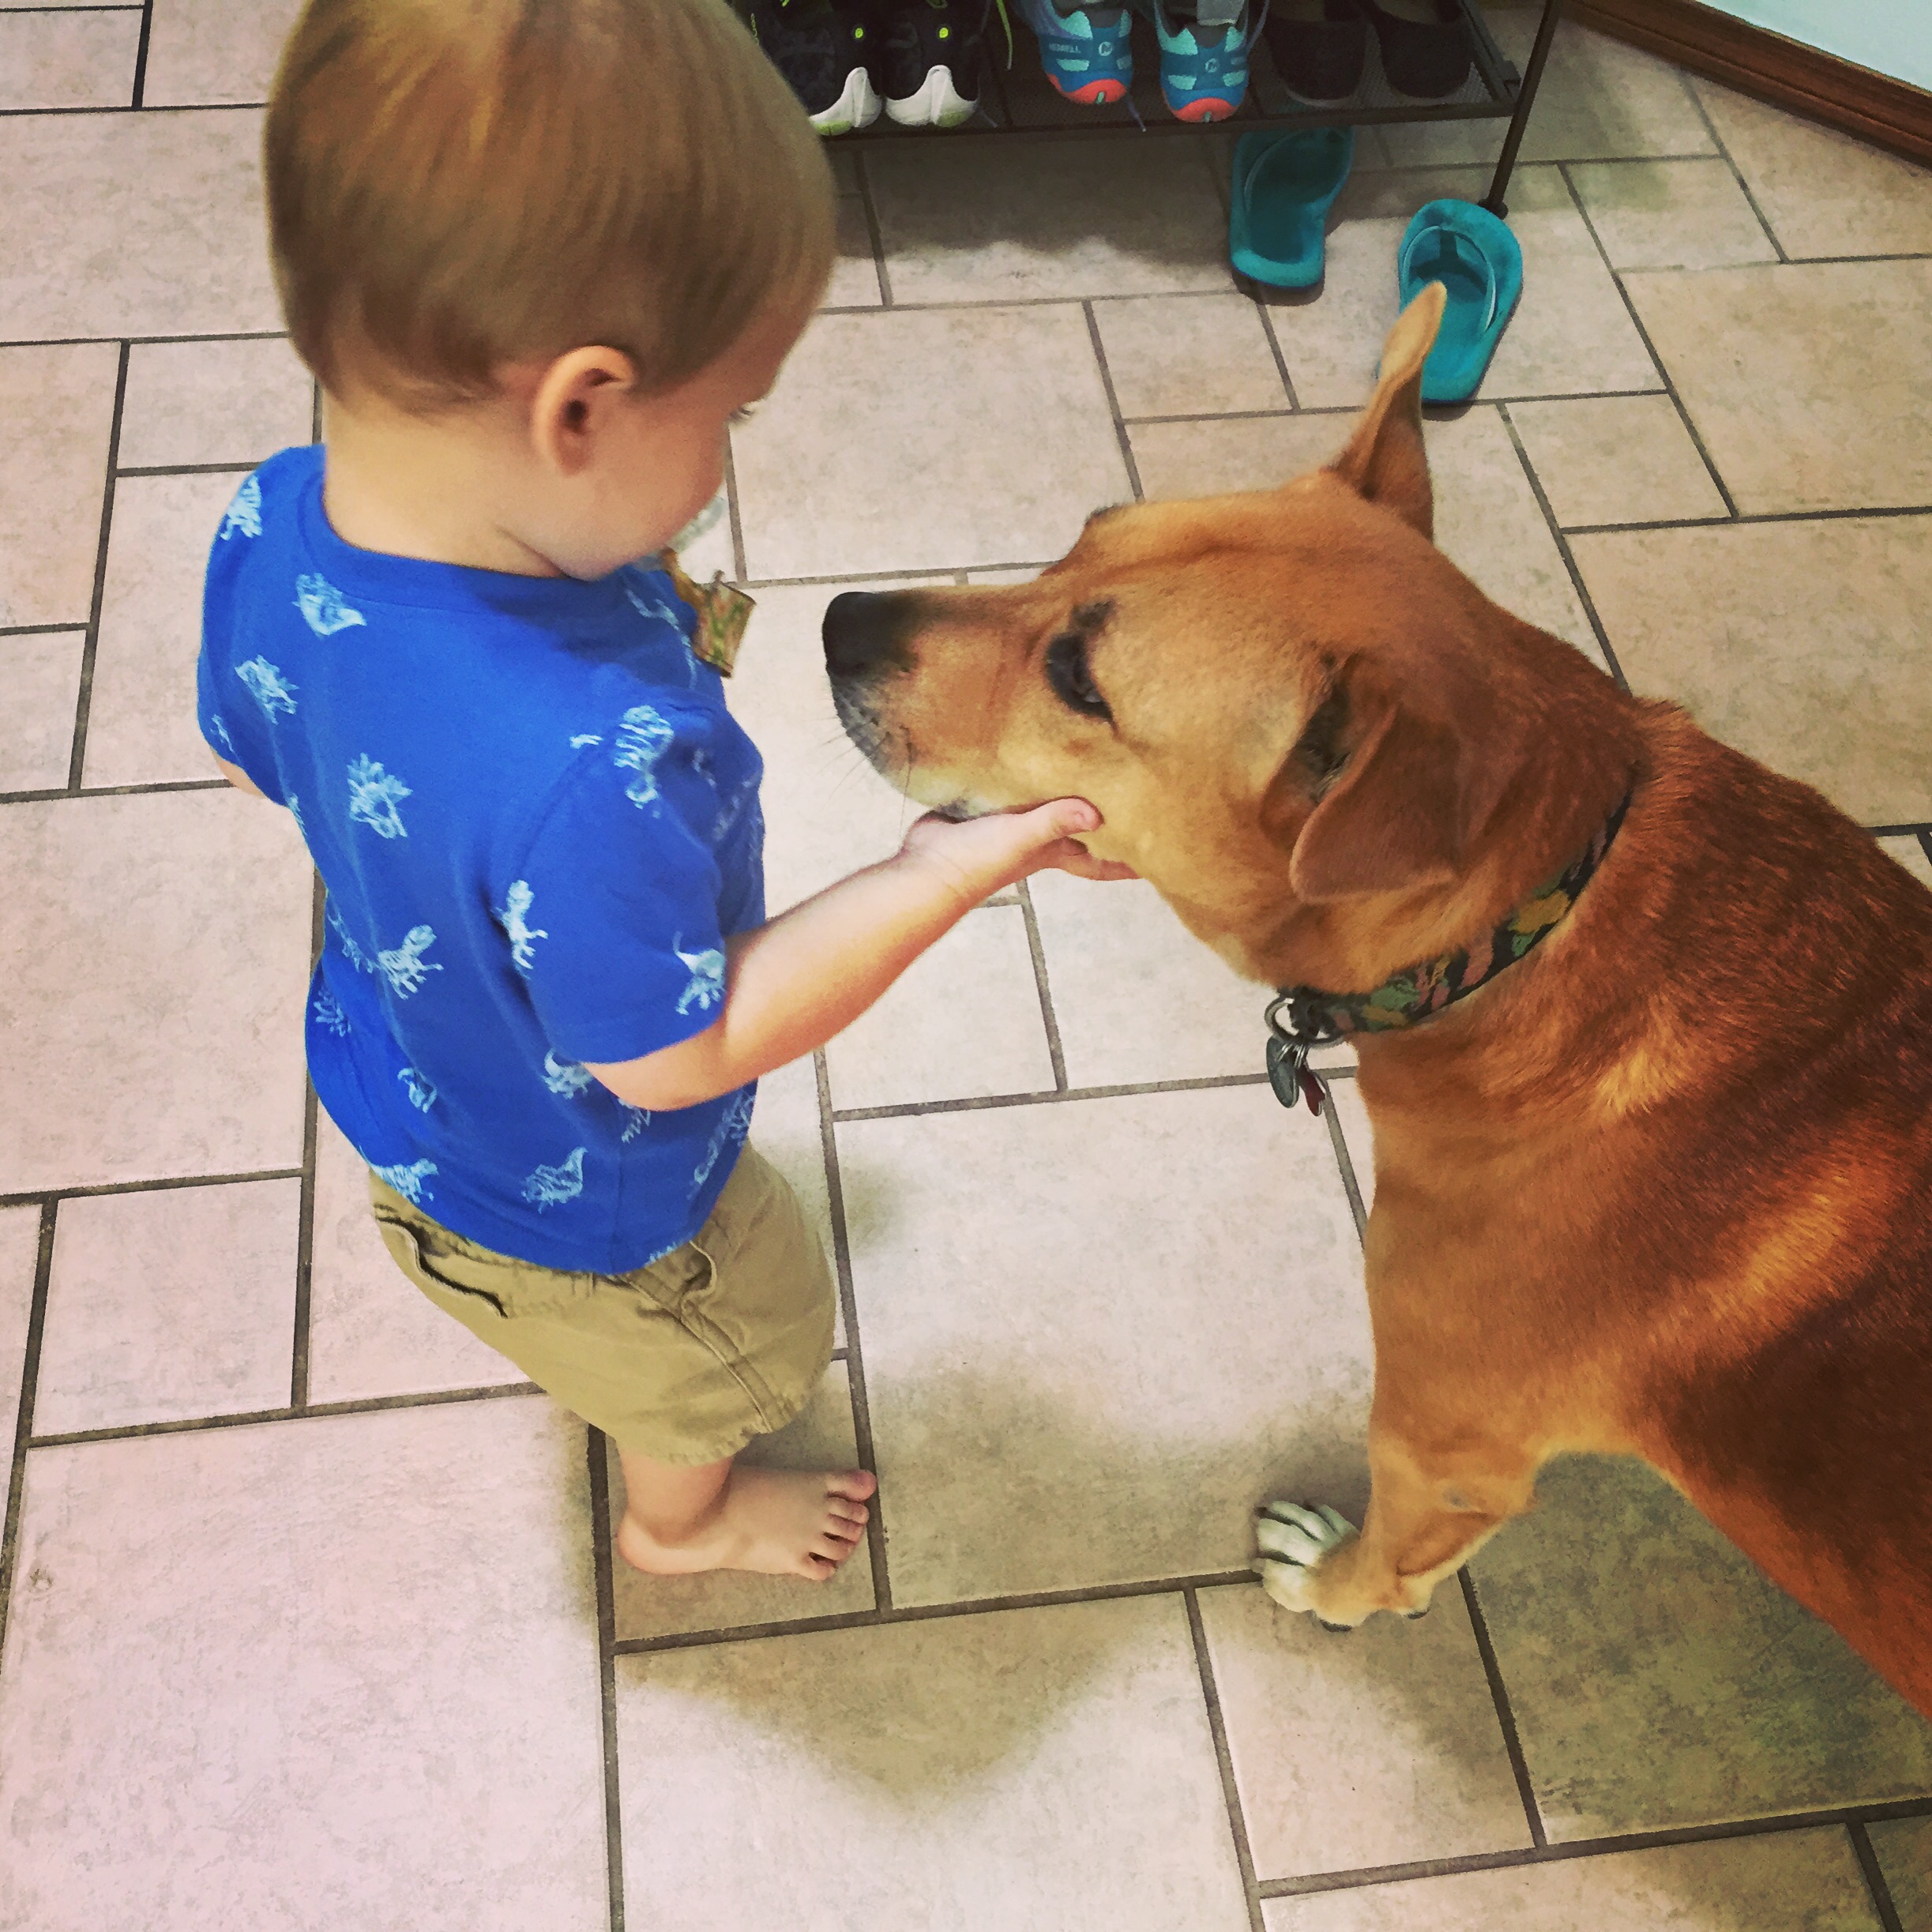
 He made friends with our fur child – Kate. He was so excited to see the “puppy” every morning. 
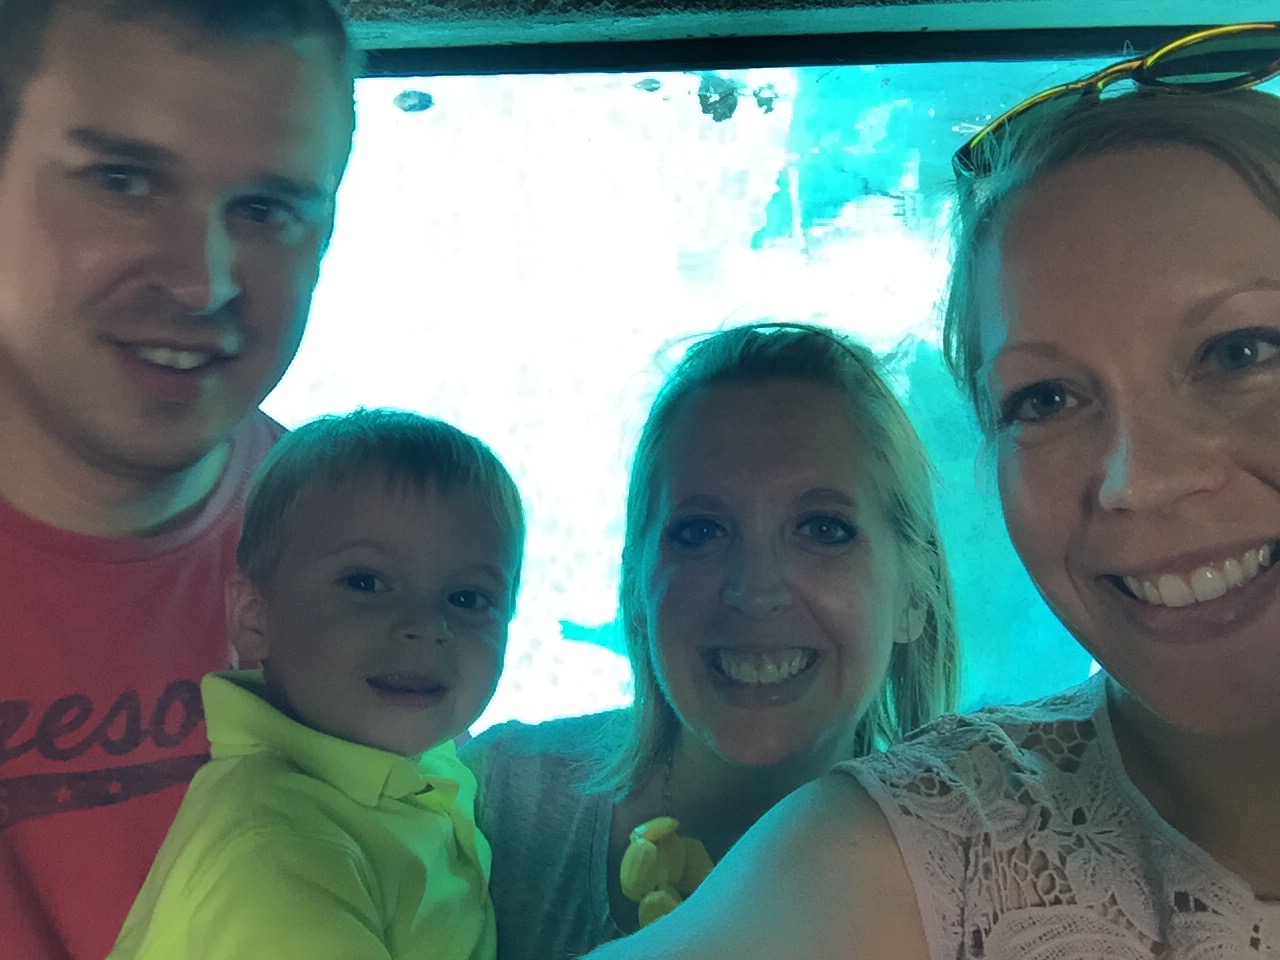
   
We went to the zoo. 

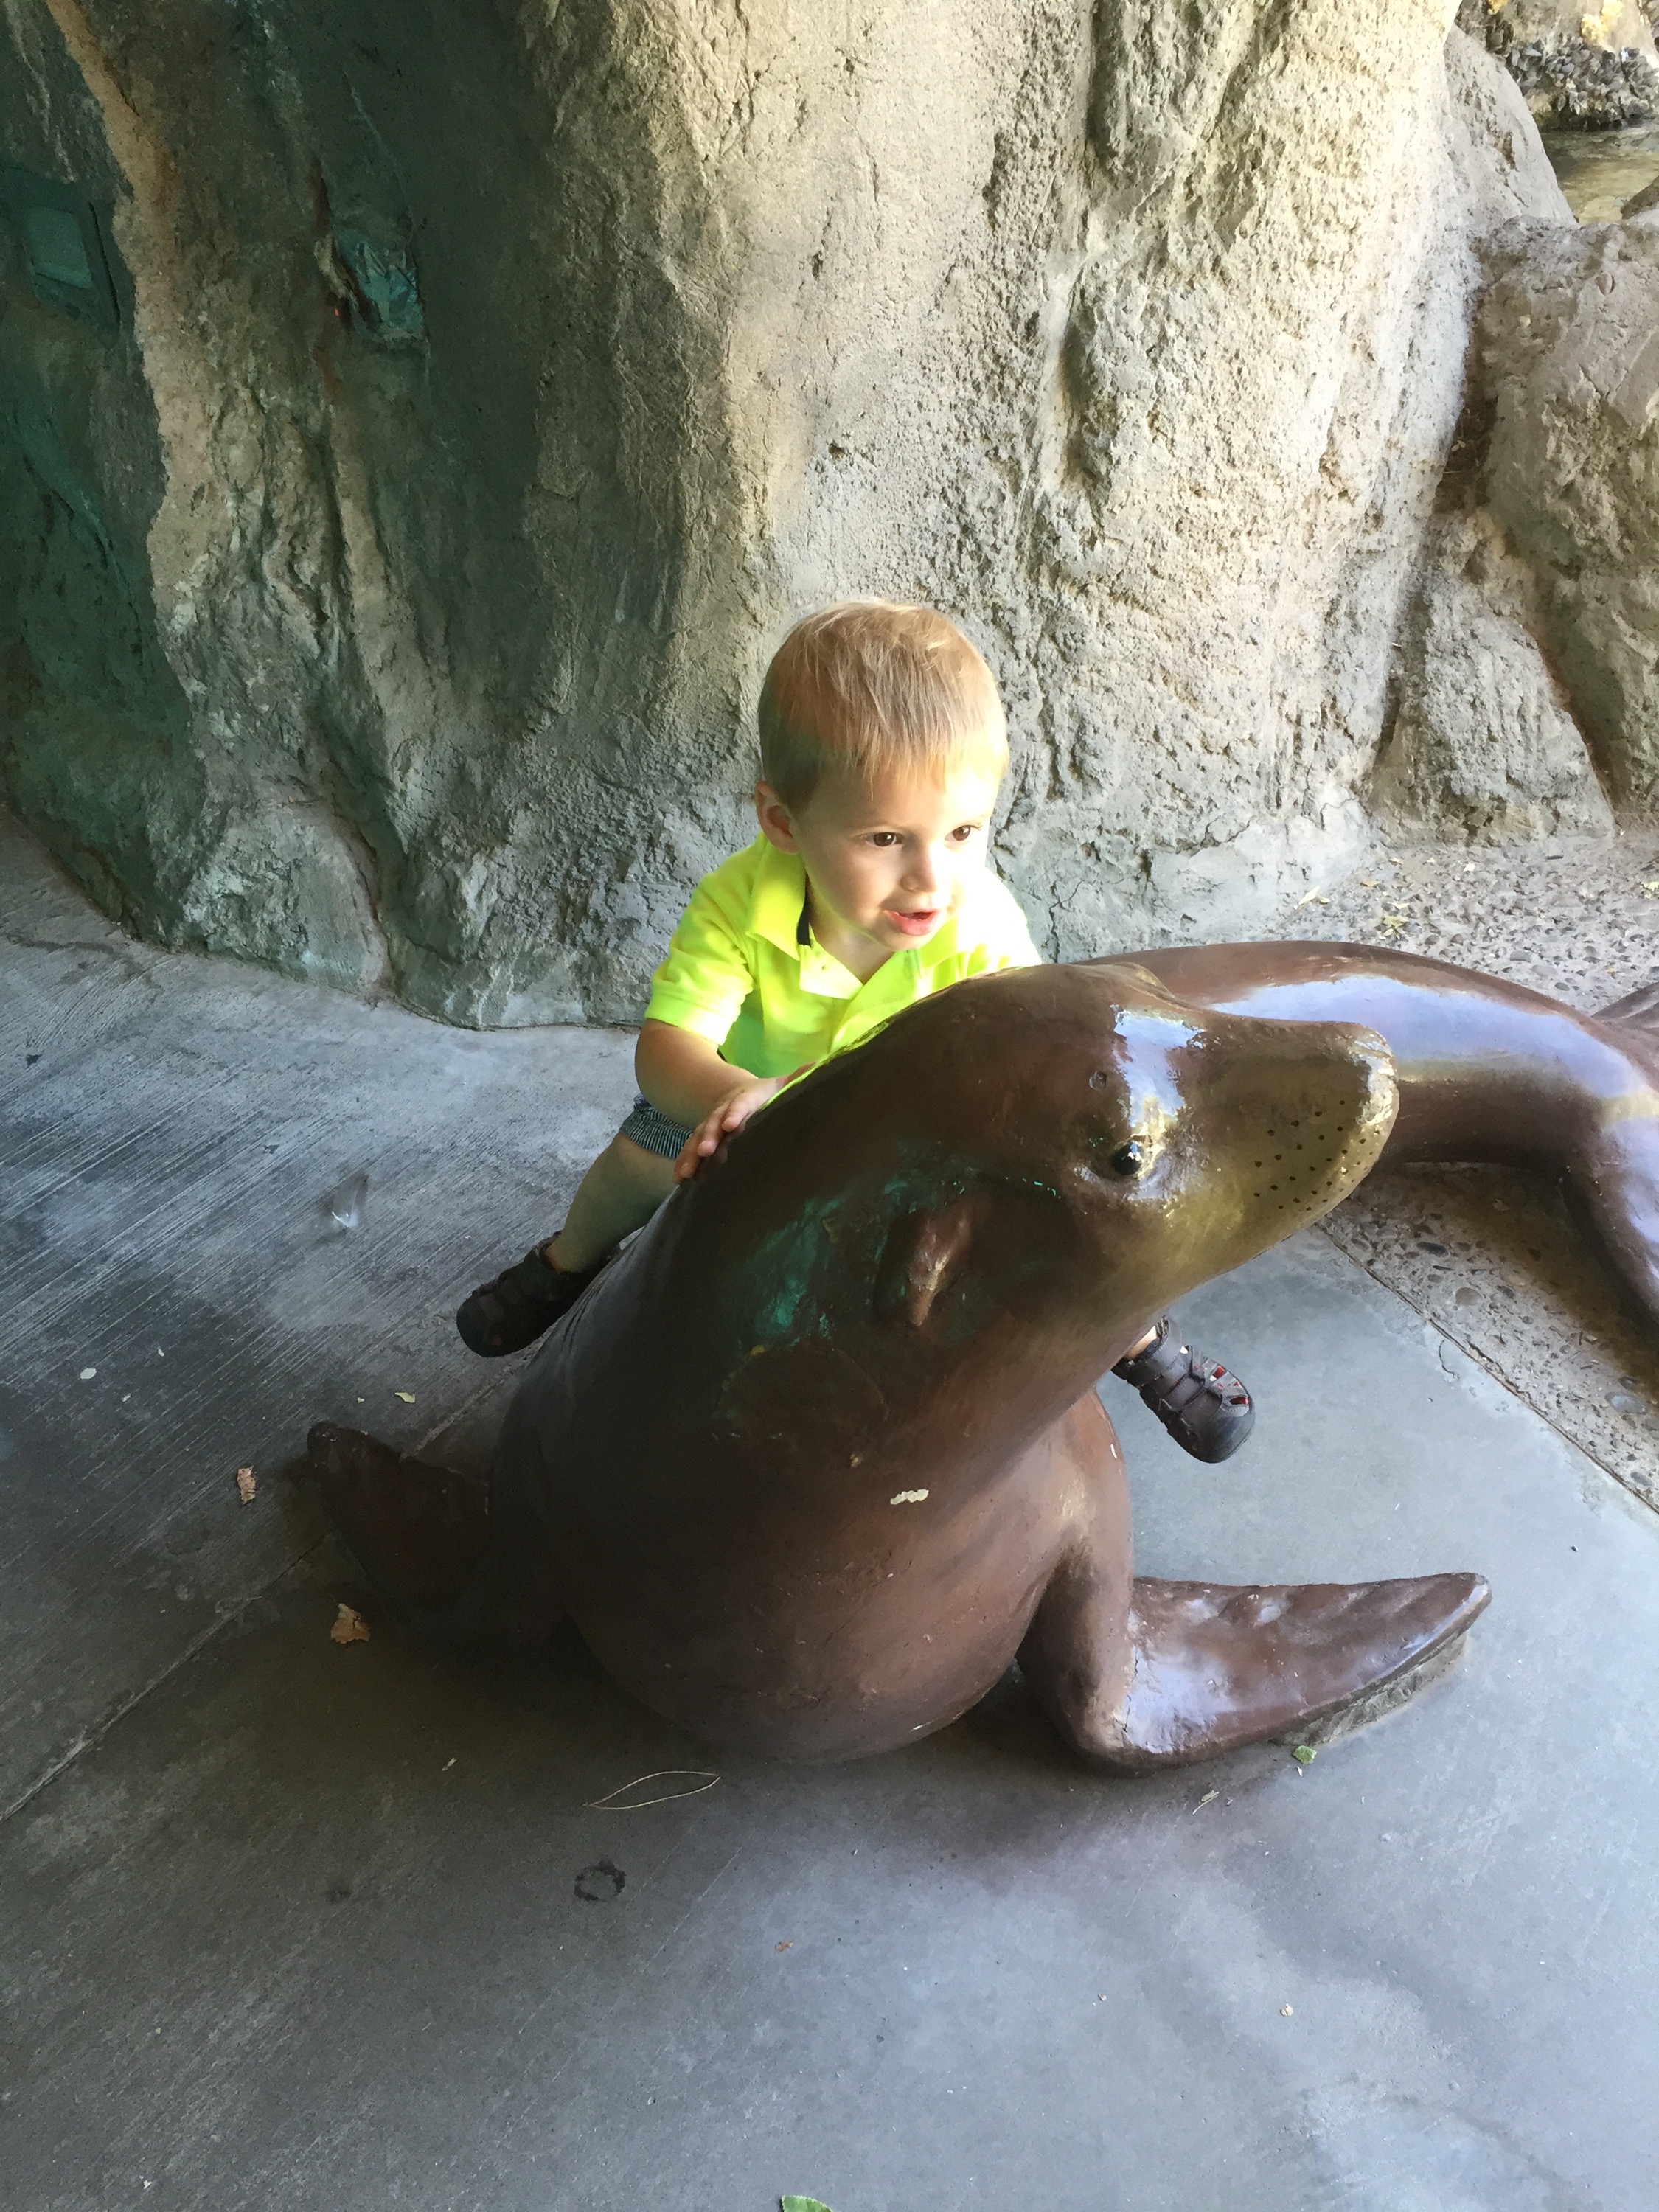
 He was probably more enthralled with the leaves and nature than some of the animals, but that’s ok. 

*Notice the “seed pod” in his hand below – wouldn’t let it go all day after we found it on a walk.   
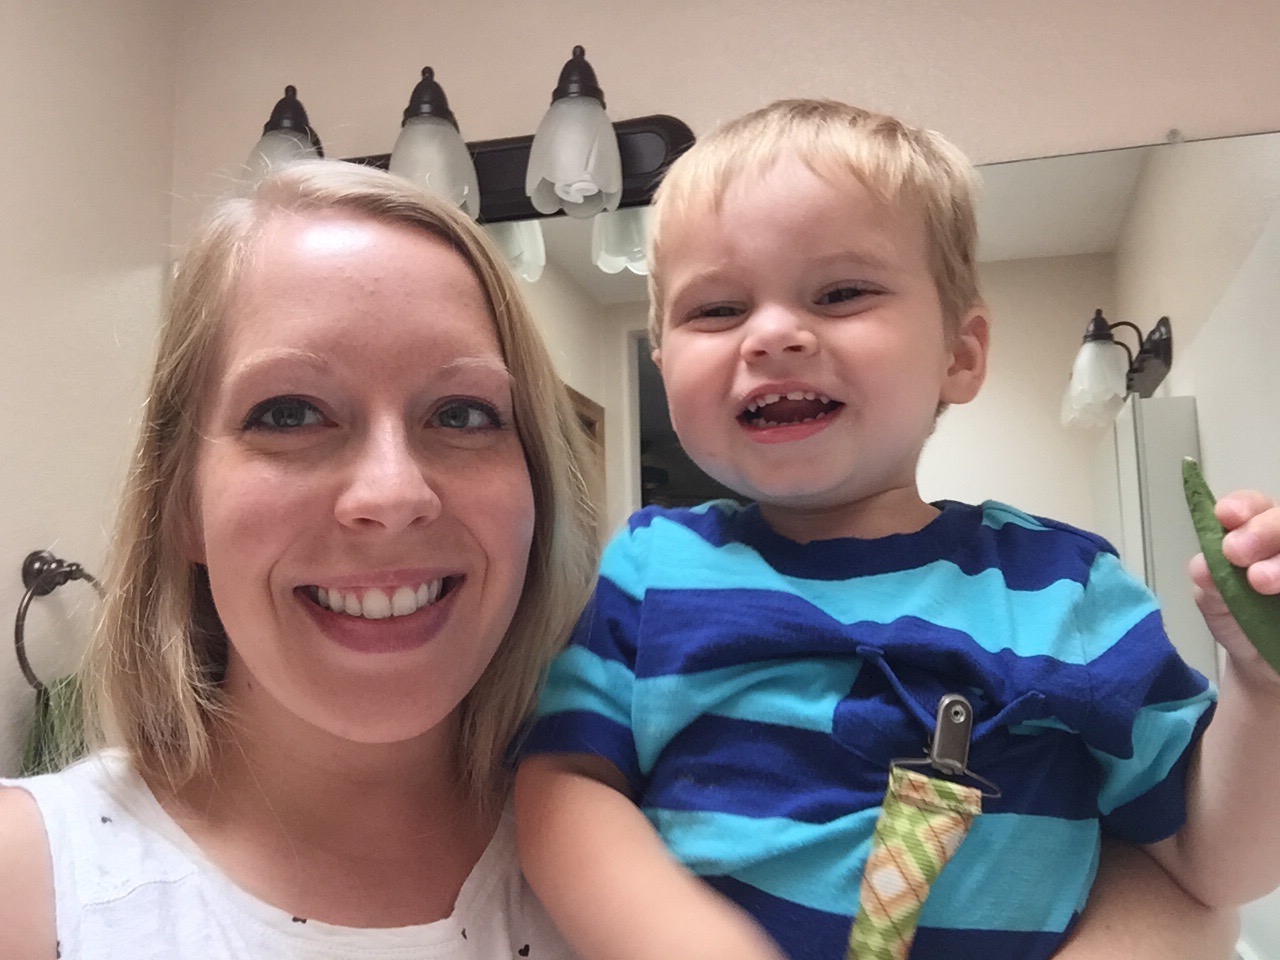
His “cheese” smile melts my heart. I am so happy to be his Auntie Ingy (pronouced ingy like thingy, soft “g”).  Can’t wait to see him and his other autie “Lula” for Christmas!  He will have grown so much more by then!  

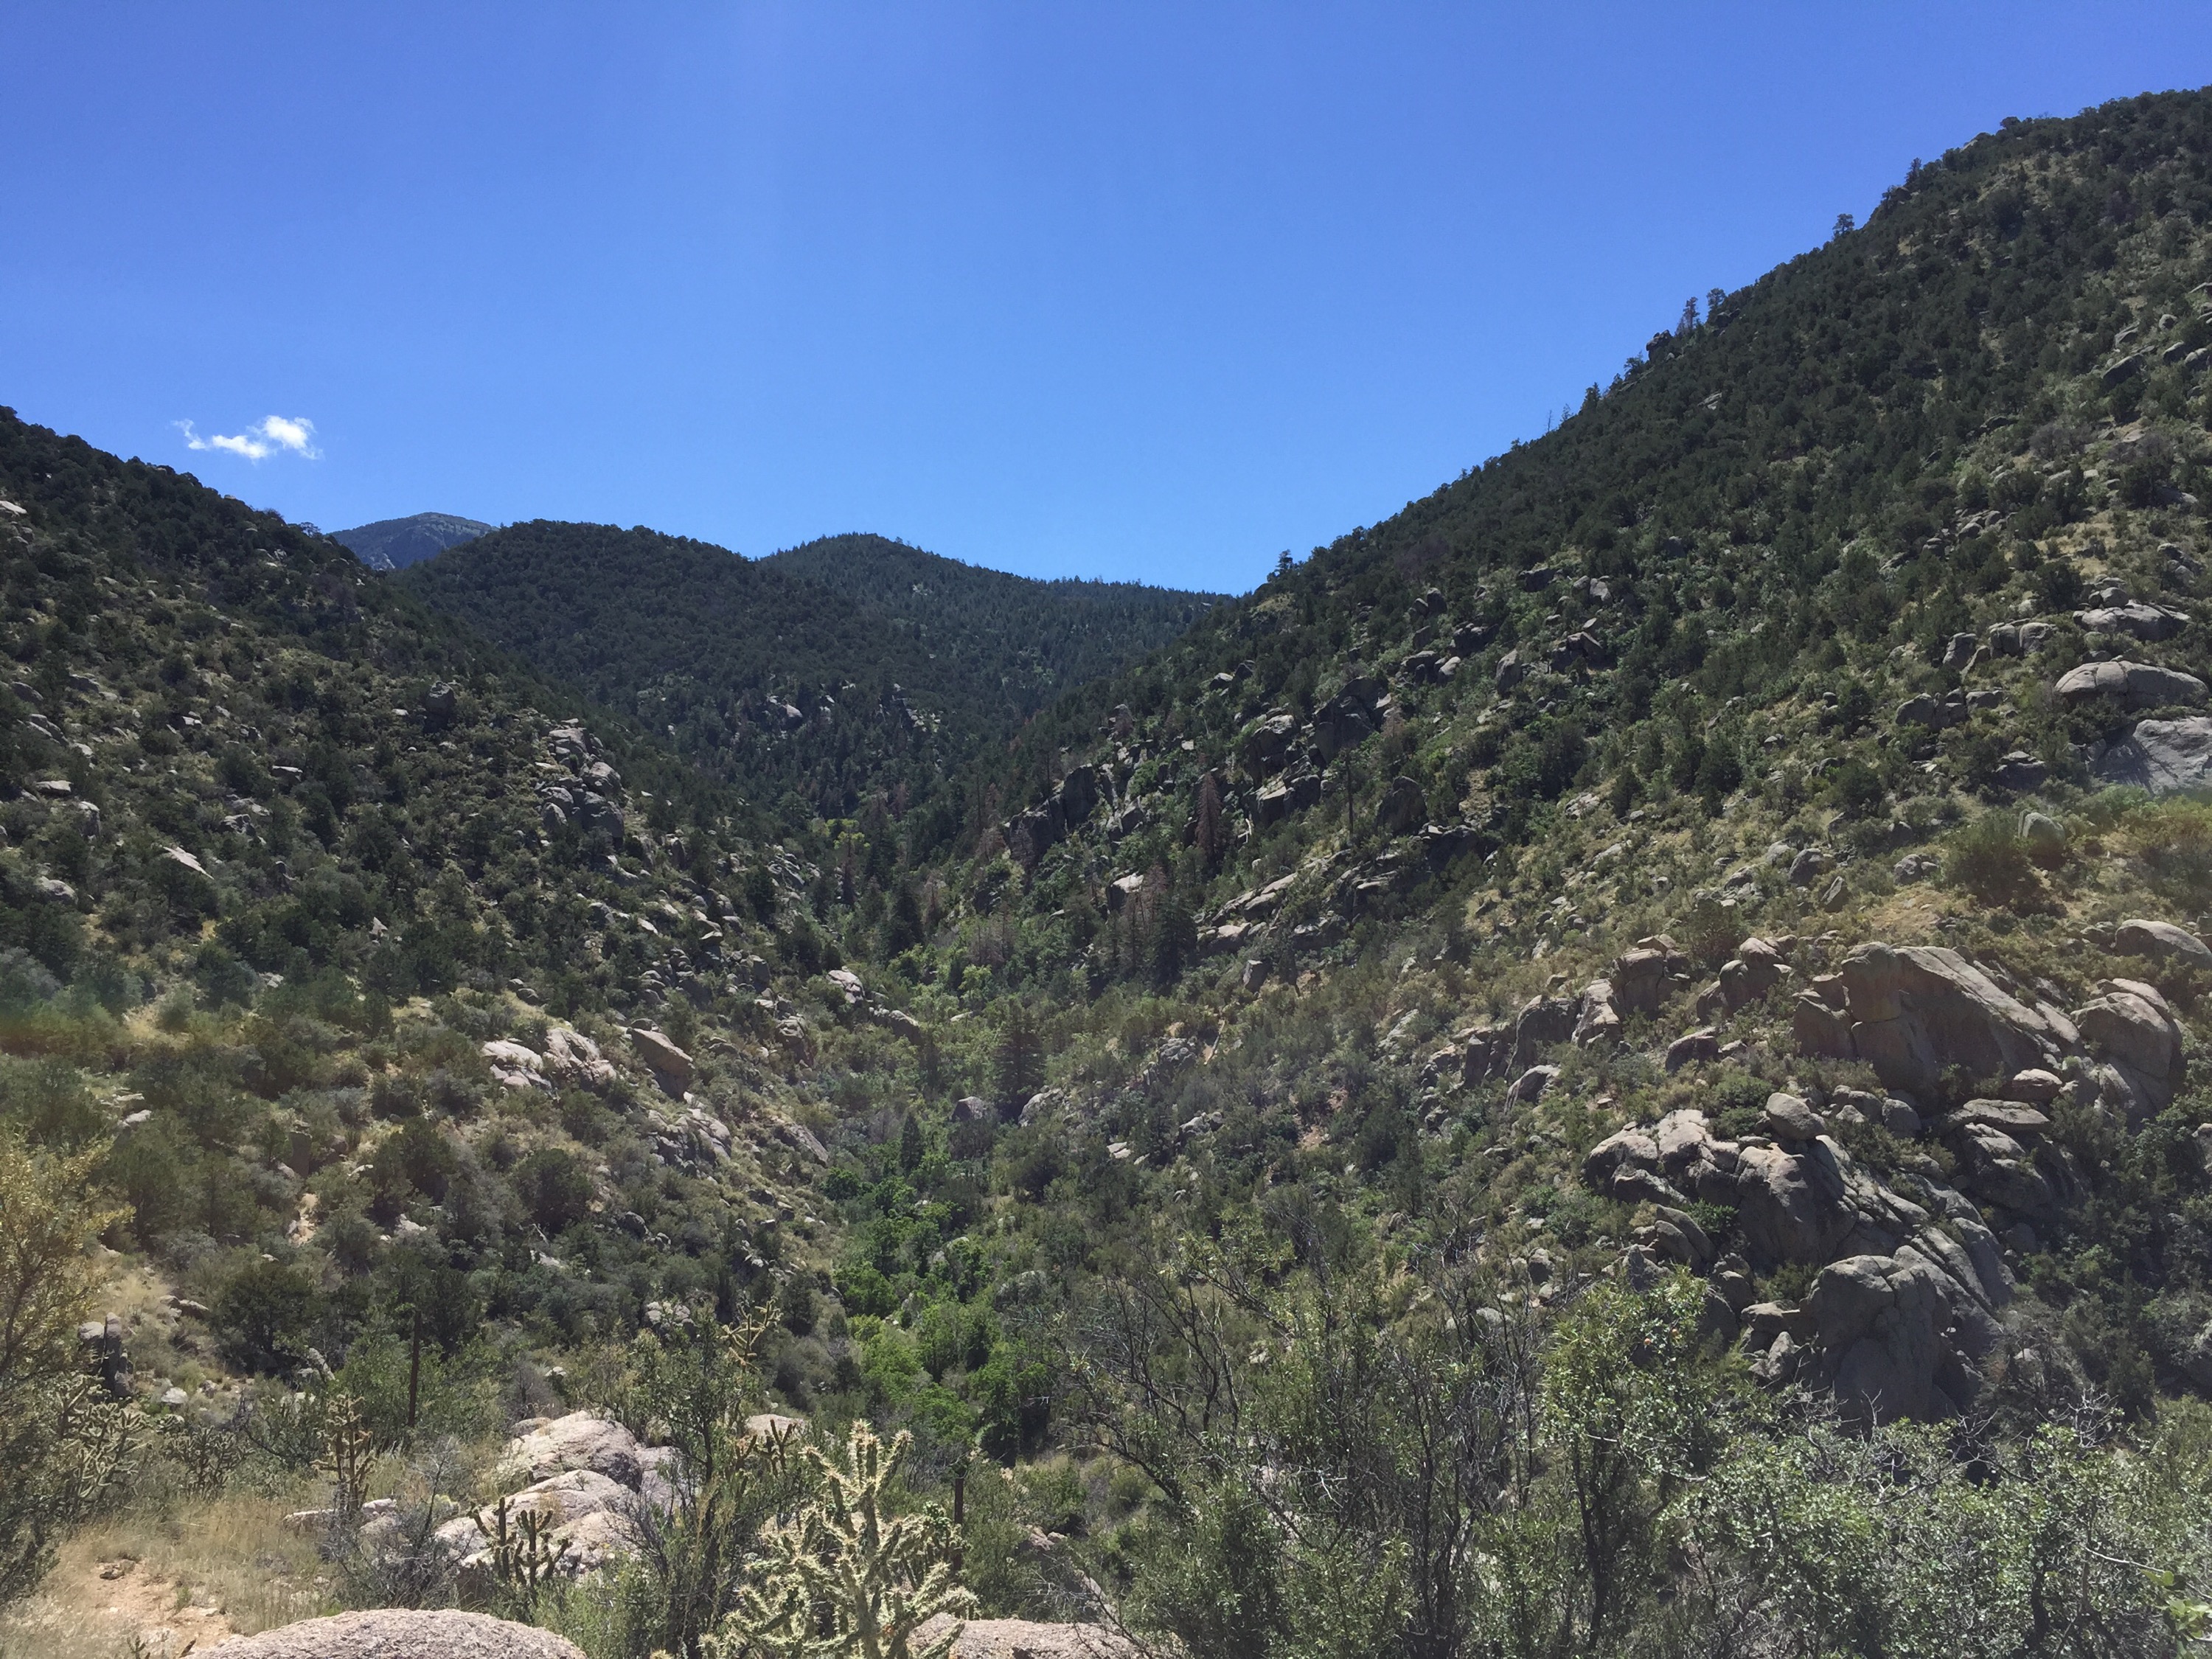
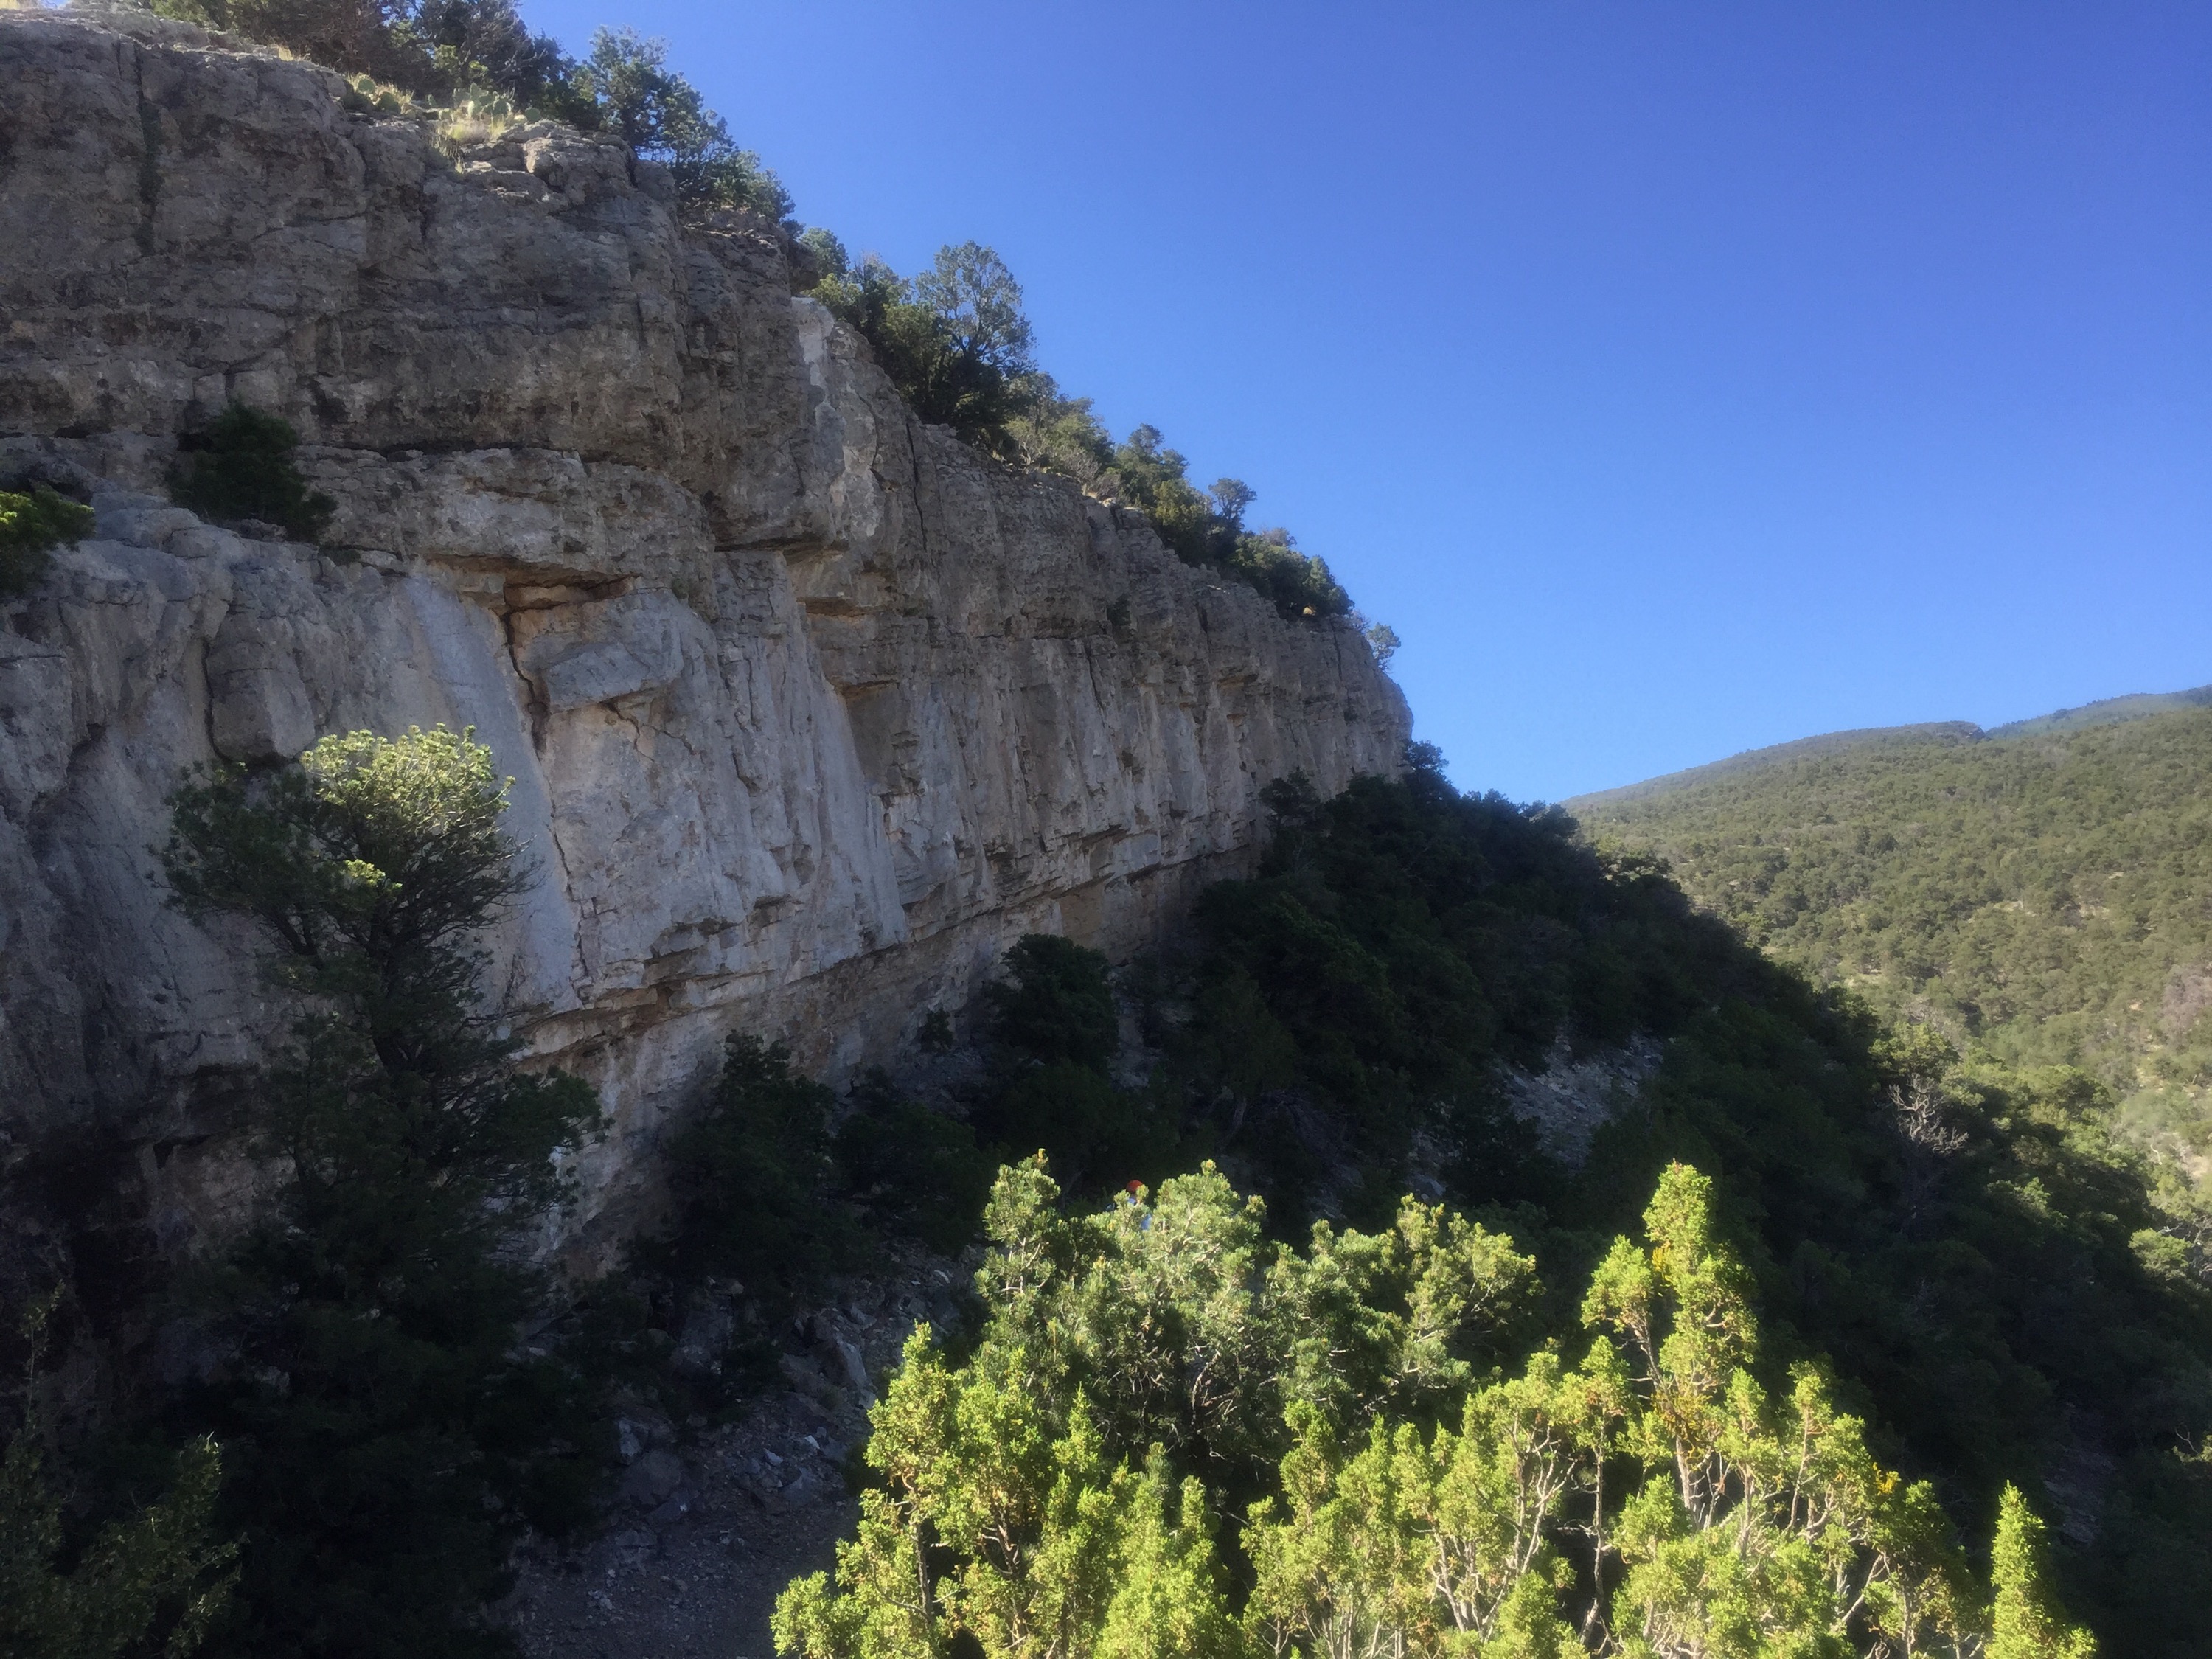
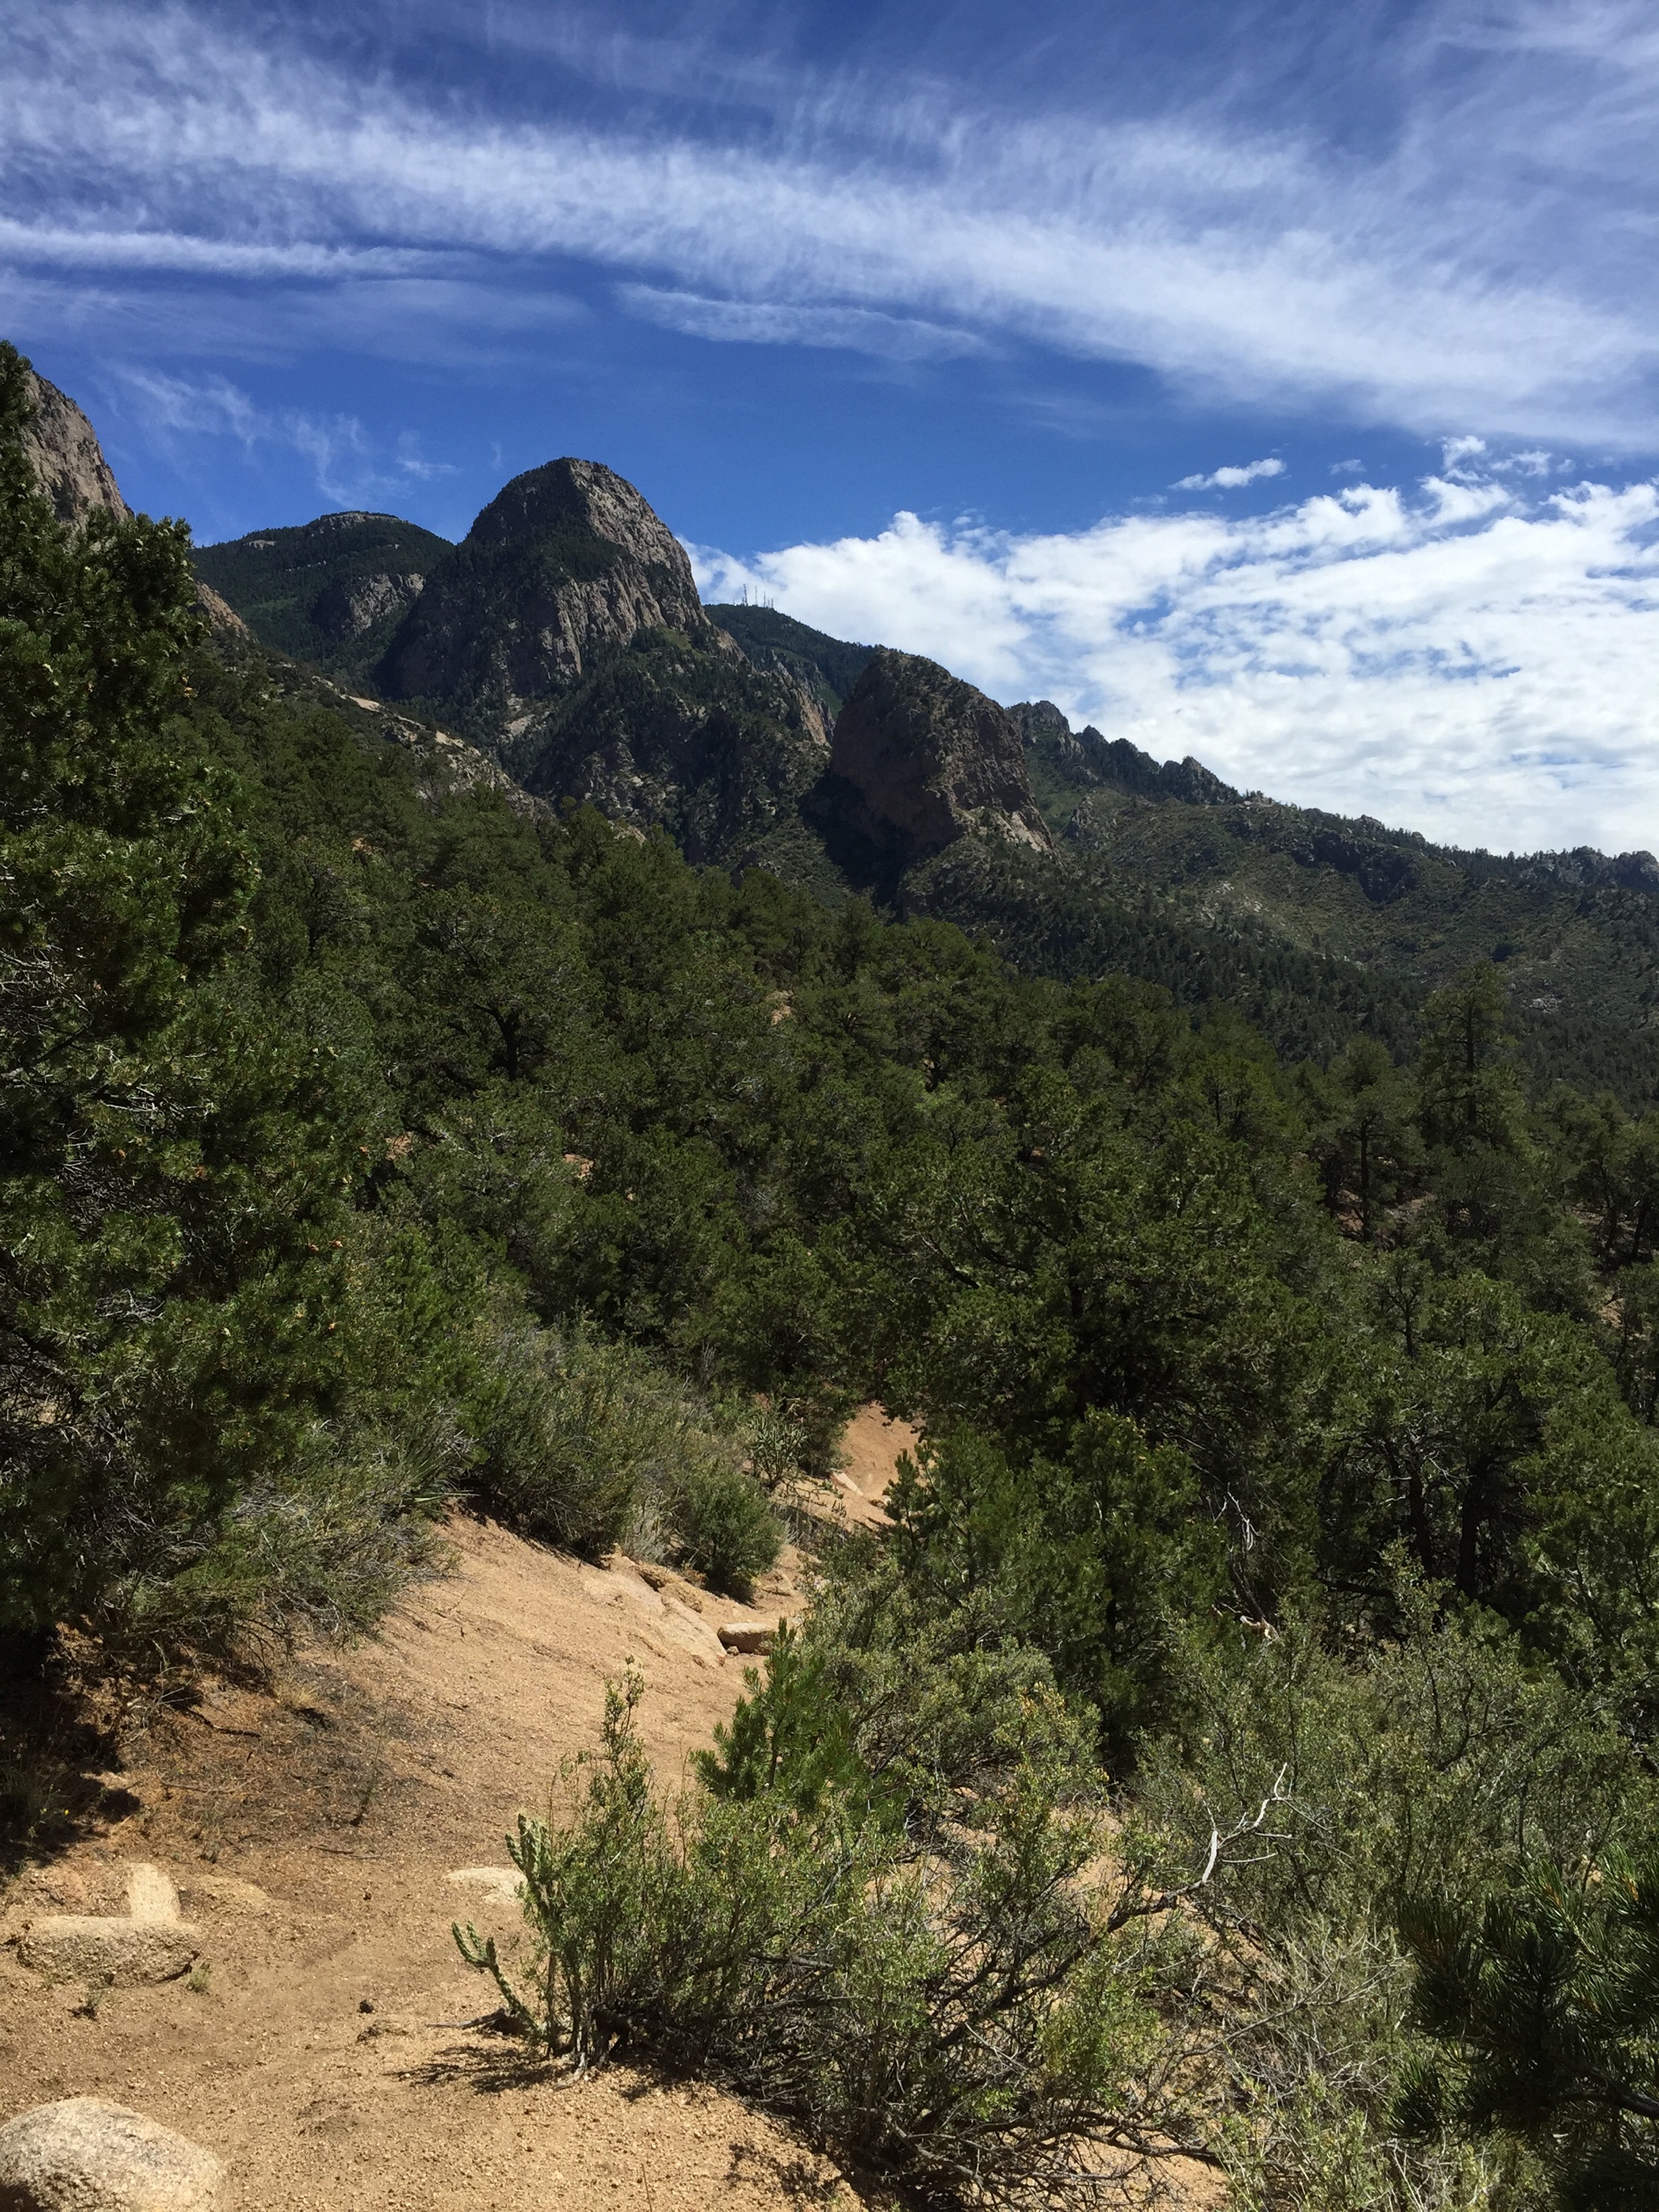
I love autumn, especially in the Southwest. 


Peach and Blueberry Greek Yogurt Cake

I love carbs, truly I do. I know they need to be balanced with my protein and healthy fats, but they are my main love. One note, not just any carb – sweets and pastries. Potatoes I can live without, same with white breads, rice, and even pasta. But I couldn’t live the rest of my live without brownies, danishes, or cake. Sigh. 

Whenever possible I’ll try to make these healthier or have a little more nutritional value with whole wheat, reduced sugar, reduced saturated fats, etc. So after cruising around pinterest one day trying to get ideas of what to do with the over abundance of peaches we got from our tree I found this Greek yogurt cake from Julia’s Album. It tastes as amazing as it looks! And I feel a little better about myself knowing there’s fresh fruit in my cake and the yogurt replaces some of the fat and adds a bit of protein. 


Peach and Blueberry Greek Yogurt Cake

*This recipe was followed exactly according to orignal creators instructions

Ingredients

  • 1 and 1/2 cups all-purpose flour
  • 1 teaspoon baking powder
  • 1/2 teaspoon baking soda
  • 1/2 stick butter, softened
  • 1 cup sugar
  • 2 eggs
  • 1/2 teaspoon vanilla
  • 1/2 cup Greek yogurt
  • 2 peaches, sliced into wedges
  • 6 oz blueberries
  • 1 teaspoon granulated sugar

Directions

  1. Preheat oven to 350Β°F with rack in middle. Grease the side and the bottom of the pan with butter or cooking spray. Line the bottom of a 9×3-inch springform pan (or 9 inch round cake pan) with parchment paper. Grease the parchment paper too. *I used a 10″ springform and it worked out fine too. 
  2. Sift flour, baking powder, baking soda, together into a medium bowl.
  3. In a separate bowl, beat butter, sugar, and 2 eggs until very light in color and fluffy, 2-3 minutes on high speed. Add vanilla and Greek yogurt and continue beating until very creamy and light in color, for about 1 more minute.
  4. Keeping the mixer speed low, mix in the flour mix until combined. Do not overmix.
  5. Transfer the cake batter to the springform pan. Top with sliced peaches, and scatter blueberries evenly on top in the spaces between the peach slices. Sprinkle the fruit with 1 teaspoon granulated sugar.
  6. Bake until cake turns golden, and the tester comes out clean in the center, about 1 hour, depending on your oven. Midway through baking, I like to put some extra peach slices and extra blueberries on top of the cake for prettiness, and return cake to baking. (Optional)
  7. When the cake is done baking, let it cool (still in the baking pan) on a wire rack. After cake has cooled for about 40 minutes, release the cake from the springform pan. At this point, if the cake is cool enough, you can slide your hand under the cake, between the parchment paper and the bottom portion of the springform pan and move the cake with the parchment paper attached to its bottom onto a cake plate easily.
  8. If using a 9 inch round cake pan, cook in pan for about 40 minutes or more (up to 1 hour, depending on your oven), then invert onto a plate.


No frosting required!  Only the best of nature’s sweetness. πŸ™‚


Take a look at the work station – so many peaches! So grateful for this island and all it’s space. 

I think next I’ll have to whip up some peach muffins… mmmm, I love breakfast and muffins are a breakfast quick bread in portion sized form. πŸ™‚

Until next time!

Peace and love all. Now time for cake. 


Peppery Grape Salad (Arugula Salad with Grapes and Pepper Viniagrette)

I admit that name doesn’t really make it sounds very good, however the pepperiness comes from a few different sources – the arugula (a delicate peppery green), a black pepper viniagrette (that one is obvious), and some tart acidity from pickled red onions. This recipe I’ve taken pretty exactly from a Pinch of Yum with only major additions of how to cook farro. I also added some micro greens. πŸ™‚

  
Just a warning, you will need to think in advance about making this since the onions require 24 hours of marinating. We ate this salad for a few days, so it does keep relatively well. 

Peppery Grape Salad

Serves 4-6

Ingredients

For the Pickled Red Onions

  • ΒΎ cup red wine vinegar
  • β…“ cup champagne vinegar
  • β…“ cup water
  • β…“ cup sugar
  • 1 teaspoon salt
  • 2 red onions, very thinly sliced (I only had room for 1 onion and it was more than enough…)

For the Black Pepper Vinaigrette

  • β…“ cup red wine vinegar
  • β…” cup olive oil
  • 1 tablespoon sugar
  • Β½ teaspoon freshly ground black pepper
  • Β½ teaspoon salt
  • 1 clove garlic

For the Salad

  • 2Β½ cups red grapes, halved
  • 2 cups cooked farro or a gluten free alternative like quinoa (directions below)
  • 3 cups arugula
  • ΒΌ cup fresh basil leaves, cut into ribbons
  • Β½ cup chopped cashews
  • 1 cup chopped micro greens/sprouts (I used pea shoots, but beet sprouts would also add a nice splash of color)

Directions

  1. Pickled Red Onions: Place the vinegars, water, sugar, and salt in a jar with a tight fitting – shake lid until well combined. Add the sliced red onions. Refrigerate at least 24 hours or longer for best flavor.
  2. Dressing: Place the vinegar, olive oil, sugar, pepper, and salt in a jar. Crush the garlic clove and just drop it in the jar in one or two pieces – the idea is that you’ll still get some fresh garlic flavor infused into the dressing without the little pieces of raw garlic in the dressing when you serve it. πŸ™‚ Shake to combine. You can make this ahead.
  3. Assembly: Toss the grapes and farro with about half of the dressing. Add the arugula, basil, cashews, and a handful (however much you want) of the pickled red onions. Toss to combine. Add additional dressing if it needs any more – for me, the original amount of dressing was just about right.

Making farro:

To make 2 cups of cooked farro you’ll need 3 cups of water and 1 cup dry farro. 

Tips:

  • Use 1 part farro to 3 parts liquid. 
  • As it cooks, the mixture foams, so 1 cup farro needs at least a 4- to 5-quart pan.
  • Simmer farro, covered, until tender to bite, about 25 minutes.
  • There will be extra water, it will not soak up all of the liquid like many other cooked grains. 
  • If you want a creamy texture, let stand off the heat for about 10 minutes.
  • If cooking farro ahead of time, drain while still hot; save liquid to add when reheating or ― since the grain makes a good salad ― to use as part of a dressing. Let farro cool, then cover and chill up to 2 days. Reheat in a microwave oven or use cold.

  
Enjoy!


Blackened Chicken with Apricot Citrus Sauce

This recipe is almost embarasingly easy, but I was recipe testing last week (I love my job) and the theme for my next couple cooking classes is Quick and Easy Dinner Solutions, so this fit pretty well. I decided to serve it with rice, but you can use just about any starch you’d like. 

  
I found the original recipe on Greatist, but made a few tweaks, mainly with the sauce. Apricots are my favorite stone fruit and even though the season for them is really short I likely to add them in whenever I think it might work or improve something – so in other words almost always. Or at least will always order apricot anything from a menu. 

Blackened Chicken with Apricot Citrus Sauce

Serves 4

Ingredients

Seasoning: 

  • 2 tsp salt
  • 1 tsp pepper
  • 1 1/2 tsp cayenne
  • 1 1/2 tsp ancho chili powder
  • 1/2 tsp thyme
  • 1 tsp oregano
  • 1 tsp garlic powder
  • 1/2 tsp nutmeg

The rest:

  • 4 thin skinless chicken breasts
  • 1/4 cup apricot jam
  • 2 T orange marmalade
  • 2 T to 1/4 cup water

Directions:

  1. Combine all of the seasoning ingredients. 
  2. Coat chicken liberally with blackening seasoning. Turn pan to high heat (I used a cast iron pan) and sear chicken for about 1 minute on each side. Turn down heat and cook chicken untl no longer pink inside, over 160F. 
  3. In a small bowl mix jam, marmalade, and water to make the sauce. 
  4. Pour a few tablespoons of sauce over each chicken breast when ready to serve. 
  5. Time to eat!

Just like I said, insanely easy and won’t take any longer than 30 minutes to make. I also subbed ancho for the original paprika to add and extra kick, but you can change to paprika for a little less spice. πŸ˜‰


Weekends and Waffles

I have been meaning to do more regular weekly recaps/weekend posts, but August really just got away from me… so that means the first weekend of September is included here too! And scroll for a the delicioius Whole Wheat Buttermilk Waffles!

Let’s do a picture recap – 

We went out to an Indian/Nepalese restaurant Namaste, where I managed to take only one very unflattering picture – but not to worry, we’ll be back because it was good and I’ll take some better pictures. Following we headed to another new-to-us brewery – Boxing Bear. I had a sour – not sure why, but it was pink.


The following weekend we went to dinner at Zinc – one of my favorite places for food and good cocktails. We were early enough – ok, insanely early for a Saturday 5:30 and grabbed a seat by the open kitchen. I ordered a gin martini with sparkling wine and lemon, then for dinner a pasta dish with prosciutto and cauliflower –  it was certainly not the healthies item on the menu, but was tasty and I split it for leftovers later. 


 Oh, and dessert was a smores tart!  Yum on so many levels – C and I definitely shared.  
I’ll interupt the food to bring you all a moment of fitness – hiking! Here are some shots of trails out in the Sandias. C and I try to get in one hike a weekend. 


 I really do live in a gorgeous place. I love and miss the lakes of my childhood, but I think mountains are my favorite. 

The past weekend we tried another new place – or at least I think it’s relatively new in downtown, Soul and Vine. C ad I shared a cheese plate (which had some of the best accompaniments and sauces) and I had salmon with white polenta, cooked greens, and baby eggplant.    

 
Thanks for lasting through all that!  And now for the WAFFLES!! Breakfast is my favorite meal of the day, if I could only eat breakfast foods, I’d be completely happy with life. The summer after I studied abroad I actually ate yogurt and cereal every night for dinner. And I’m still not sick of that combination. Lucky for you all, today is waffles. These are a great staple to add to your breakfast repertoire – wholesome, not from a box, and fluffy.   

 
Whole Wheat Buttermilke Waffles

Makes about 10-12 4″-waffles

Ingredients

  • 1 cup whole wheat flour
  • 1 cup all- purpose unbleached flour
  • 1 1/2 tsp baking powder
  • 1 tsp baking soda
  • 1/2 tsp salt
  • 3 eggs, separated
  • 1/2 cup melted butter
  • 1/3 cup sugar (optional)
  • 2 cups buttermilk
  • 1 tsp vanilla extract

Directions

  1. Preheat your waffle maker – mine doesn’t have temperatures, but set it to a golden brown setting. 
  2. Mix all of the dry ingredients in large bowl, except the sugar and set aside. 
  3. In another large bowl, beat together the egg yolks, melted butter, sugar, buttermilk, and vanilla extract. Gently mix the dry ingredients in to the wet, careful not to over mix. 
  4. In a small bowl, beat the egg whites into stiff peaks. I use a hand egg beater, but you can also use and electric mixer to accomplish ths same task. With a rubber spatula, fold the egg whites into the other batter. 
  5. Pour about a 1/4 cup of batter into each waffle surface and cook until golden brown or your waffle timer light goes off. 
  6. Serve with your choce of topping – I love fruit and honey, so for this occassion I cut up some peaches from our tree and mixed them with honey. 
  7. Waffles can also be kept frozen for a made-at-home toaster waffle. πŸ™‚

Ok, I think I’ll go make some brinner (breakfast-dinner) now….


Broccoli Quinoa “Mac” & Cheese

I’m sure that I was a strange child growing up… How did I come to this conclusion? Well obviously it was because I didn’t eat Mac & Cheese (clearly nothing else would make me strange or awkward, nope, nothing else) or at least it was never something I asked my mom to make. I was fortunate enough to have hippies for parents – not in the free love pot smoking sense, but in the we get everything we need from the earth sense. If you ask them they will deny this classification, but they did raise food throughout the winter in a green-house, kept bees and chickens, bought only natural before it was hip and chic, and raised us without a television for a number of years as a child. So yes, my sisters and I were raised all-natural (or as much as they could) before all the other cool kids were doing it and before “organic” was the only way to go. 

But back to the no macaroni and cheese. True. I think it comes from an aversion my mom has to anything thicker than a spaghetti noodle. Oh and she also hated excess melted cheese and still does. So until my little sister came along, we had macaroni and meat sauce. Then my little sister didn’t like it so my mom also prepared “mac” and cheese for her (really macaroni with cream and a hint of cheese). Basically I was never raised on it and didn’t develope a taste for it until experimenting one my own as a teenager. 

  
This mac and cheese variation is great in that it can be gluten-free if that’s something you do and you can hide just about whatever veggies you’d like – I choose broccoli, because well, you know – broccoli and cheese are an excellent combination. 

Broccoli Quinoa “Mac” & Cheese

Serves ~8

Ingredients

  • 1 1/2 cup dry quinoa
  • 2 heads of broccoli
  • 2  cloves of garlic
  • 2 eggs
  • 1 cup milk 
  • 2 cups shredded marbled jack cheese, divided
  • 1/4 cup freshly shredded parmesan
  • 1/4 cup panko or other bread crumb, optional 
  • Salt and pepper to taste

Directoins

  1. Preheat oven to 350F. 
  2. Cook quinoa according to package instructions. You can use the stove top, but I find that a rice cookers works wonders as well – if you’re lazy and don’t want to stand at the stove. πŸ™‚
  3. Saute broccoli in about 1 T olive oil and add garlic just at the end to toast and bring out the flavor. 
  4. Whisk together eggs and milk in a large bowl. Fold in quinoa and 1.5 cups of shredded cheese and parmesan. Next fold in the broccoli. 
  5. Grease a 9×13 glass baking dish. Spoon quinoa mixture into the bakng dish and gently pat to level. 
  6. Sprinkle remaining cheese over the top and lastly the bread crumbs.  For my bread crumbs I actually typcally use crushed croutons or bagged stuffing.  It is dry bread and typically seasoned – just an extra punch of flavor. I also don’t need to store bread crumbs that I rarely use for anythng else. 
  7. Bake 30-35 minutes or until bread crumbs are lightly browned.   

 Since I was trying this recipe out for a cooking class I’m teaching, you can also sub the broccoli for green chilli for traditional New Mexican flavor and of course more spice!

Quinoa is a great complete protein so you can dig in without worry you’re loading up on too much starch. While I’ve used the white quinoa, you could easily use a mixed variety or plain red to add more fiber and color. 

Enjoy!


Chocolate Chip Cookie Dough Energy Bites (raw)

Confessions – this recipes is one from my old blog, but I love it so much I wanted to share it again. 

One of my goals has always been to make healthy food taste good. From my perspective, it already does, but sometimes it takes time convincing others. With this recipe – it may sound “different” but the result will blow you away. I went in to this project with reserve, thinking – they’ll probably taste good, but… might need some work. Boy, was I wrong, these don’t taste good, they taste GREAT! From this point on, I don’t need to eat any cookie dough but this. In fact, why even bother with other cookies? I challenge anyone to try these and tell me otherwise.
I found the recipe on Oh She Glows, which is primarily vegan, yet don’t let that stop you non-vegans or vegetarians. 

  
Chocolate Chip Cookie Dough Energy Bites

Ingredients

  • 1/2 c unsalted cashews (roasted/toasted works best)
  • 1/4 c rolled oats
  • 1/4 c whole wheat flour
  • 1/2 tsp kosher salt
  • 1 1/2 T sugar
  • 1/2 tsp vanilla extract
  • 3-4 tsp pure maple syrup (you may even need more)
  • 1/4 c dark chocolate chips

Directions

  1. In a food processor, add cashews and oats. Process until it forms a fine crumb, the finer the better for making a dough that holds together easily. Add in the salt, sugar, and flour; process for a few more seconds.
  2. Add in maple syrup and vanilla and process until combined (the dough will be sticky). Last, add in your chocolate chips and stir by hand or process. 
  3. Form into balls and store in the freezer. 

*I’ve made these with pecans, walnuts, and a mix of nuts. All taste great, but cashews taste the most like traditional cookie dough. 

**Try mixing in some peanut butter or coconut oil to help things stick together as well. 

  
Perfect little bites that fit in the palm of your hand – I use them for a quick bite before a morning workout or when hitting the trals for a good weekend hike. 

Enjoy!


Back to Training

Many of us have hit a slump in our normal workout routine or training regime at some time or another. For me It’s been a struggle for the last 4 months to get any sort of what I would consider “normal” workout. After getting sick, then international vacation, then “recovery” only to get sick again – I think and hope I’m finally over that hill.   
A week ago I started running more regularly again to train for an October race. It’s a marathon relay, so likely my leg is 7 or less miles. Which a year ago I would have said was easy. For the past few years, with only one exception I’ve trained for the Urbanathlon (which is super fun!), about 11 mile race with obstacles in October – twice in Chicago and once in NYC. But this year, due to me having a new job and no vacation and C having a conflicting conference on the other side of the country that same weekend – I’m not running it. And doing another local race instead with a group of ladies. 

  
I’ve been a runner for at least 10 years and always classifed myself a runner – but after thinking about it in my current state, am I really a runner? After my race last fall, I basically quit running – at least with any regularity. I’m a morning exerciser and just couldn’t drag myself into the dark cold to run (running with a head lamp and seeing coyote eyes from the aroyos – nope, just nope) , instead opting for the gym or lighting heavy objects. There’s so much I enjoy doing and not always enough hours in the week or taxation my muscles can take. But whenever I get back to running I realize how much I love and really missed it!

  
So this is my promise to fall in love with running again! And I’m using friends to help motivate! I’m generally a lone trainer (with my fur child/running buddy – Kate), but find while I can rationalize and negotiate not running in my own mind, I really don’t want to let anyone else down if we make plans to run together. 

Wish me luck!