

Has anyone been watching the Great British Baking Show or the Great British Bake Off if you’re from the UK? I know we’re sort of behind on the times, but Netflix just released their first season of it last year (which was actually season/series 4?) and now they’ve added 2 & 3 (or 5 &6). C and I did some binge watching and after finishing what Netflix had, sort of freaked out that there were three seasons prior to what we’d seen and had to get them to watch. Well…. to wrap things up, if you haven’t seen it, watch it now. And their opening cake was somewhat of an inspiration for the flavors of this tart.
A couple weeks ago I made hazelnut butter. And while it was really delicious on it’s own on toast, etc. I thought, what if it was a pie or fake-ish cheesecake? And Ta-Da! Idea born.
While the filling was a no-brainer for me with the tofu – since the same style works so well with peanut butter dip, I had a more difficult time trying to decide whether to do a fully “raw” tart (which you could totally do with this crust) or something more like a short crust pastry tart. I opted to go with the short crust pastry type and used inspiration from Sally’s Baking Addiction to make a pretty standard nutty pastry crust.
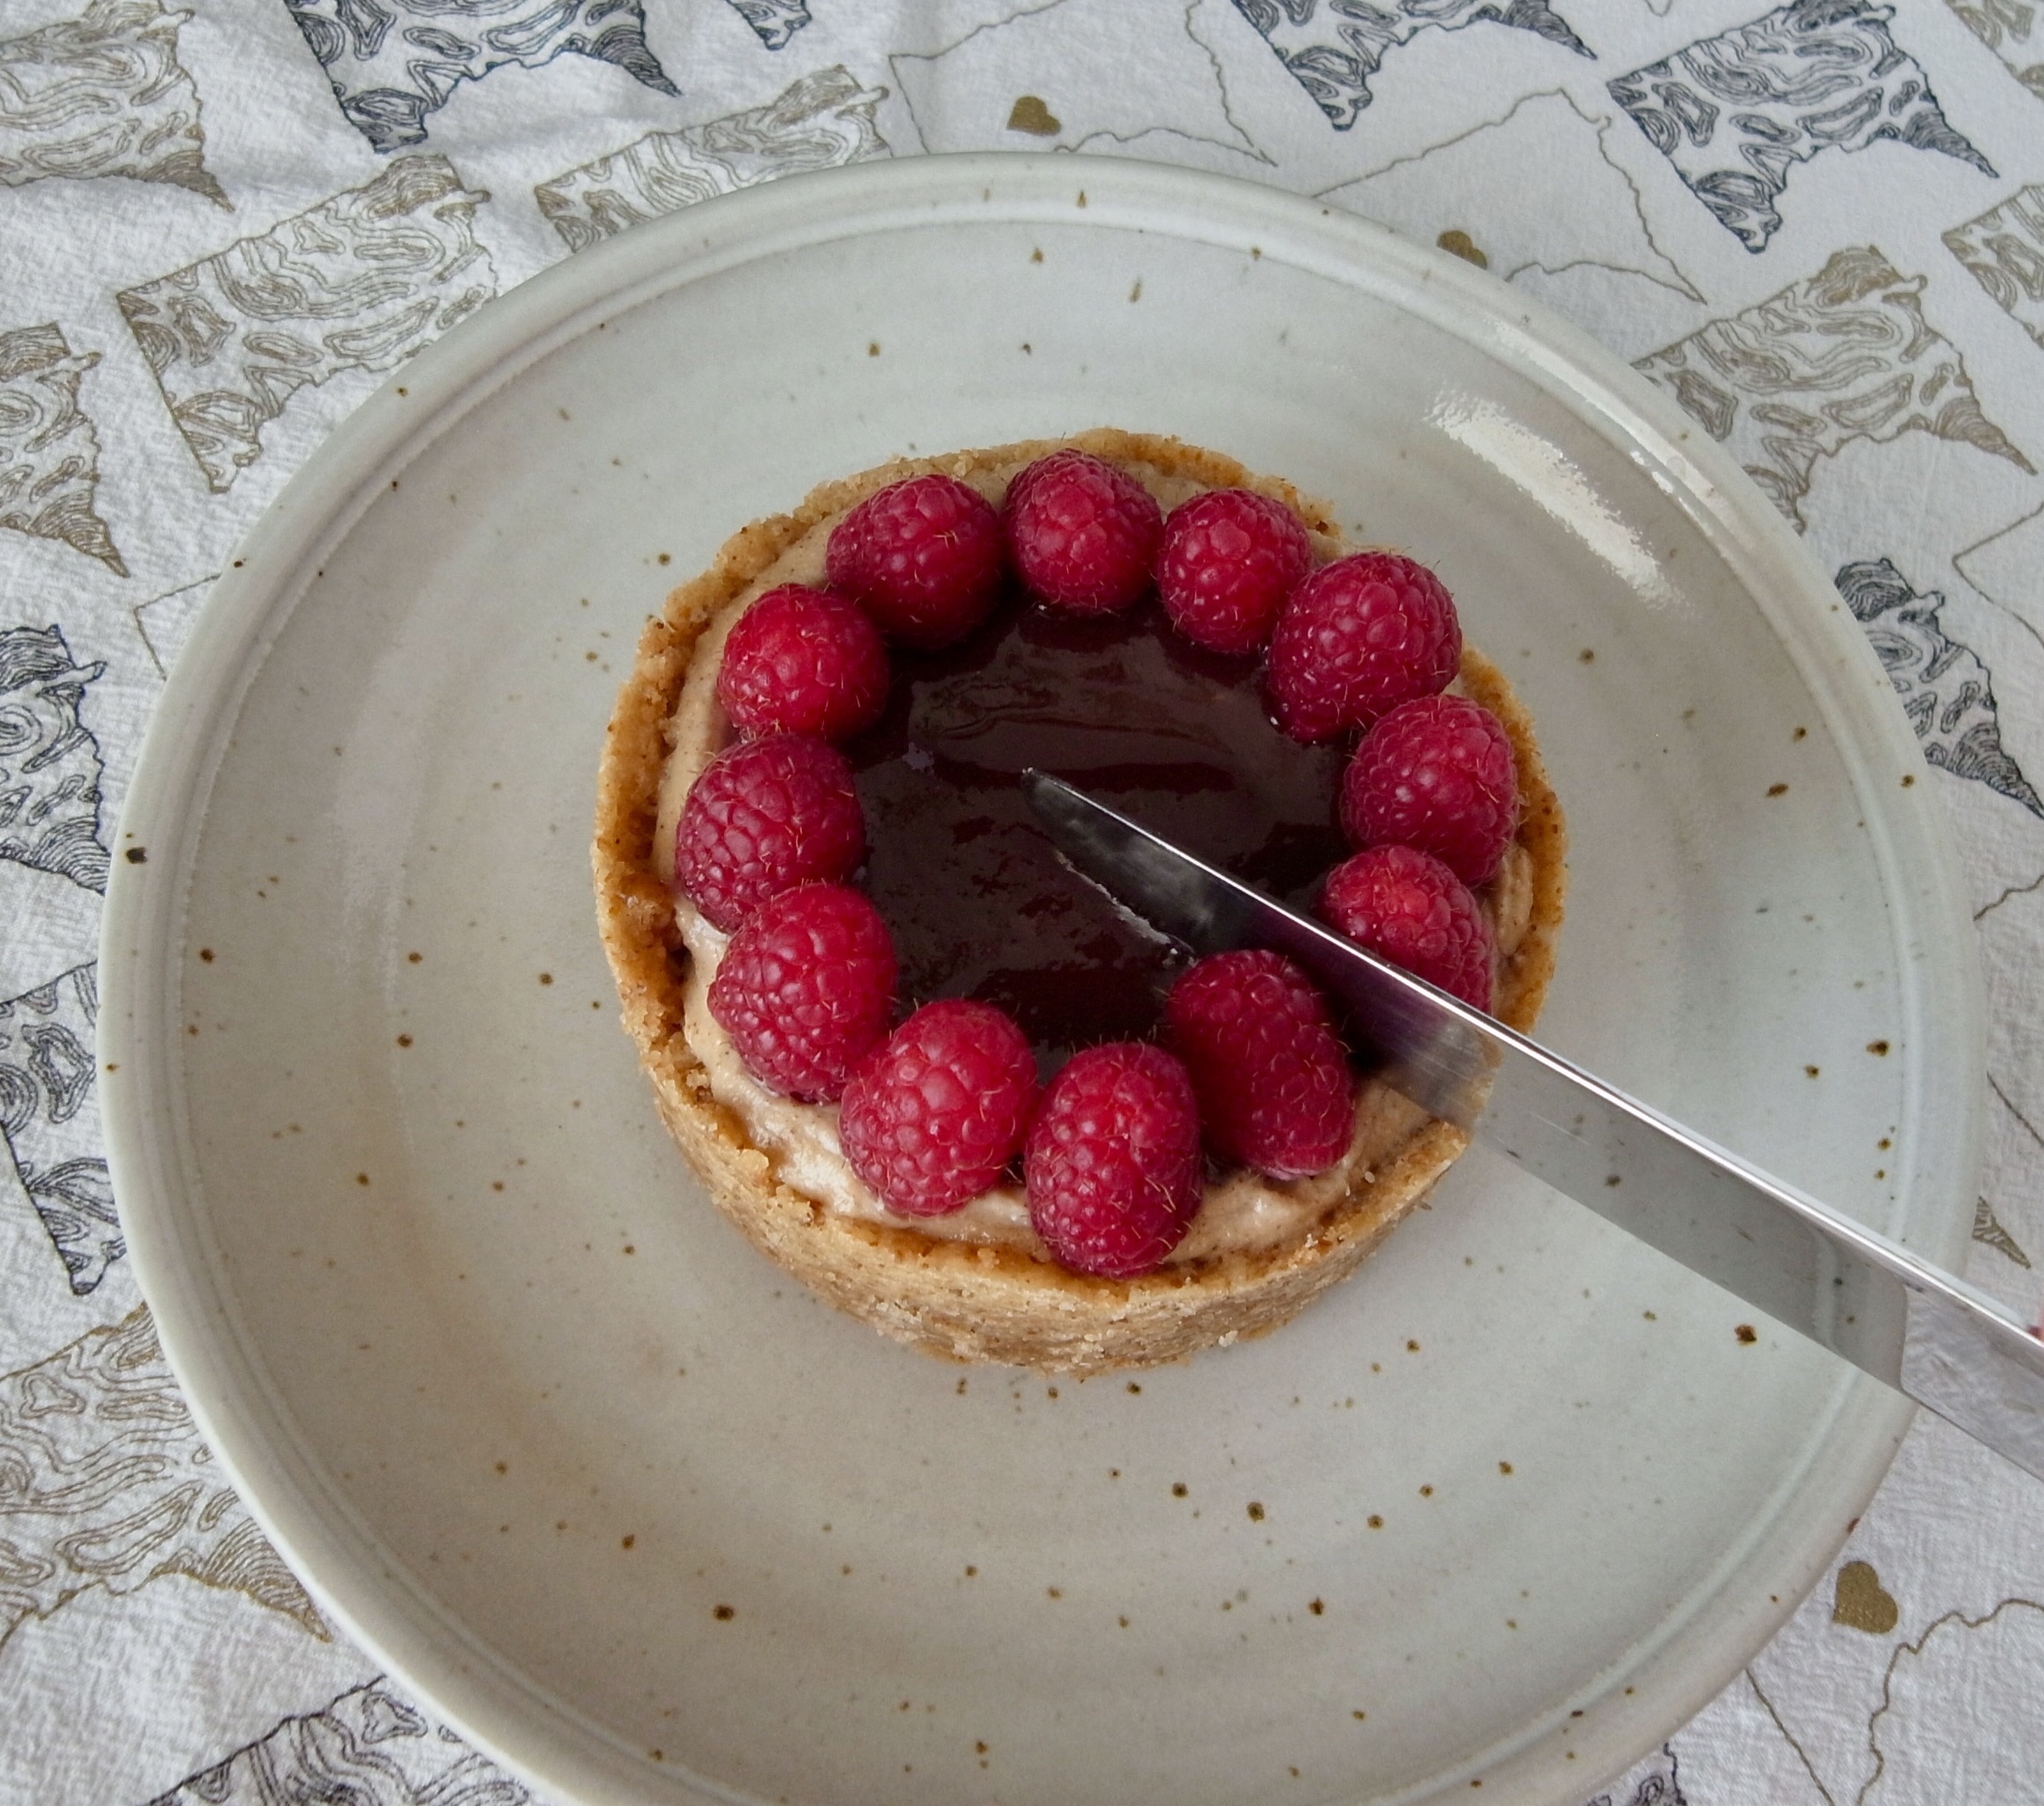
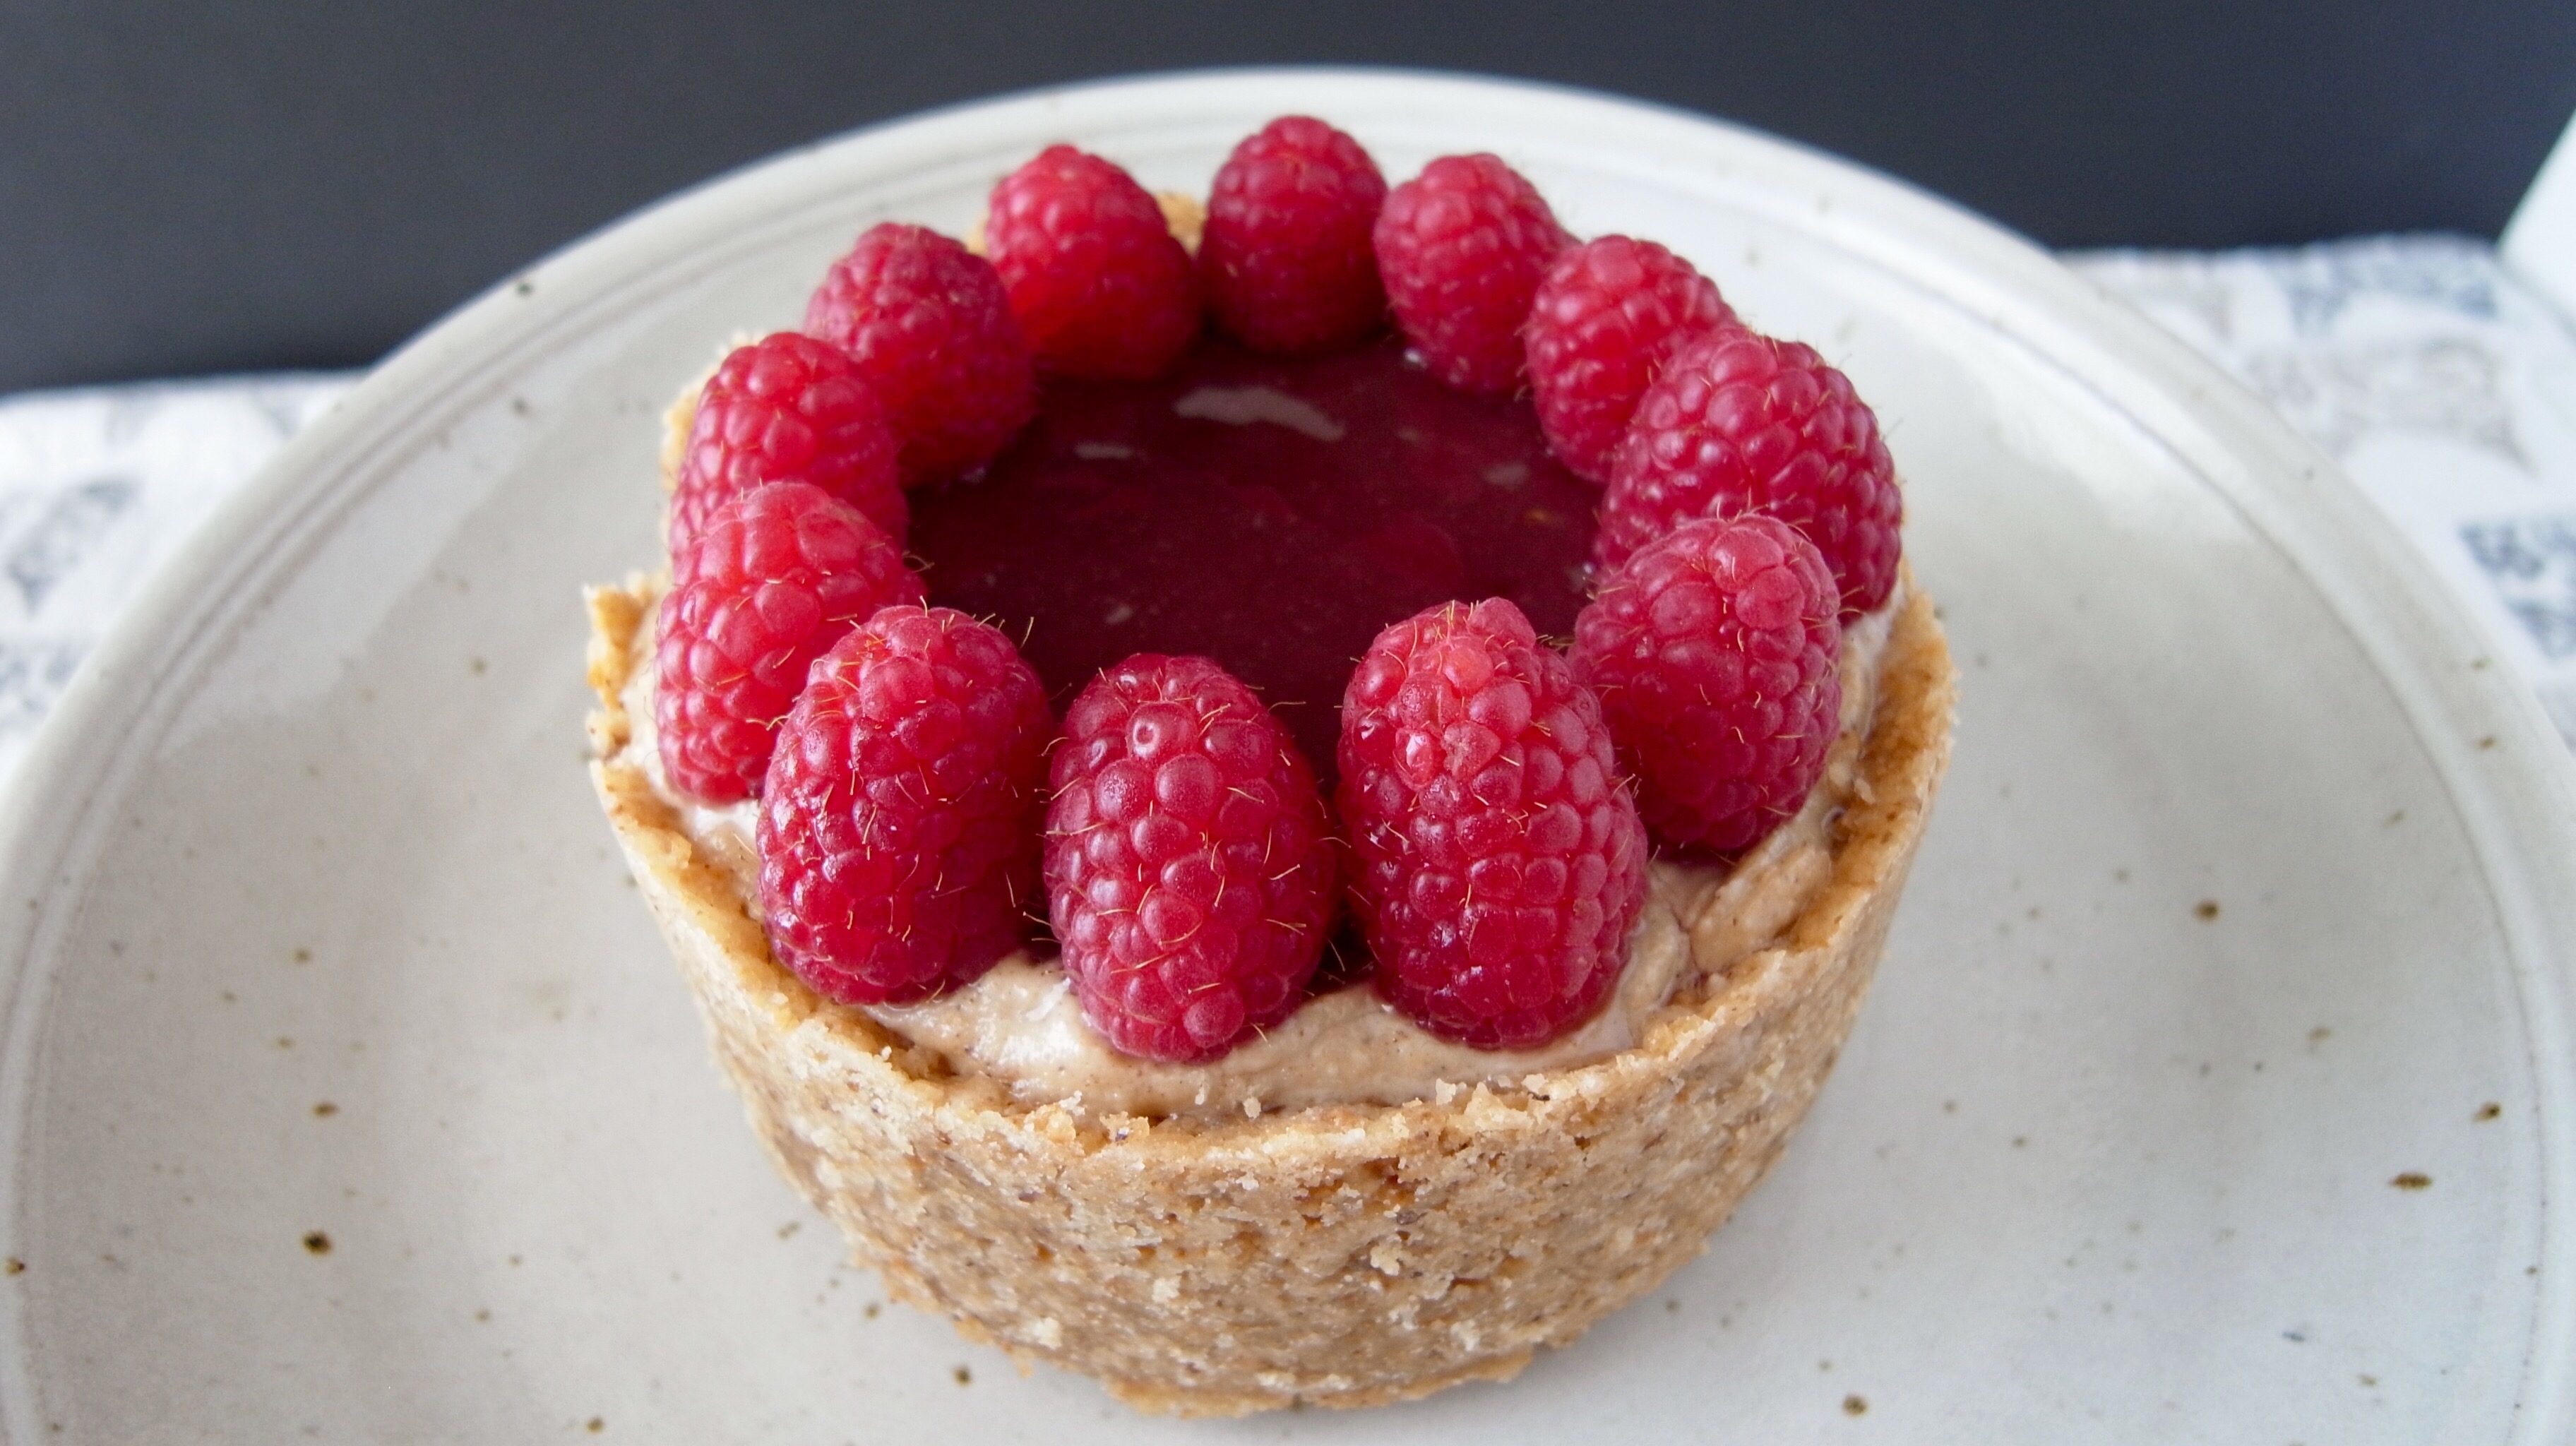
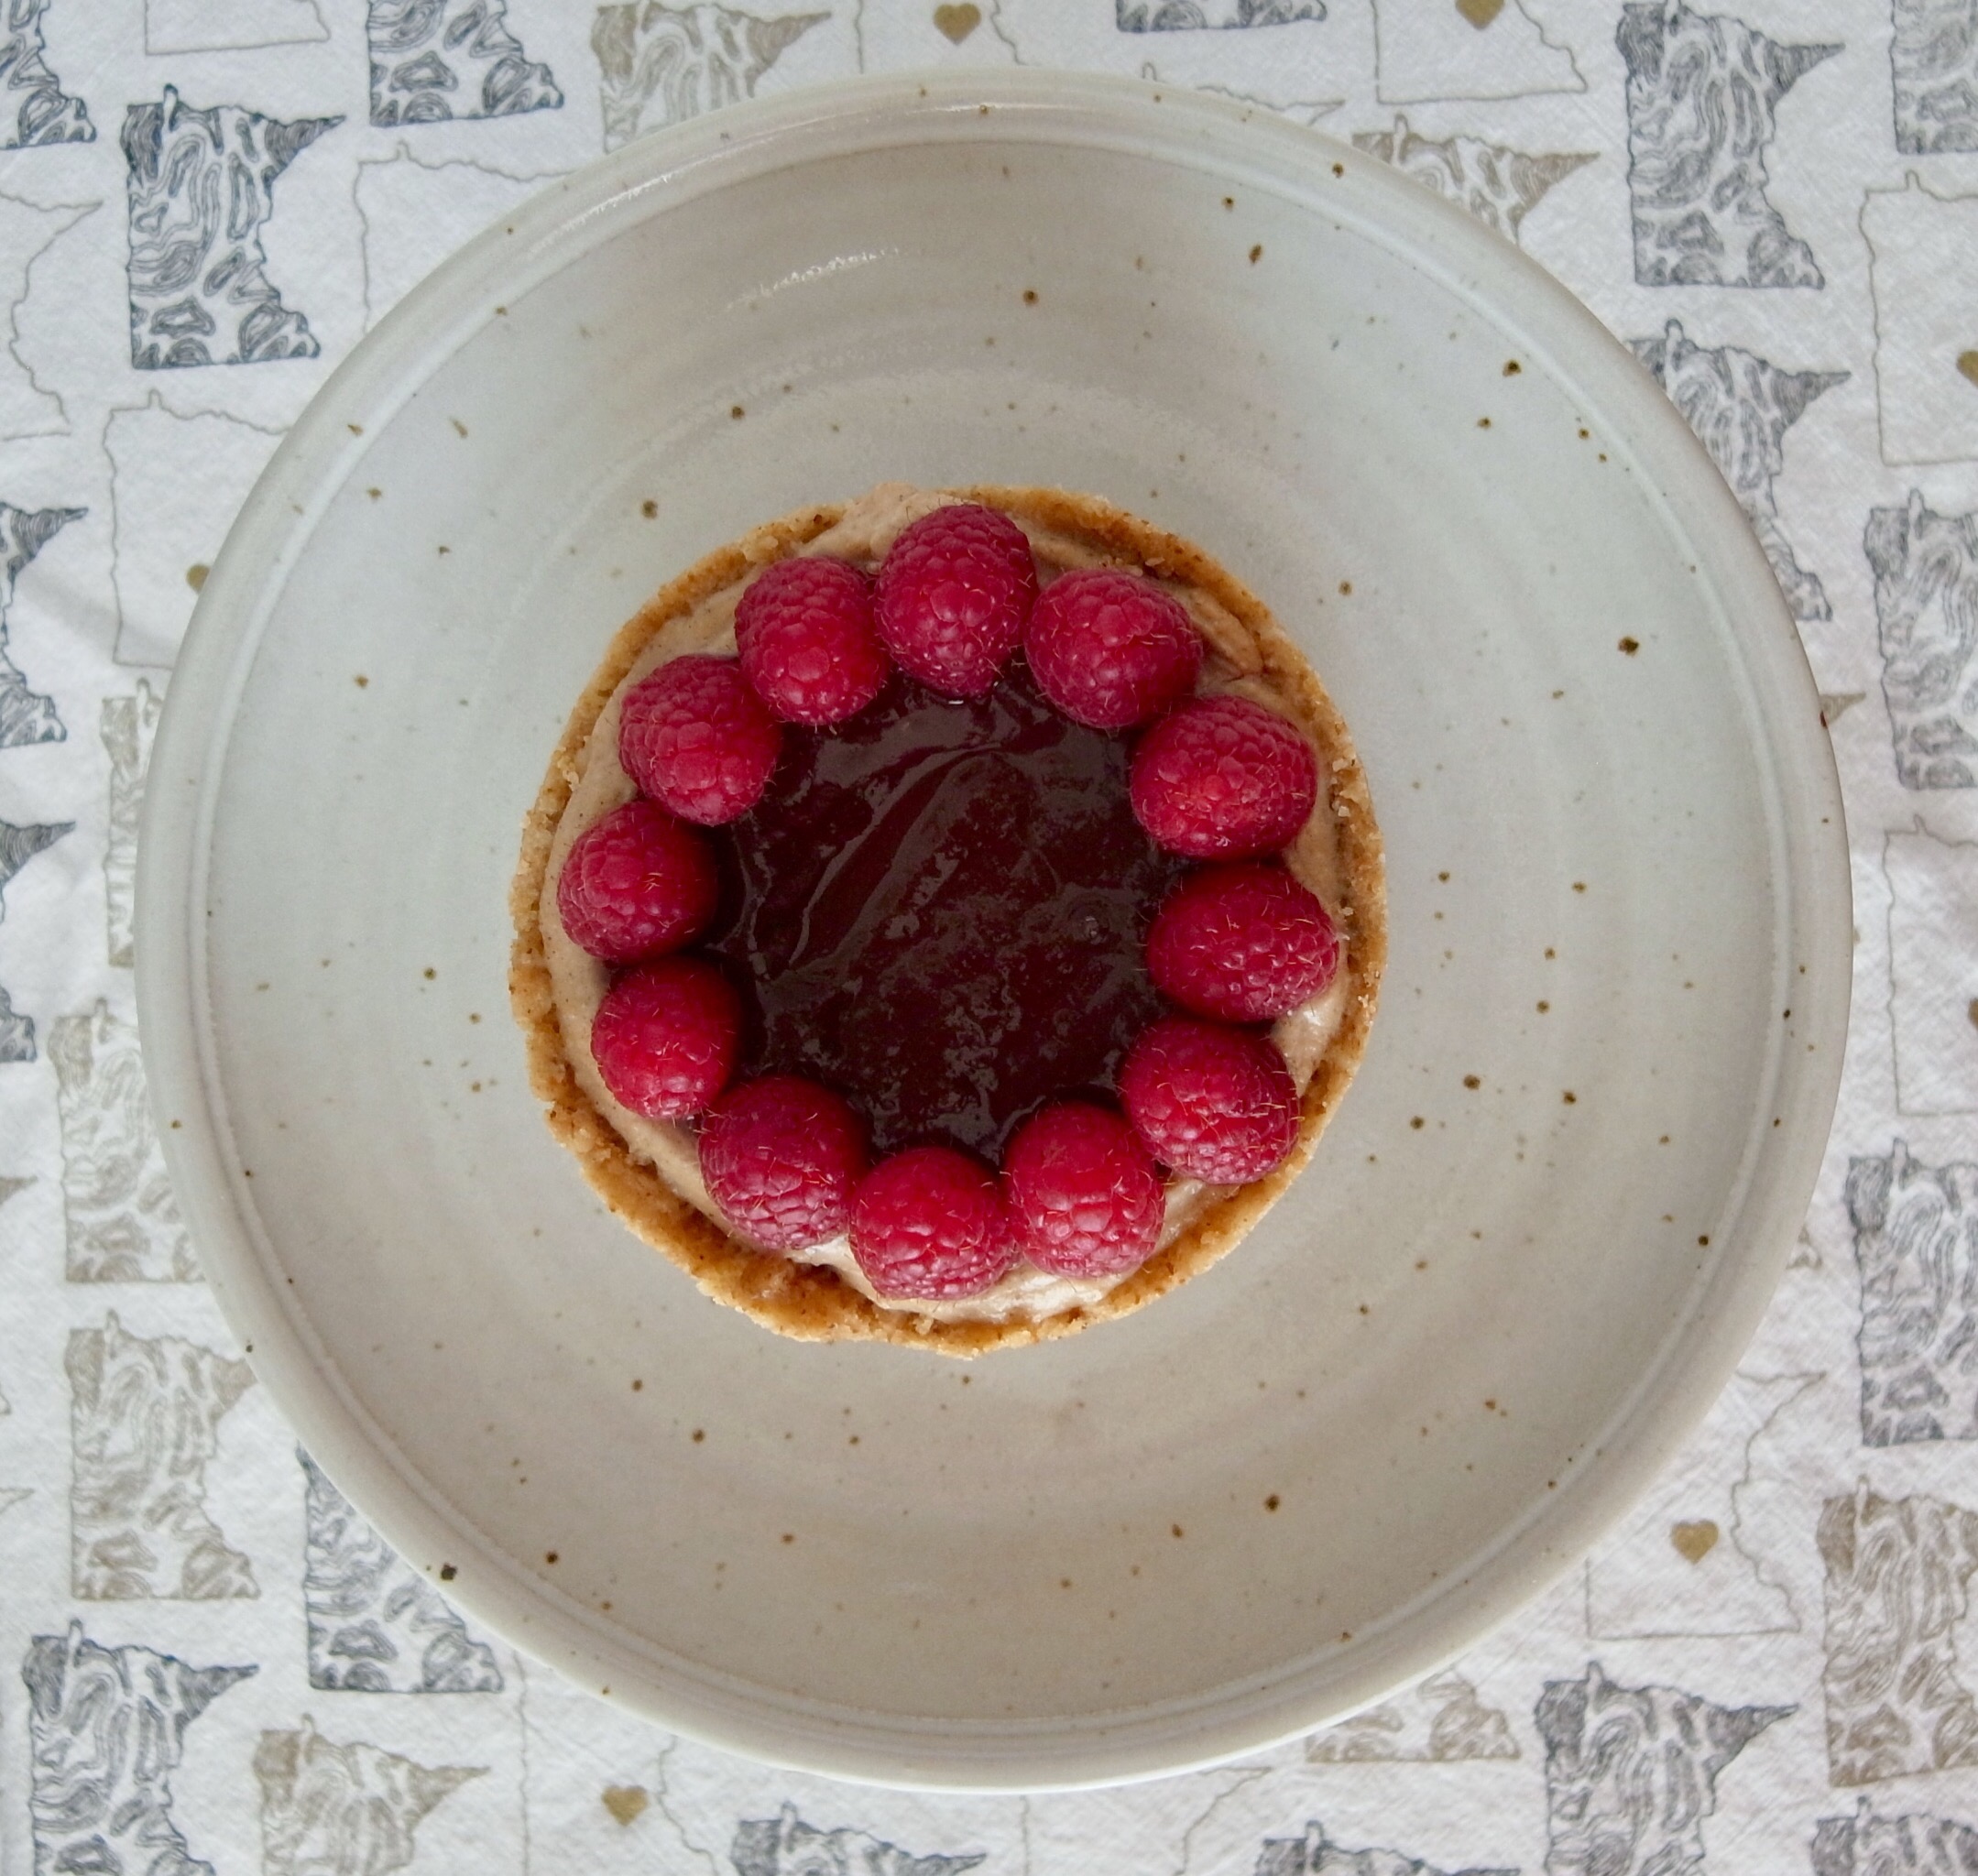
Raspberry and Whipped Hazelnut Tart
Serves 12-16
Ingredients
Toasted Hazelnut Crust
- 3/4 c raw hazelnuts
- 1 c all-purpose flour (or flour of choice)
- 2 T sugar
- 1/2 tsp salt
- 1/2 c butter, cold and cubed
- 3 T ice water
Whipped Hazelnut Filling
- 1 ½ c creamy hazelnut butter
- 14 oz firm tofu (1 package)
- 3 T sugar or to taste
- 1 tsp vanilla
- pinch salt
- 3-4 T vanilla soy milk (or other milk of choice)
Raspberry Sauce
- 1 c organic raspberry jam
- 2 T water
- 1 c fresh raspberries
Directions
- If making your own hazelnut butter, I suggest you do that first before moving on to the rest of the recipe. Store bought is also fine, but difficult to find, and homemade is just that much better!
- Preheat the oven to 350°F. Spread hazelnuts out onto a foil or parchment lined baking sheet. Toast until slightly darkened, about 7 minutes. Watch these like a hawk! Allow to cool down for 5 minutes. Leave oven on to bake the crust.
- To remove the skins of the hazelnuts (they’re kind of bitter), lay a clean tea towel on your counter, and scoop the hot hazelnuts, into a pile in the center of the towel (take care due to the high heat of the nuts). Bring the four corners of the tea towel together and gather it up in one hand, so that all of your hazelnuts are scooped up in the bottom of the tea towel. Using your other hand, squish the bottom and the sides of the tea towel so that all the hazelnuts are rubbing up against each other. Do this for a couple minutes until most of the skins are removed.
- Separate out the skins from the nuts. I use a slotted serving spoon – it’s big enough to get more than a few nuts at a time and the holes are small enough that the nuts won’t fall through but the skins will.
- For the crust:Using a food processor, pulse the toasted hazelnuts, the flour, sugar, and salt together until it reaches the consistency of coarse meal. Add the cubes of cold butter and pulse until the mixture turns into pea-sized crumbs. I used frozen butter since I was working in a warm kitchen – you don’t want it to get too soft.
- Transfer mixture to a large bowl. Using a rubber spatula or wooden spoon, slowly stir in 3 Tablespoons of ice water. You only want to add enough water to bring the dough somewhat together. Using floured fingers or the bottom of a flat and lightly floured measuring cup, press the dough evenly into a 9 inch tart or pie pan. (If you’re making smaller tarts, depending on the number of pans you have… I had three smaller spring form pans, reduce the recipe by one quarter.) You want it extremely tight in the pan. You’ll need to use baking beans or pie weights for the next step, so line the crust with aluminum foil or parchment paper and add pie weights or dry baking beans.
- Bake at 350F (with pie weights) for 18-20 minutes. Remove from the oven and place on a wire rack so it can slightly cool as you prepare the filling.
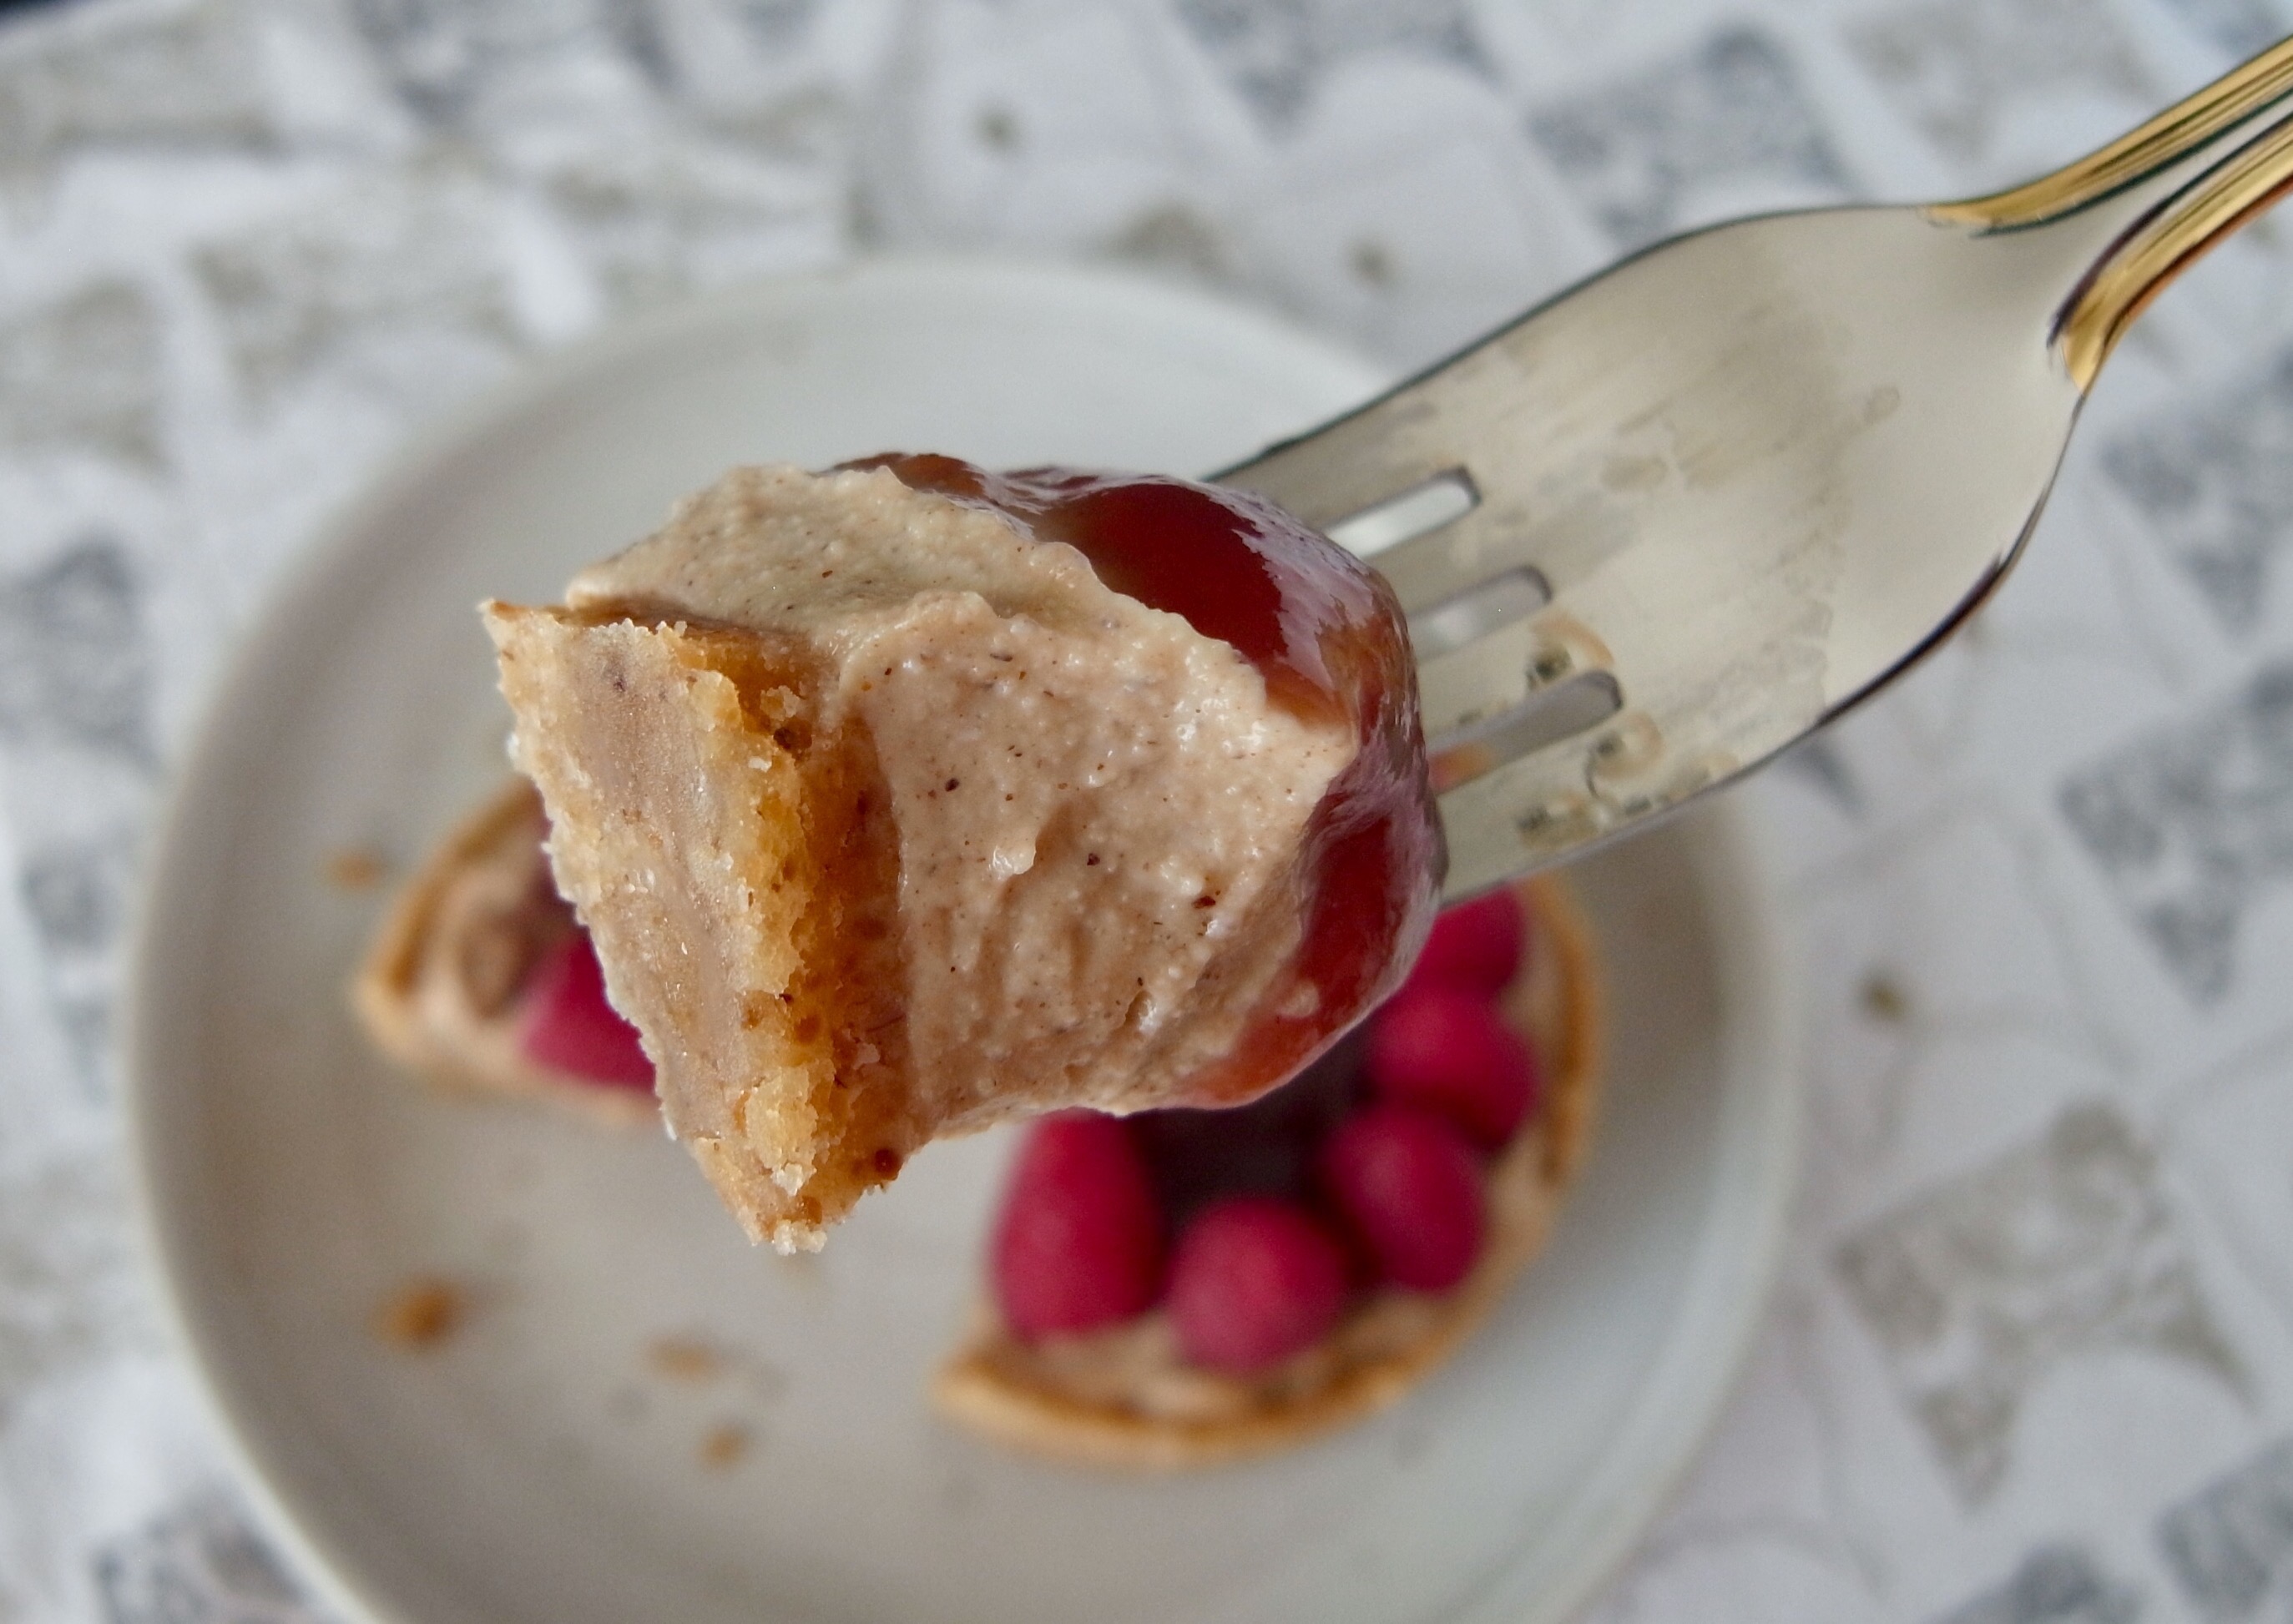
- For the filling: In a clean food processor, blend together the hazelnut butter, tofu (drained), sugar, vanilla, salt, and soy milk until it comes to a super creamy and fluffy consistency.
- Spoon filling into tart crust, creating a slight ridge around the outside that can hold in the filling, and place in refrigerator while preparing the topping.
- For the sauce: Mix the raspberry jam/preserves with 1-2 T water. Using a wire mesh sieve, press the mixture into the mesh to collect the seedless topping below. (You can also choose to make your our raspberry jam, I just find it to be a little bit of a time saver to by your own and tweak it.)
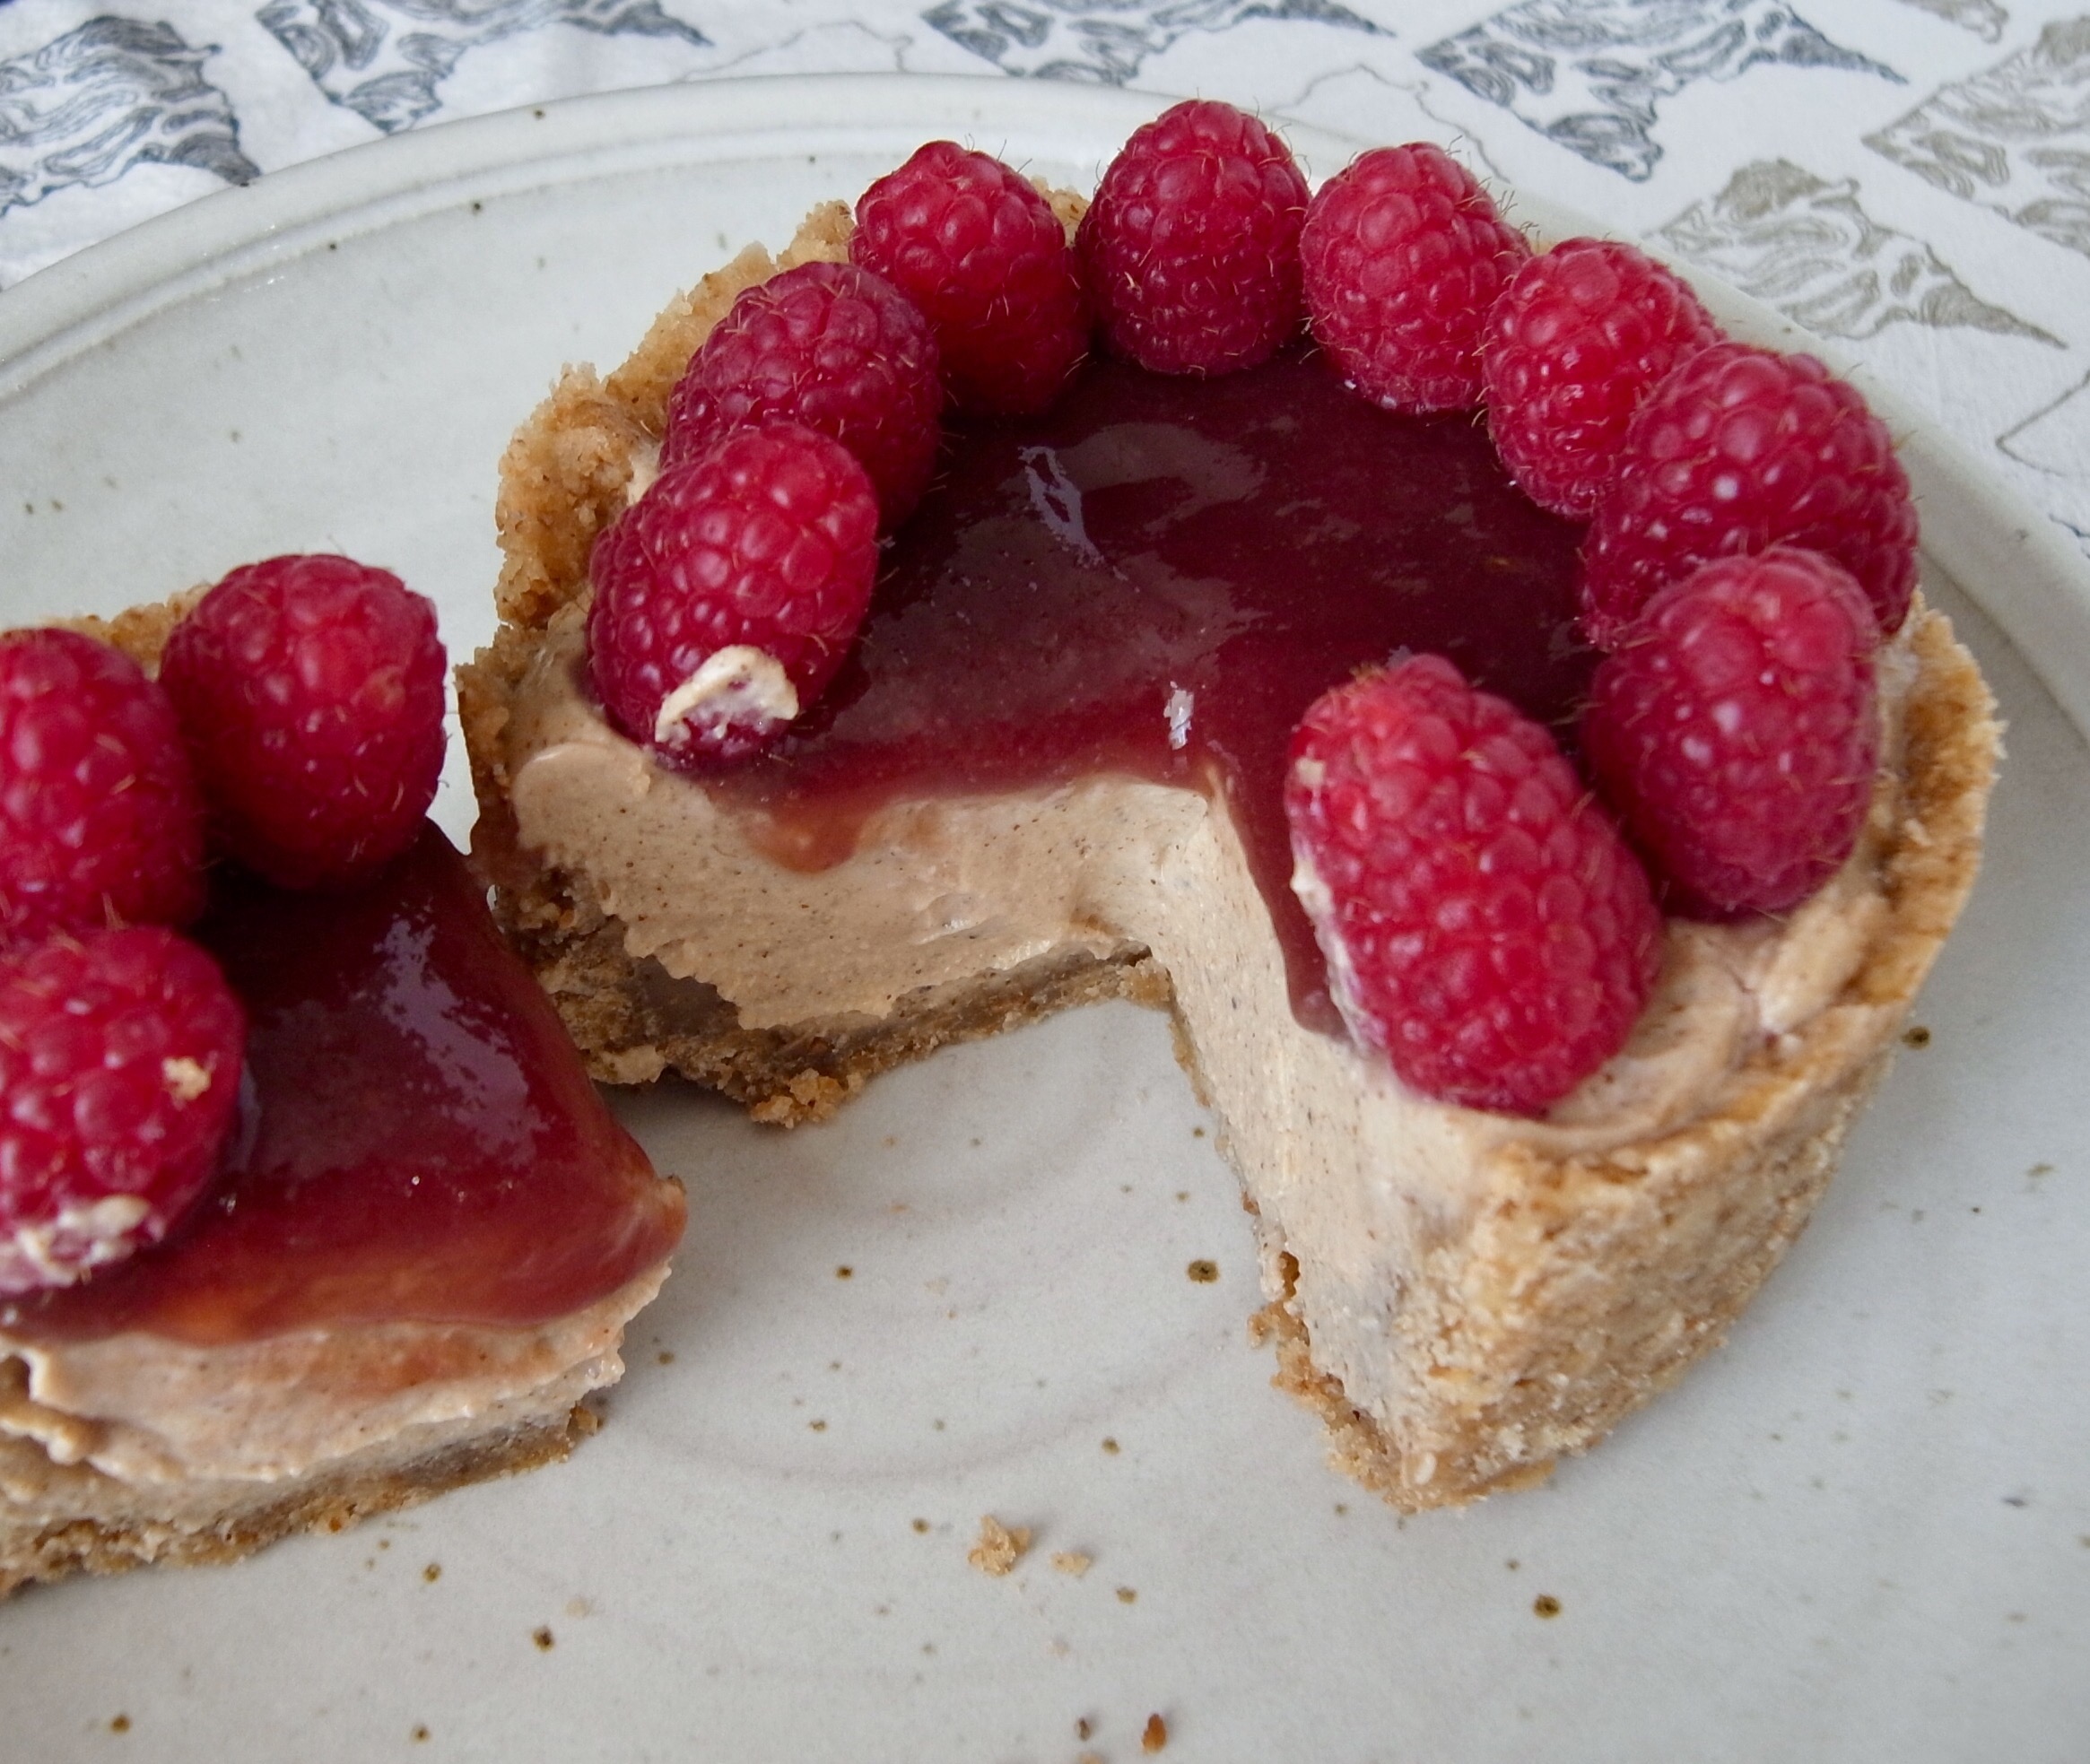
- Spread the raspberry sauce over the top of the tart, staying within the “dam”. Place in tart in refrigerator to chill and set – 4 hours or overnight. When ready to serve, line the edge of the tart with raspberries (bottoms up).

This might be my heaven. Luckily a few bites are already pretty filling, so it’s easily shared. 🙂
After making this amazing tart, I find out C doesn’t like hazelnuts. WHAT!? What crazy person doesn’t like hazelnuts? So not wanting to eat the equivalent of an entire tart by myself, I brought two of the small tarts to work. And they were a complete hit! That creamy nutty filling, the tart raspberries, and crunchy crust is what my summer dreams are made of.
Even though the recipe looks long and maybe a bit overwhelming, I promise that if done in steps, it’s super easy and almost completely fool proof.
Tofu is one of my favorite additions to all things creamy that need some sort of structure. What are some of your favorite “hidden” ingredients?

Pingback: Everyday Arugula Salad | Less Sugar, More Spice