Lemon Lavender No-Bake Cheesecake

Maybe it was winter, but my cooking/recipe slump feels like it is finally ending and I’m feeling the inspiration! Maybe the summer like weather here the past week has helped? 90 degrees in the first part of May. What!?

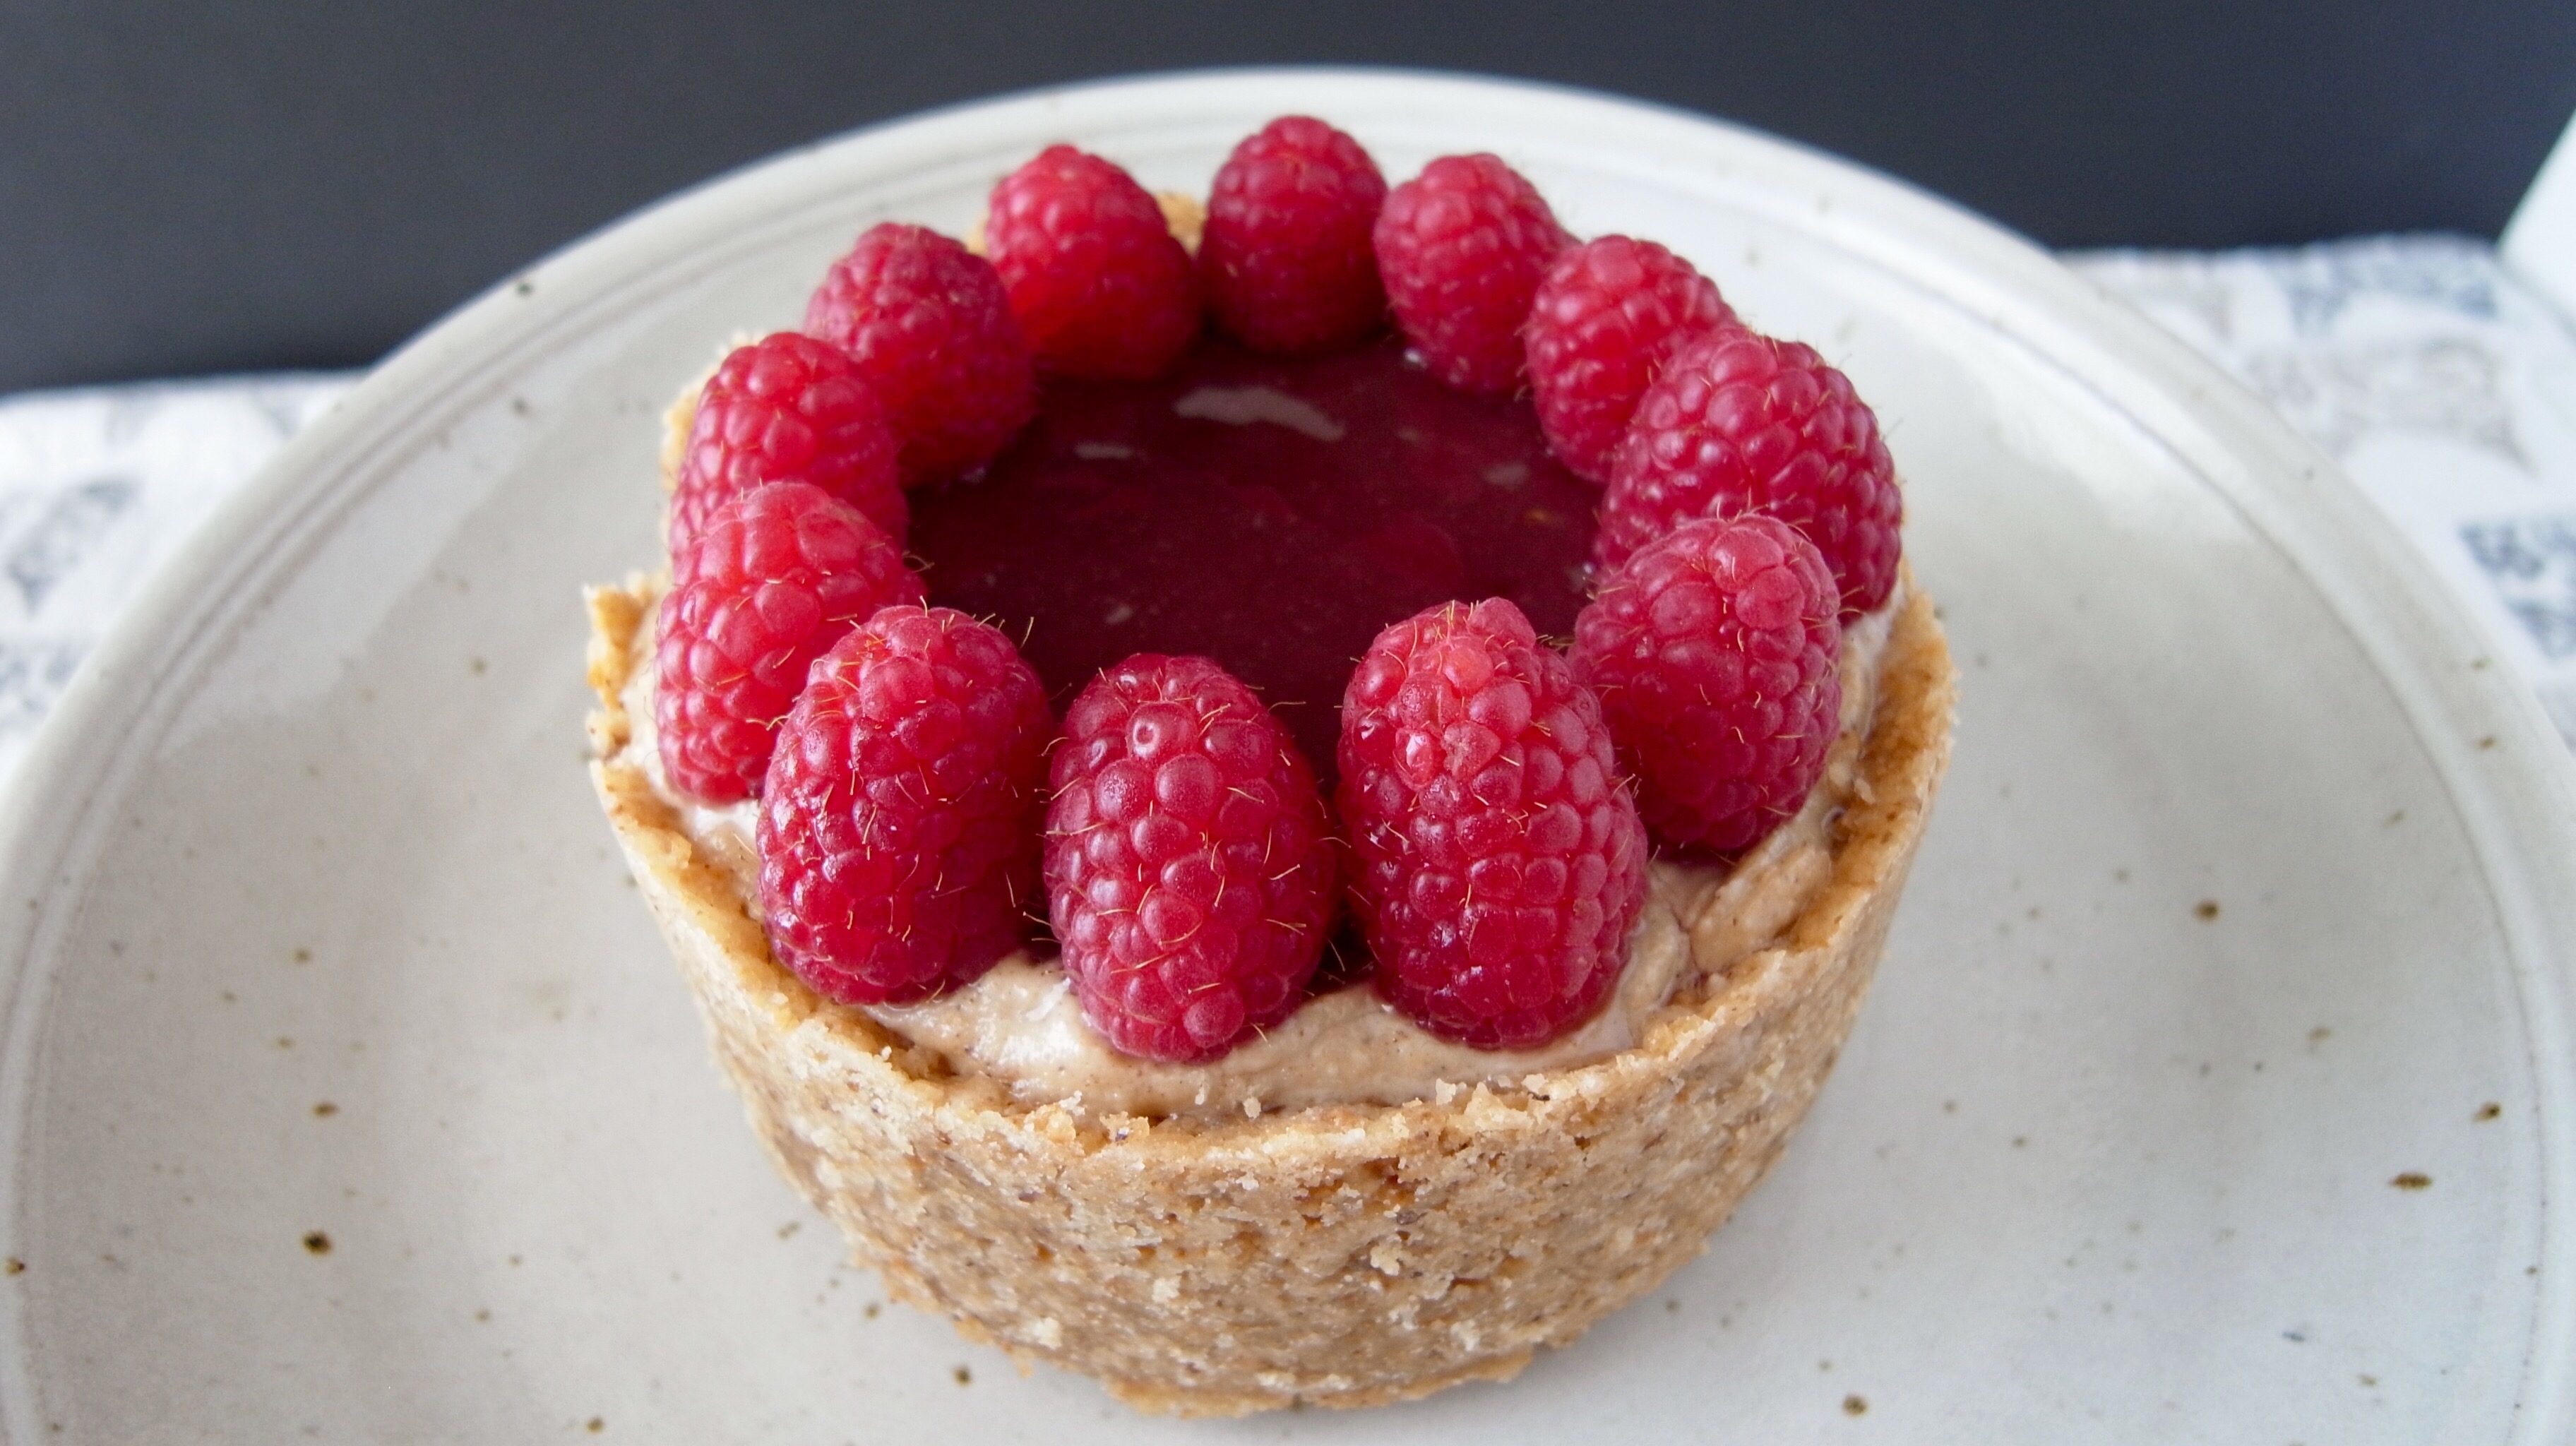
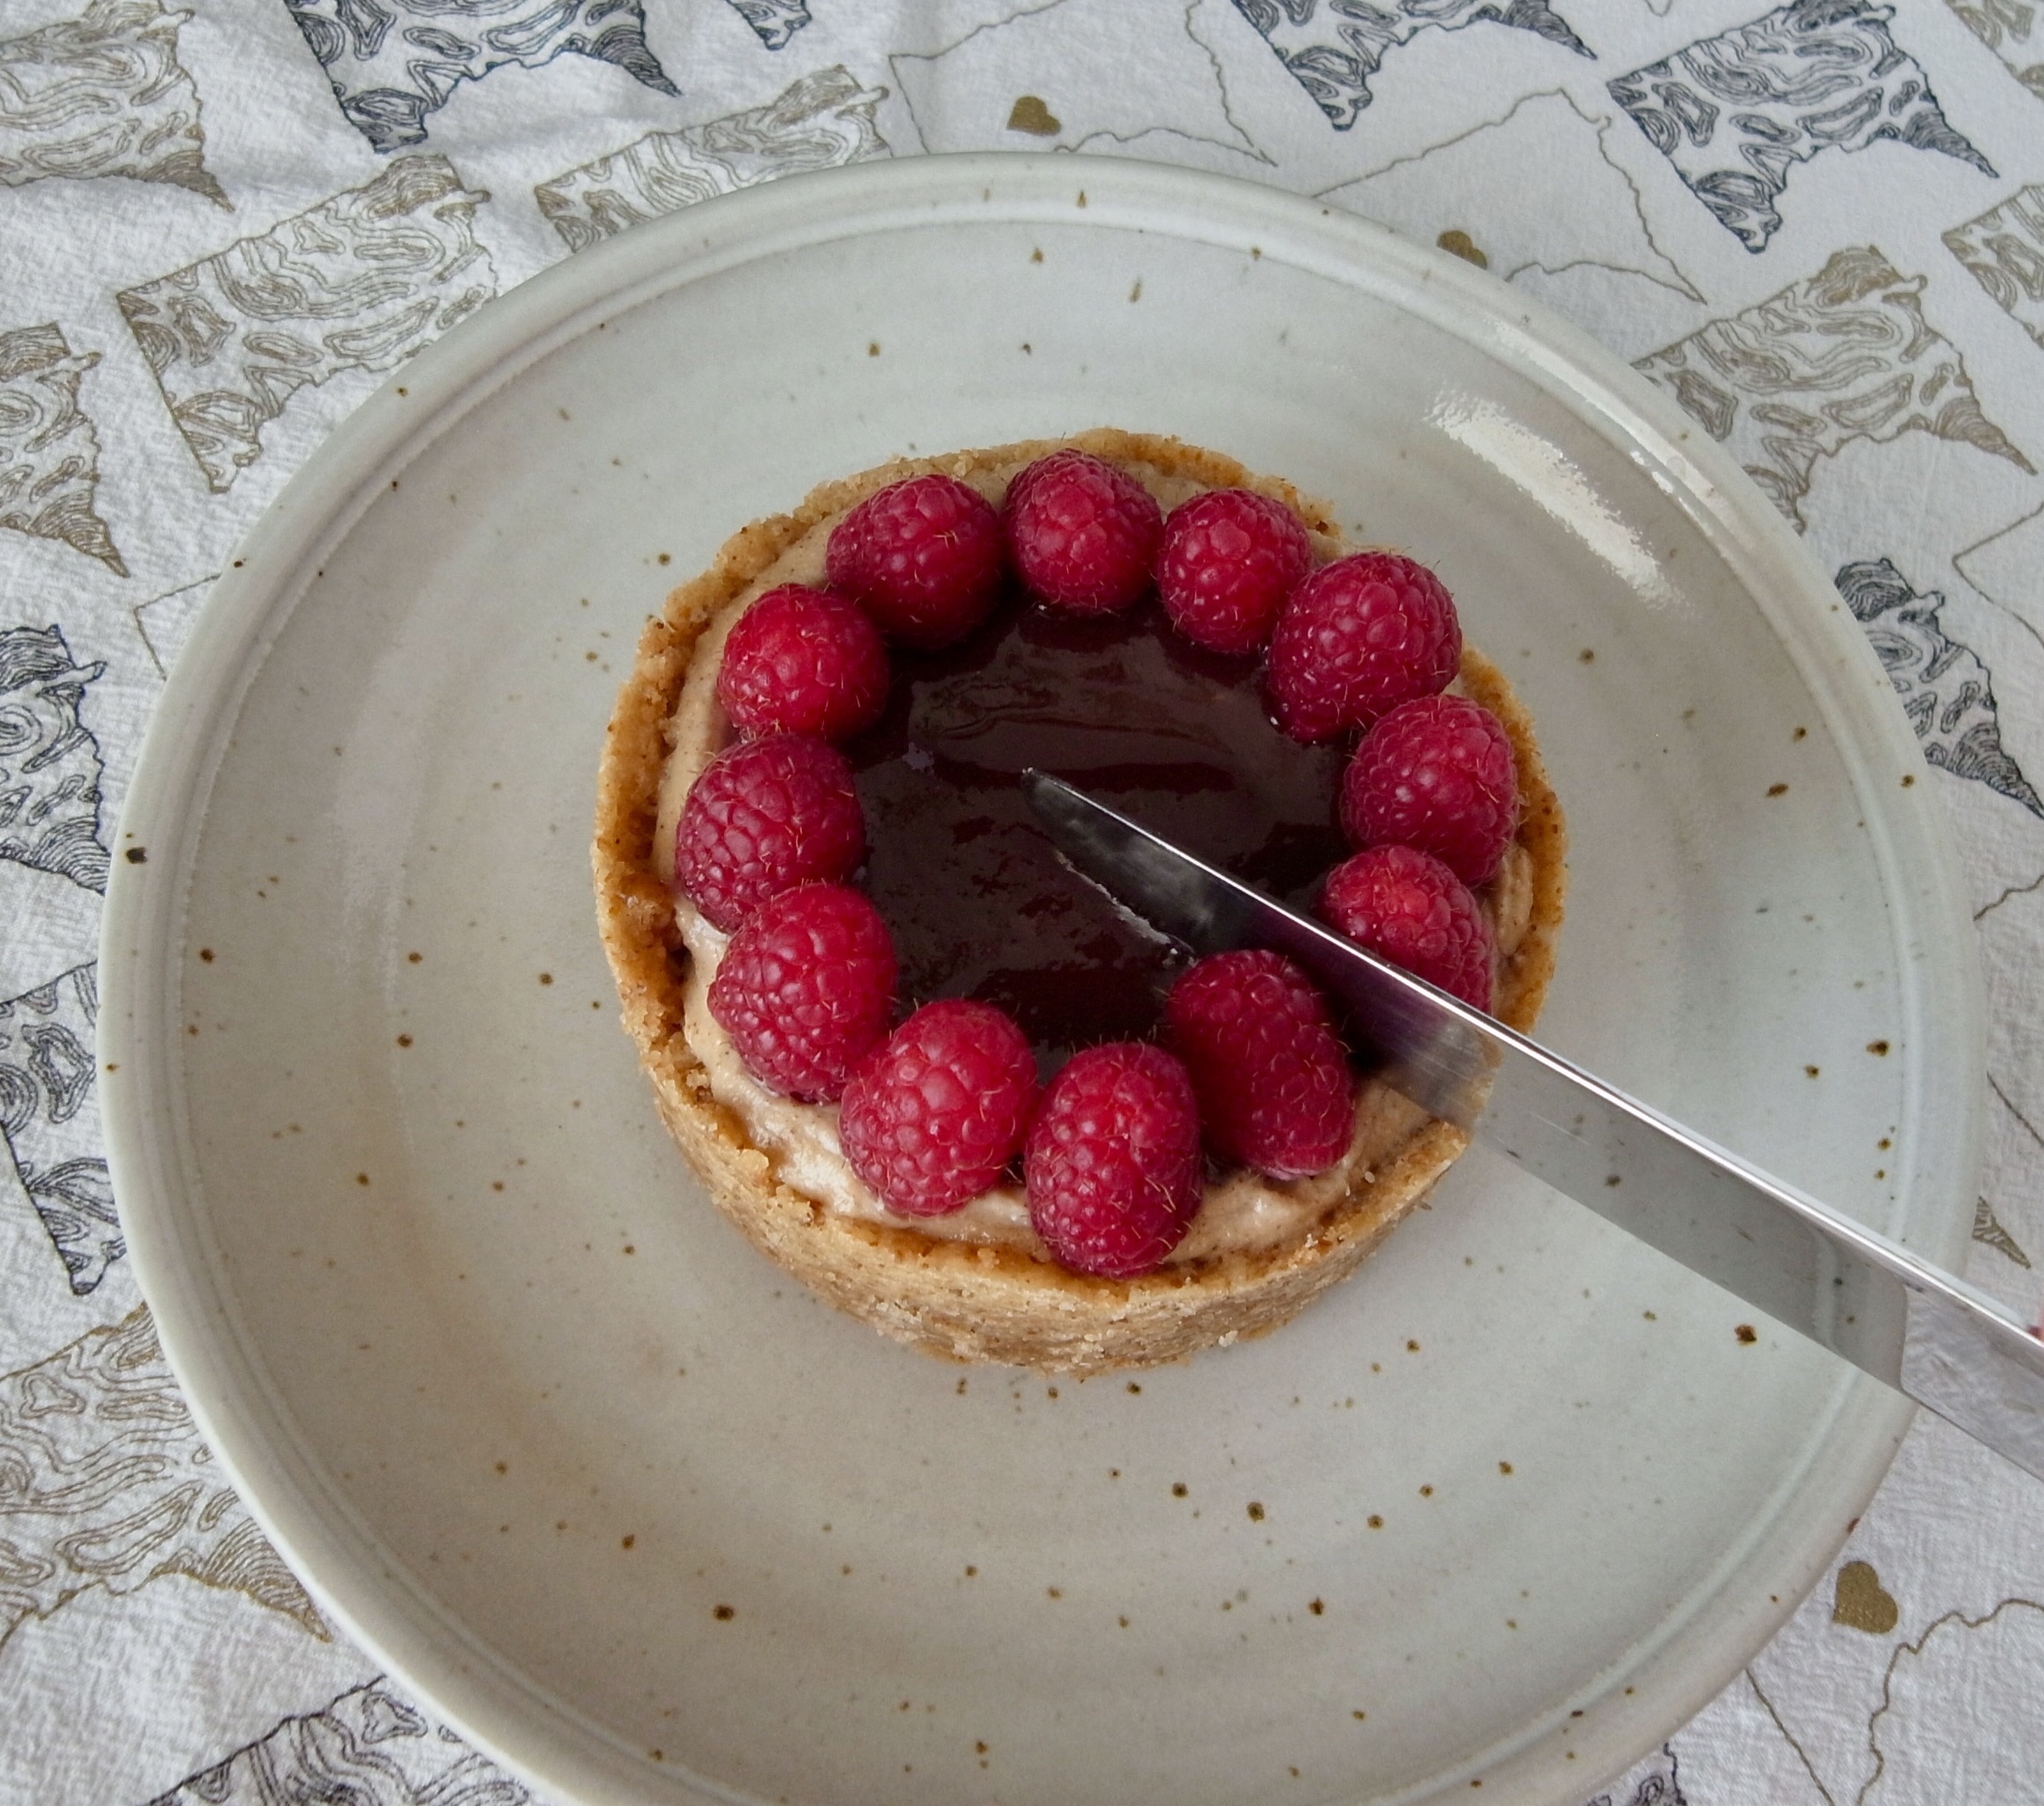
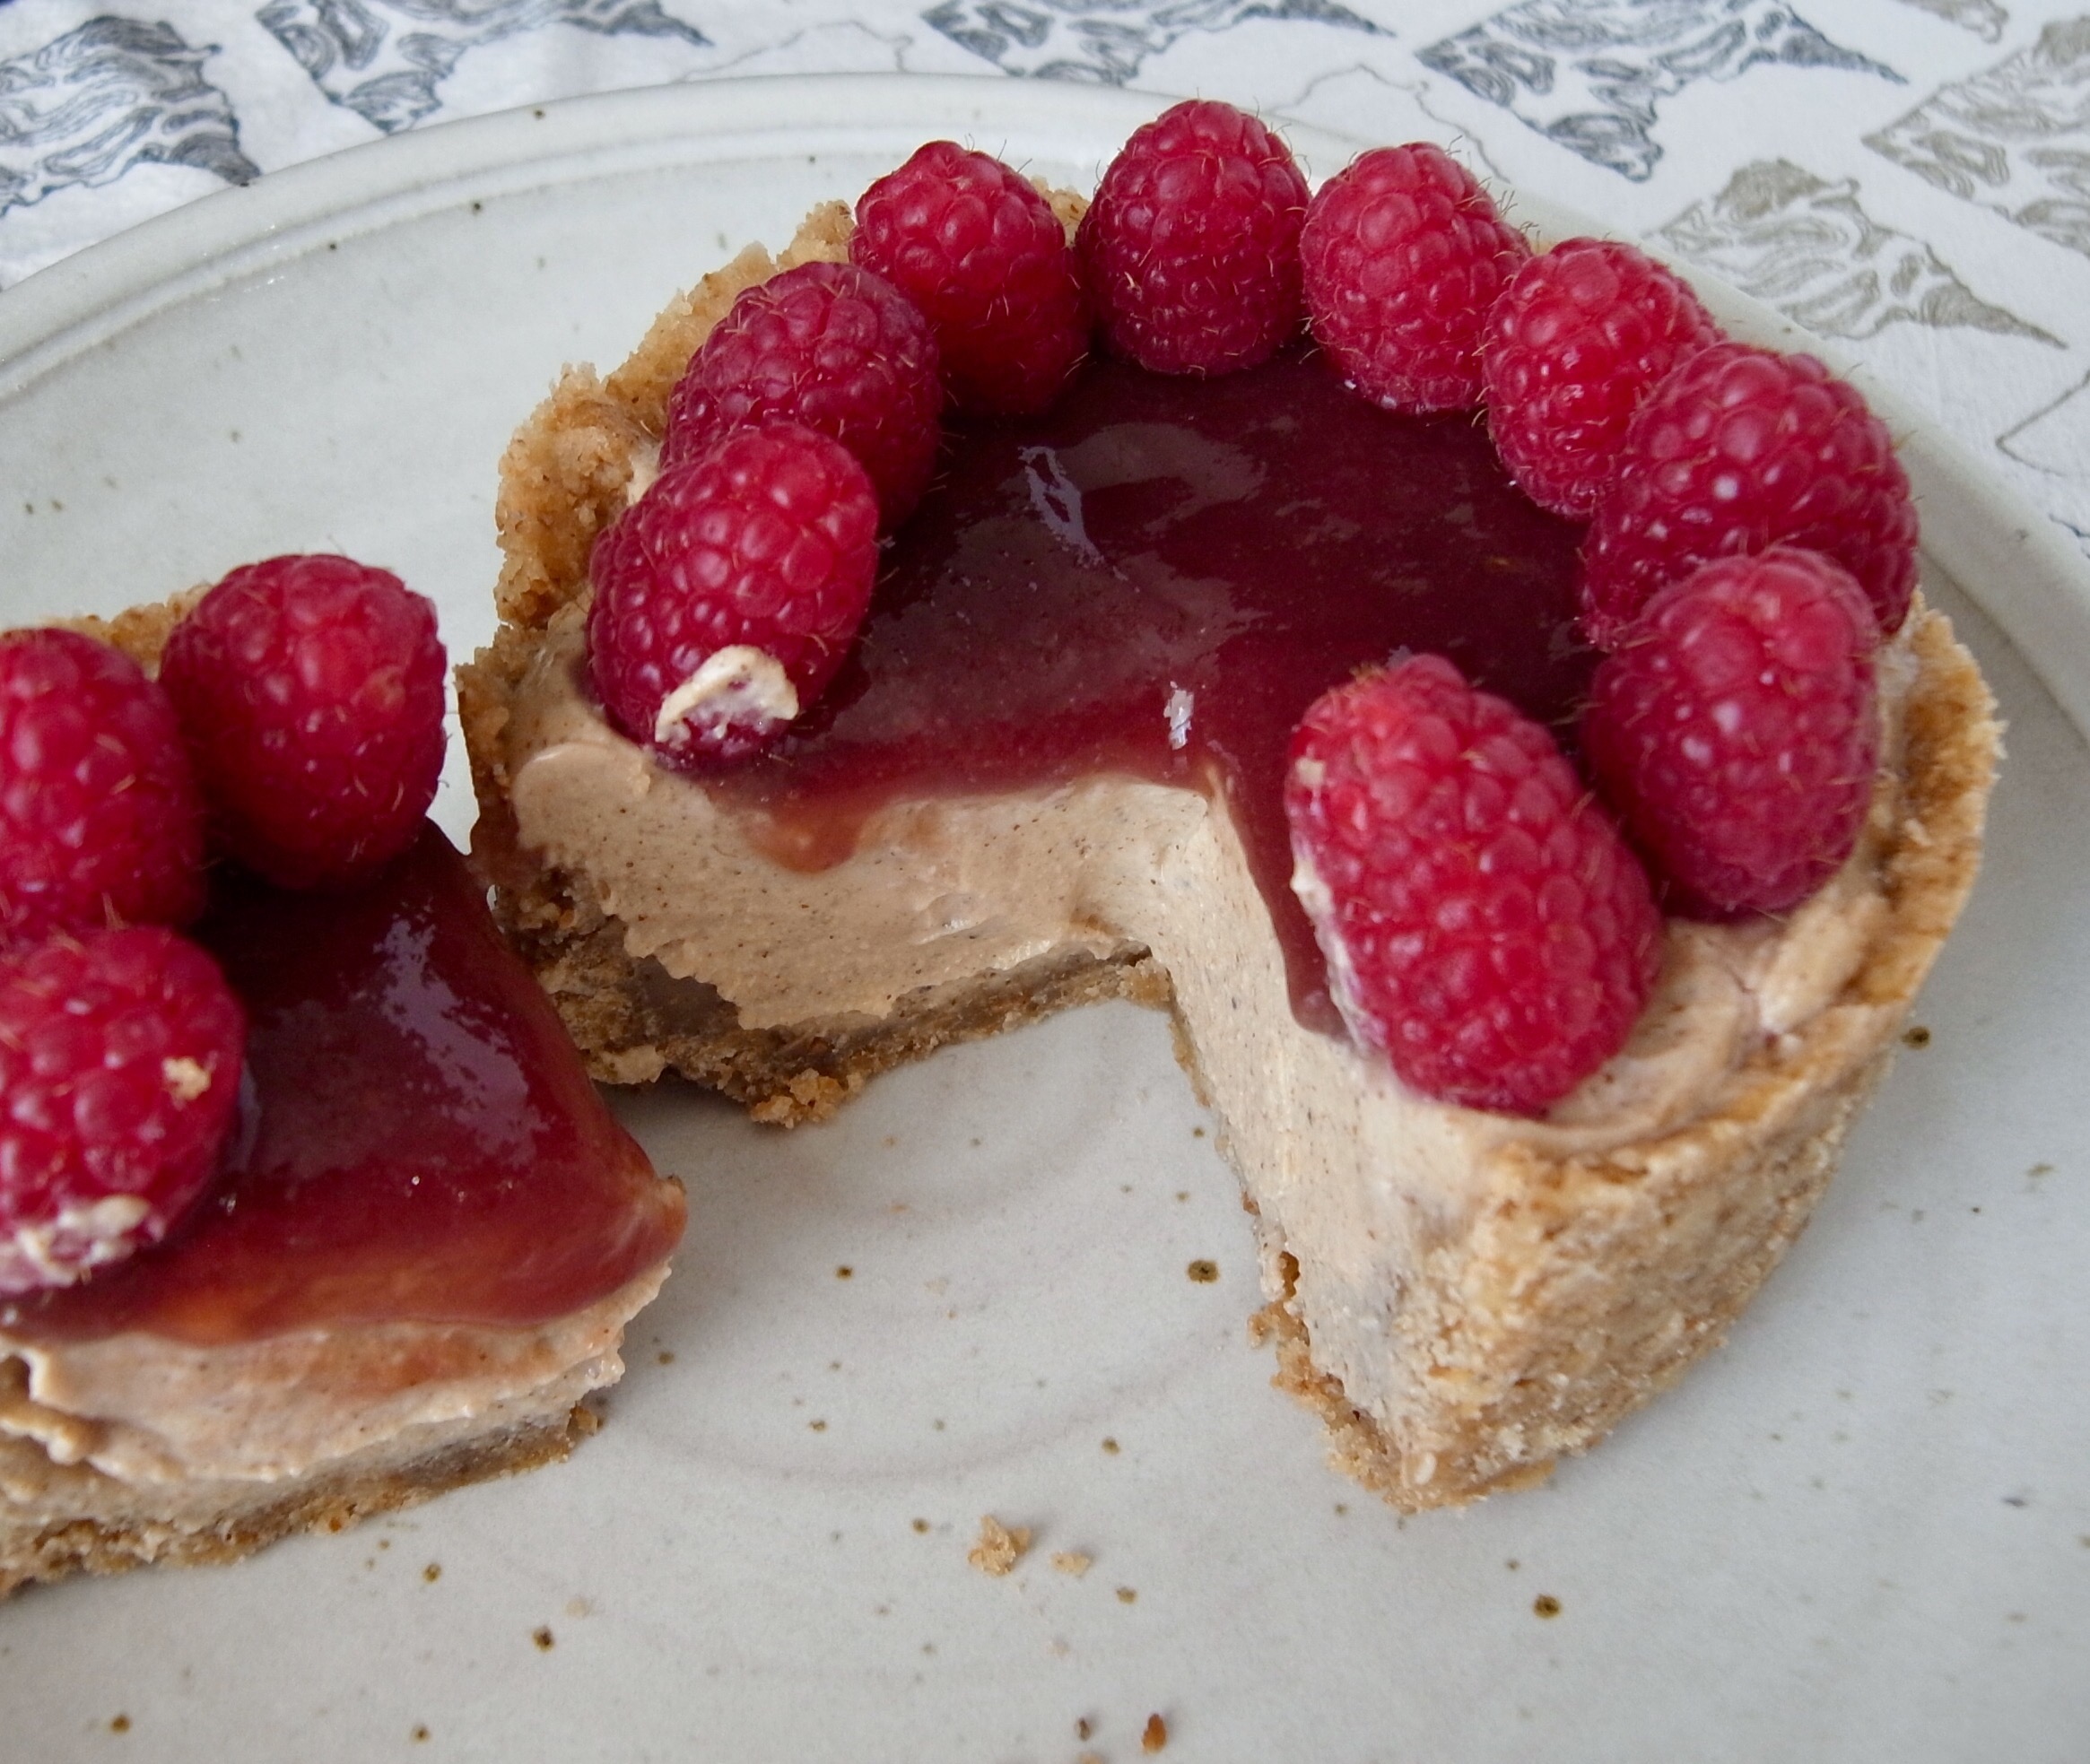
While re-testing a recipe for an upcoming event for work (I’m making my Lemon Lavender Energy Bites), I brought in the samples to co-workers and they correctly noted that the energy bite dough would make an awesome crust for cheesecake. I made a mental note of this and then went forward to try and determine if a baked or no-bake cheesecake would be best for this. No-bake was the obvious answer since the crust is also meant to be mainly raw. The filling is slightly tangier than a normal cheesecake, so you could just call it a tart, but I’m going to stick to my guns on this and say cheesecake. 🙂

IMG_0131 (1)

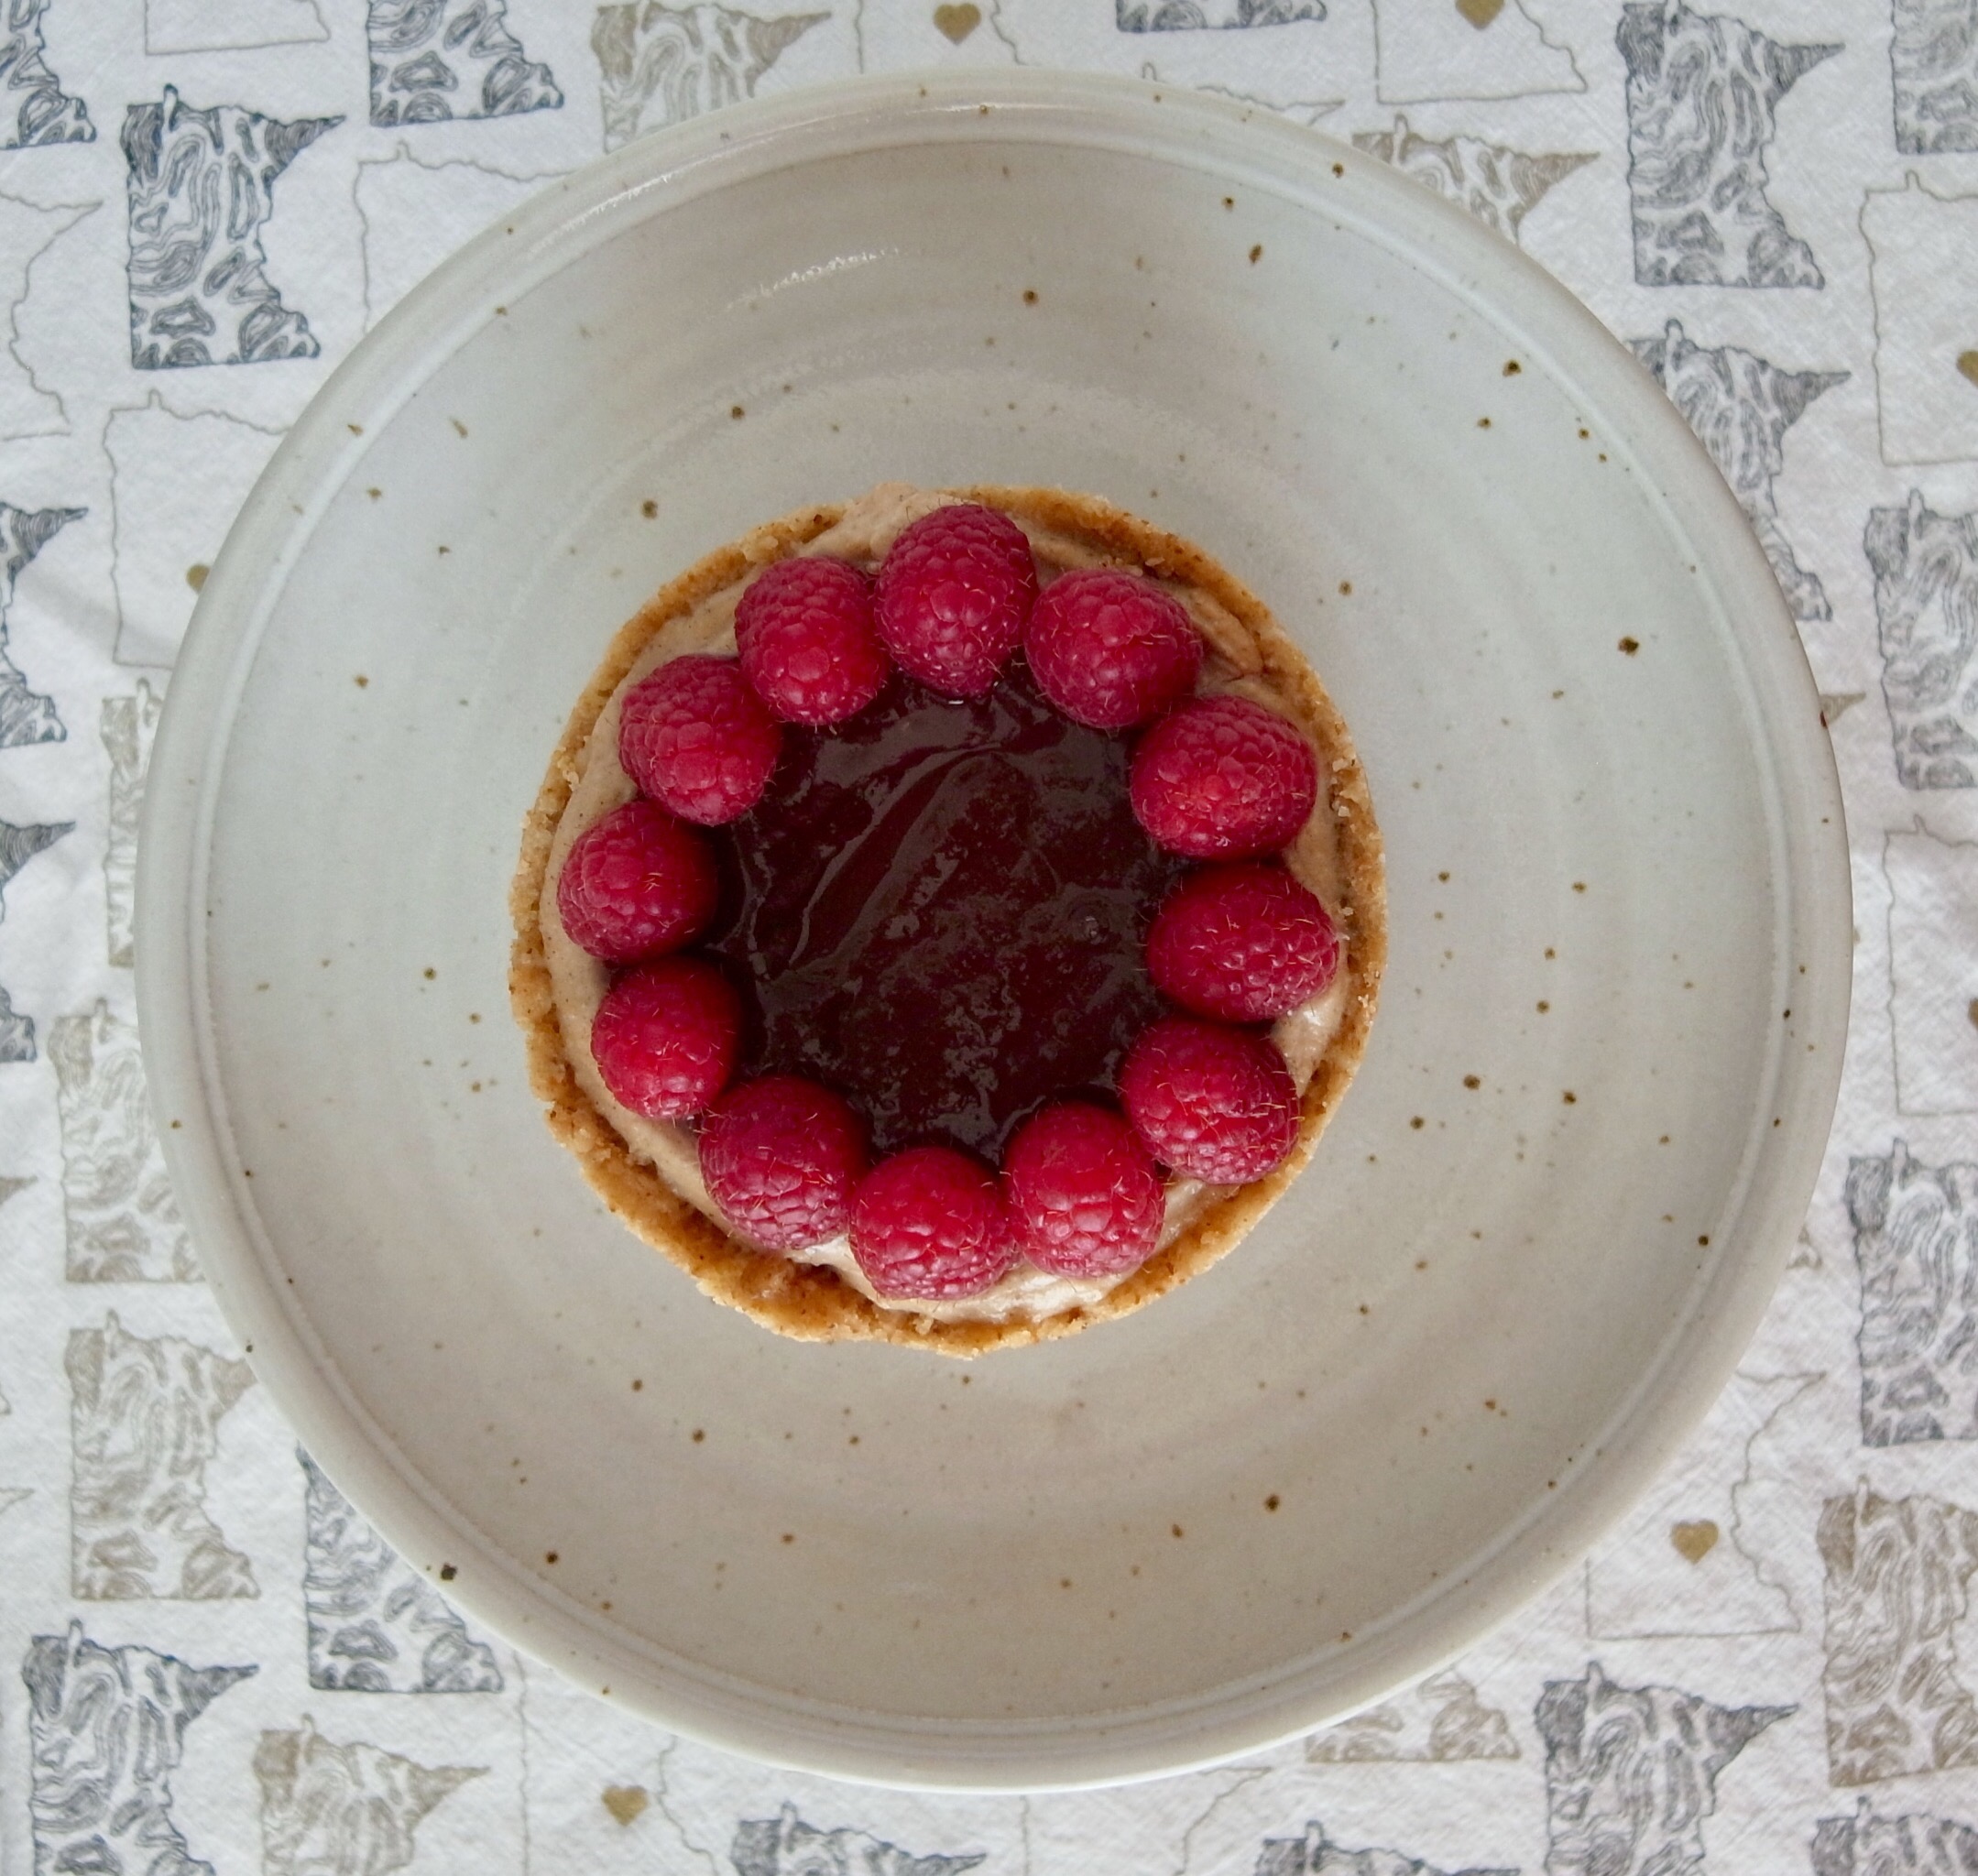
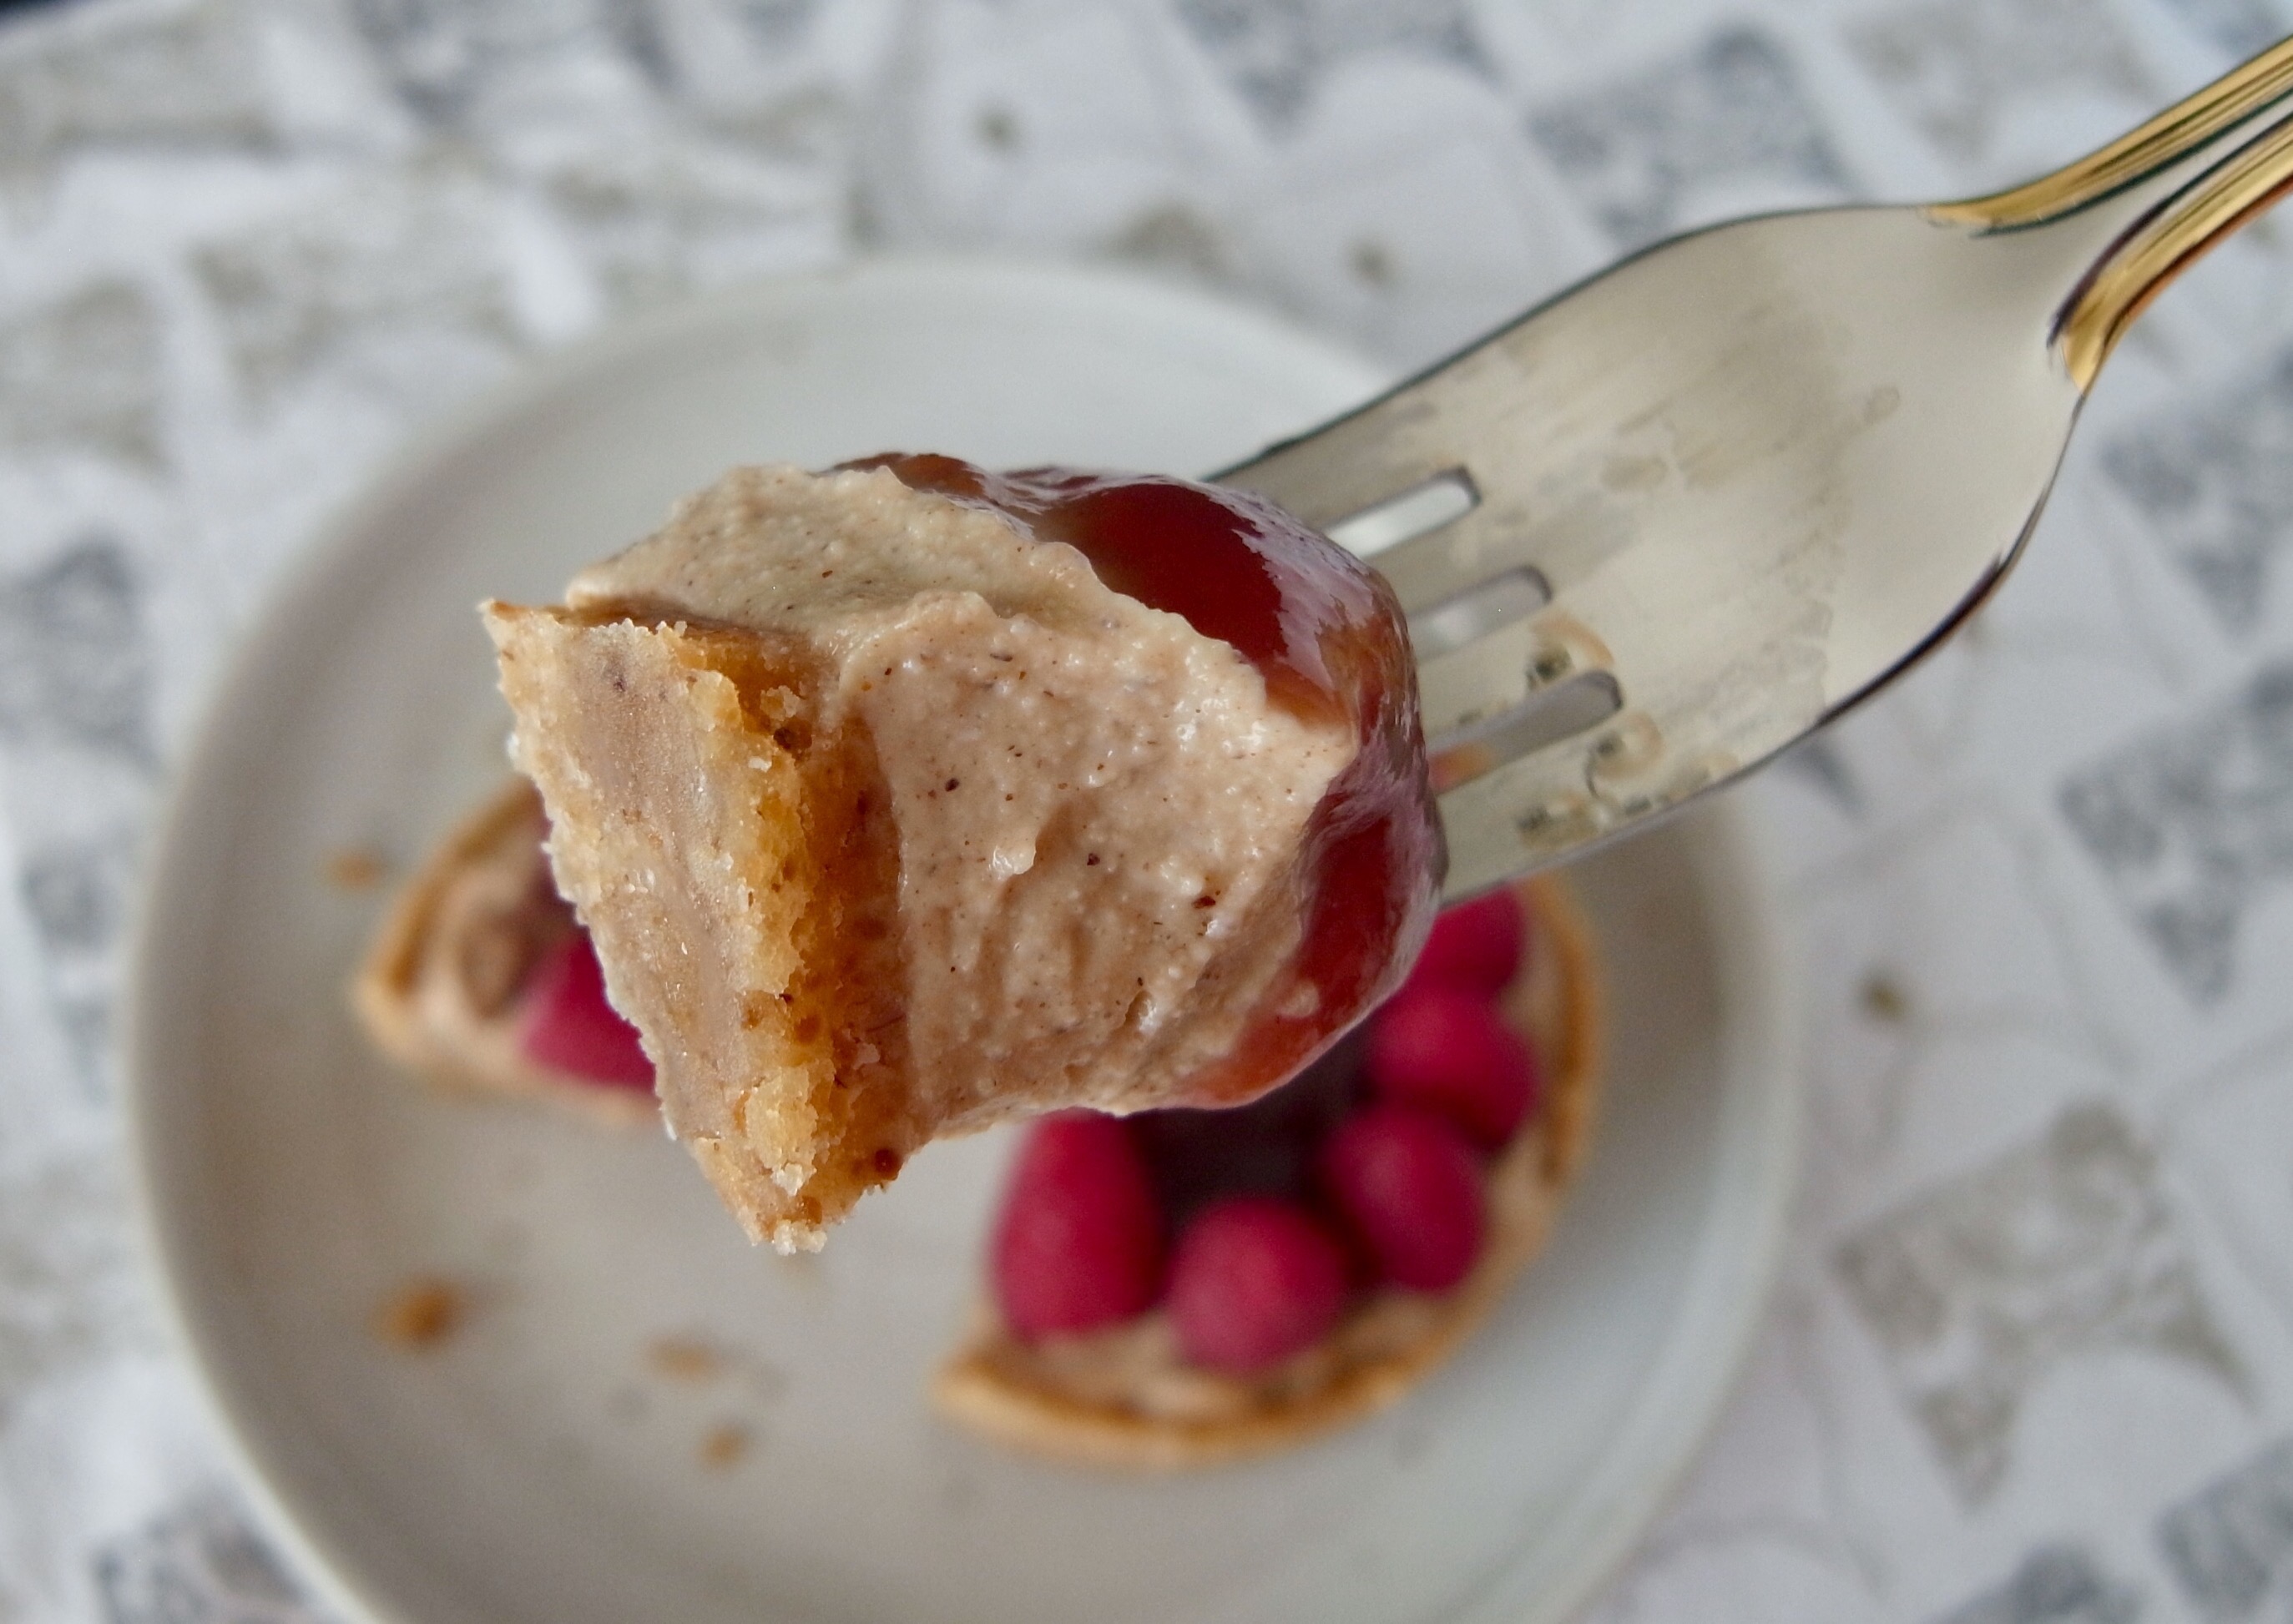
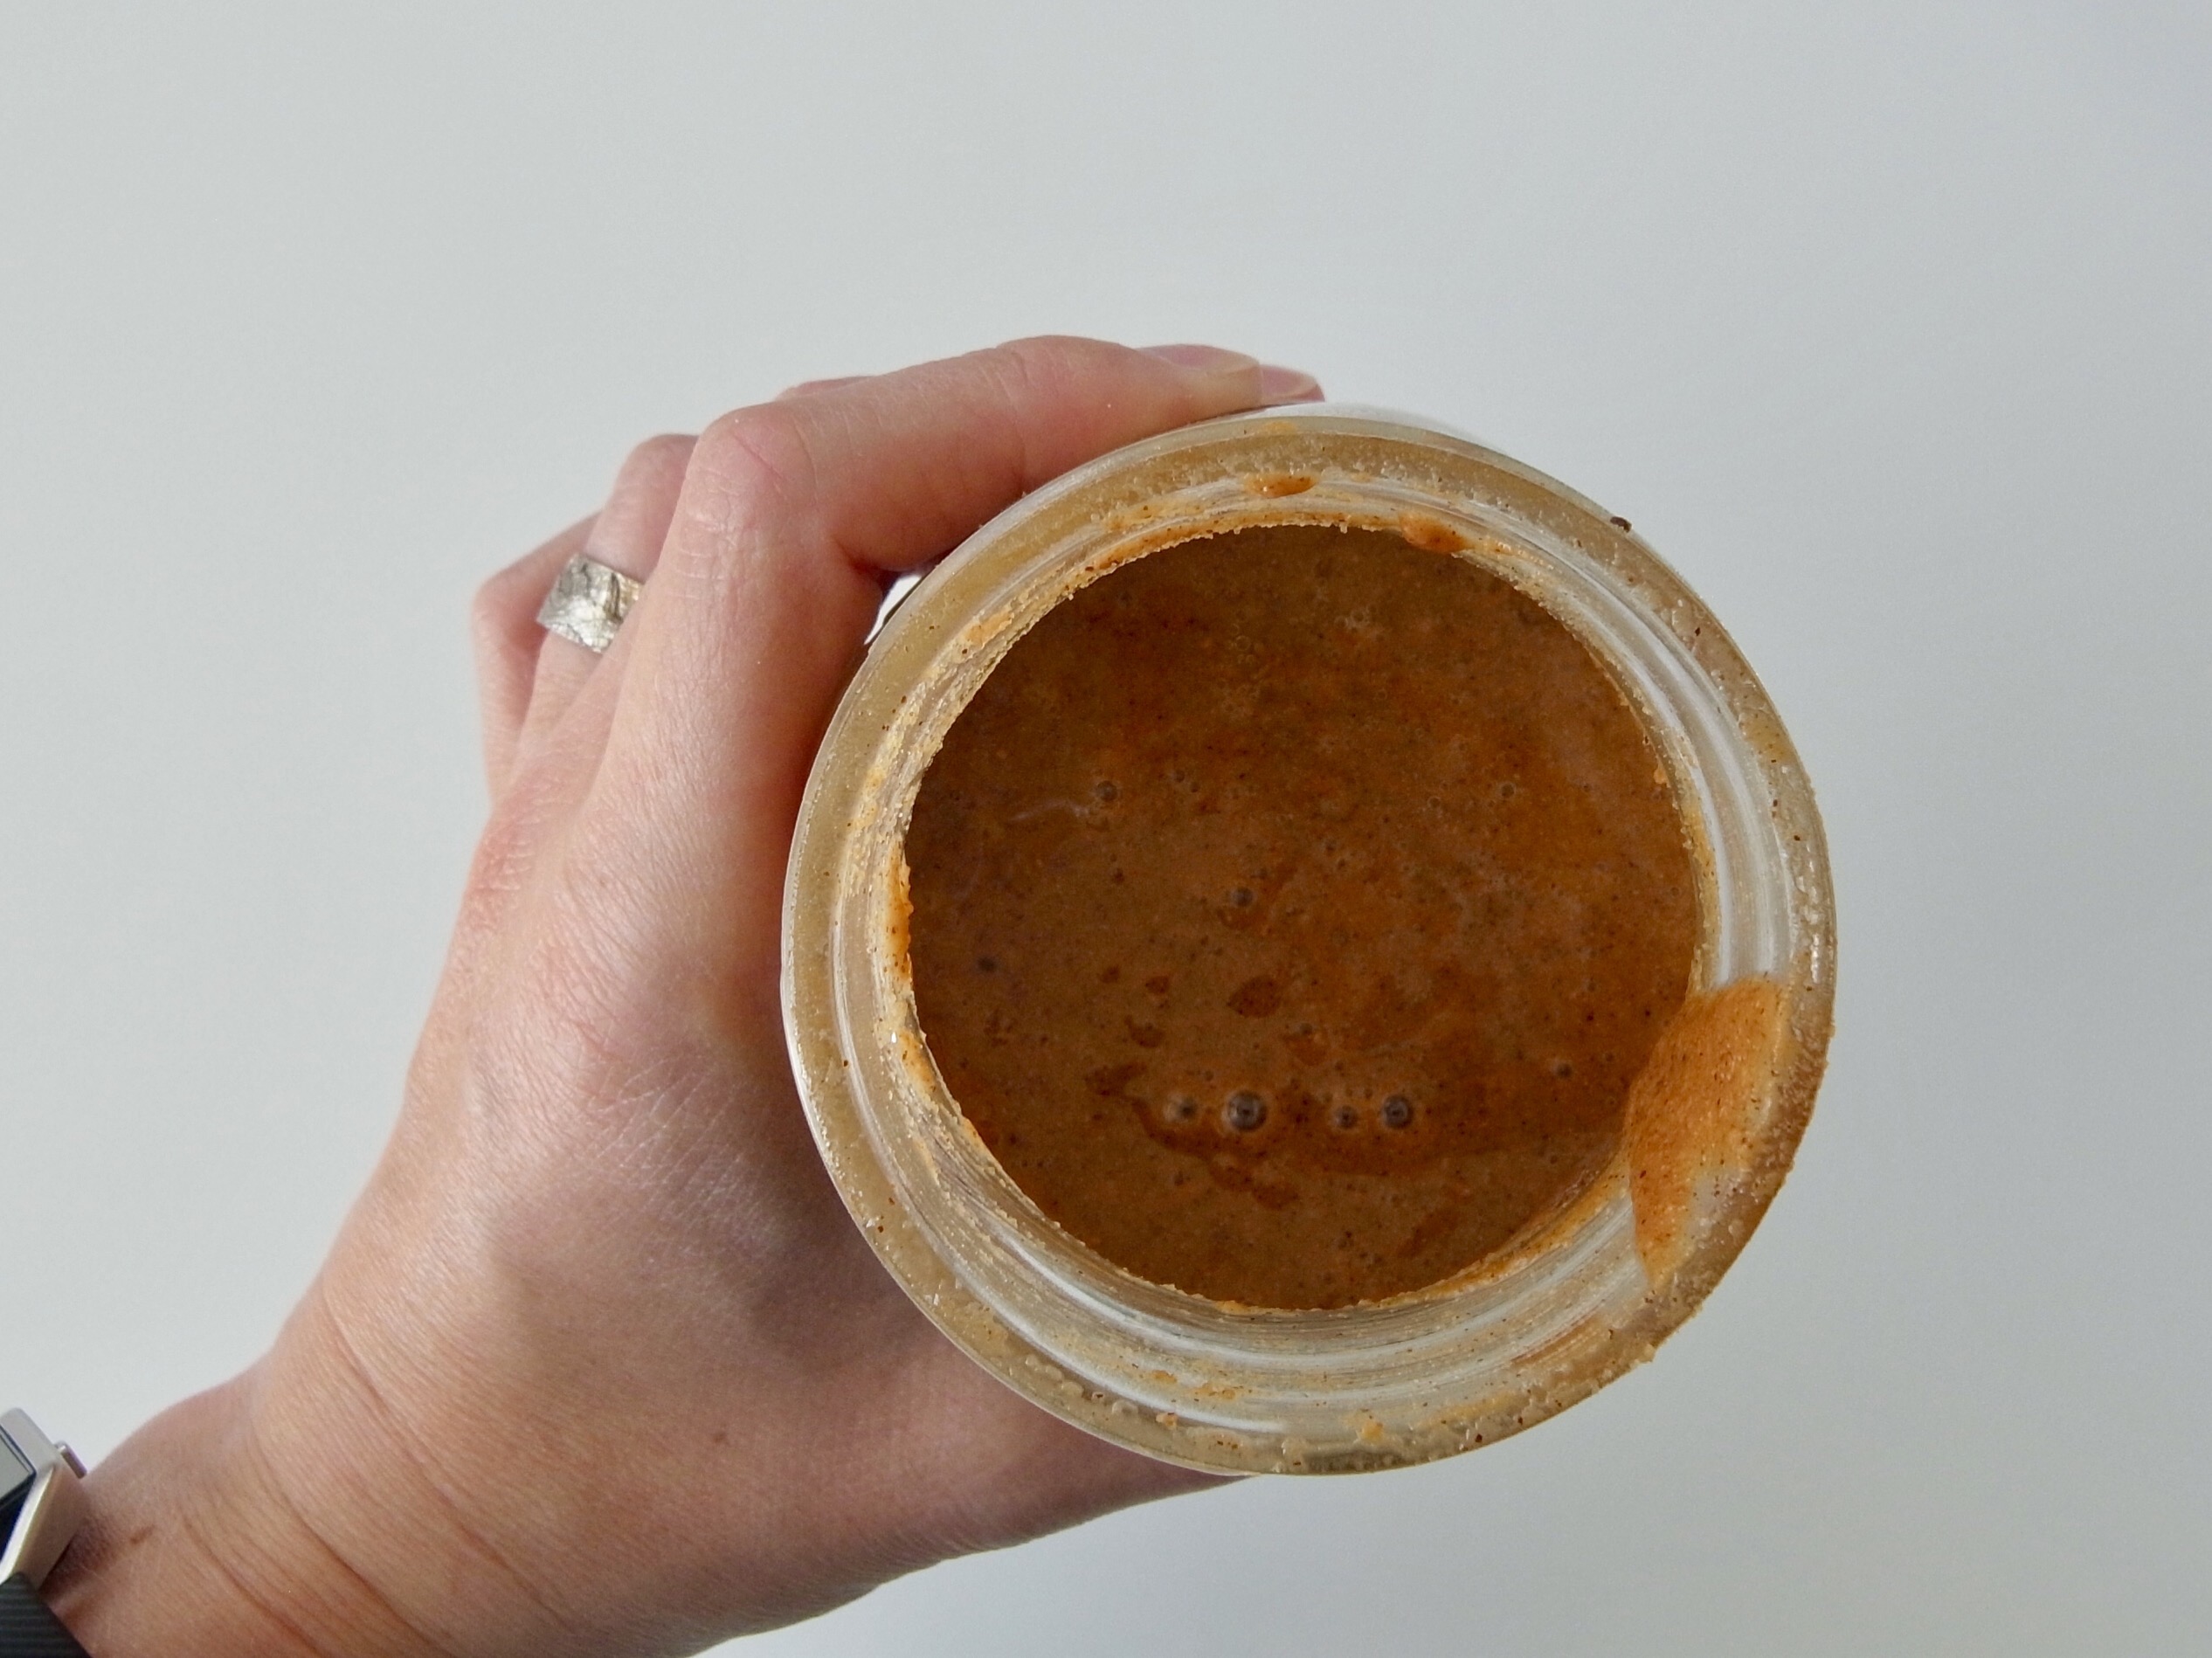
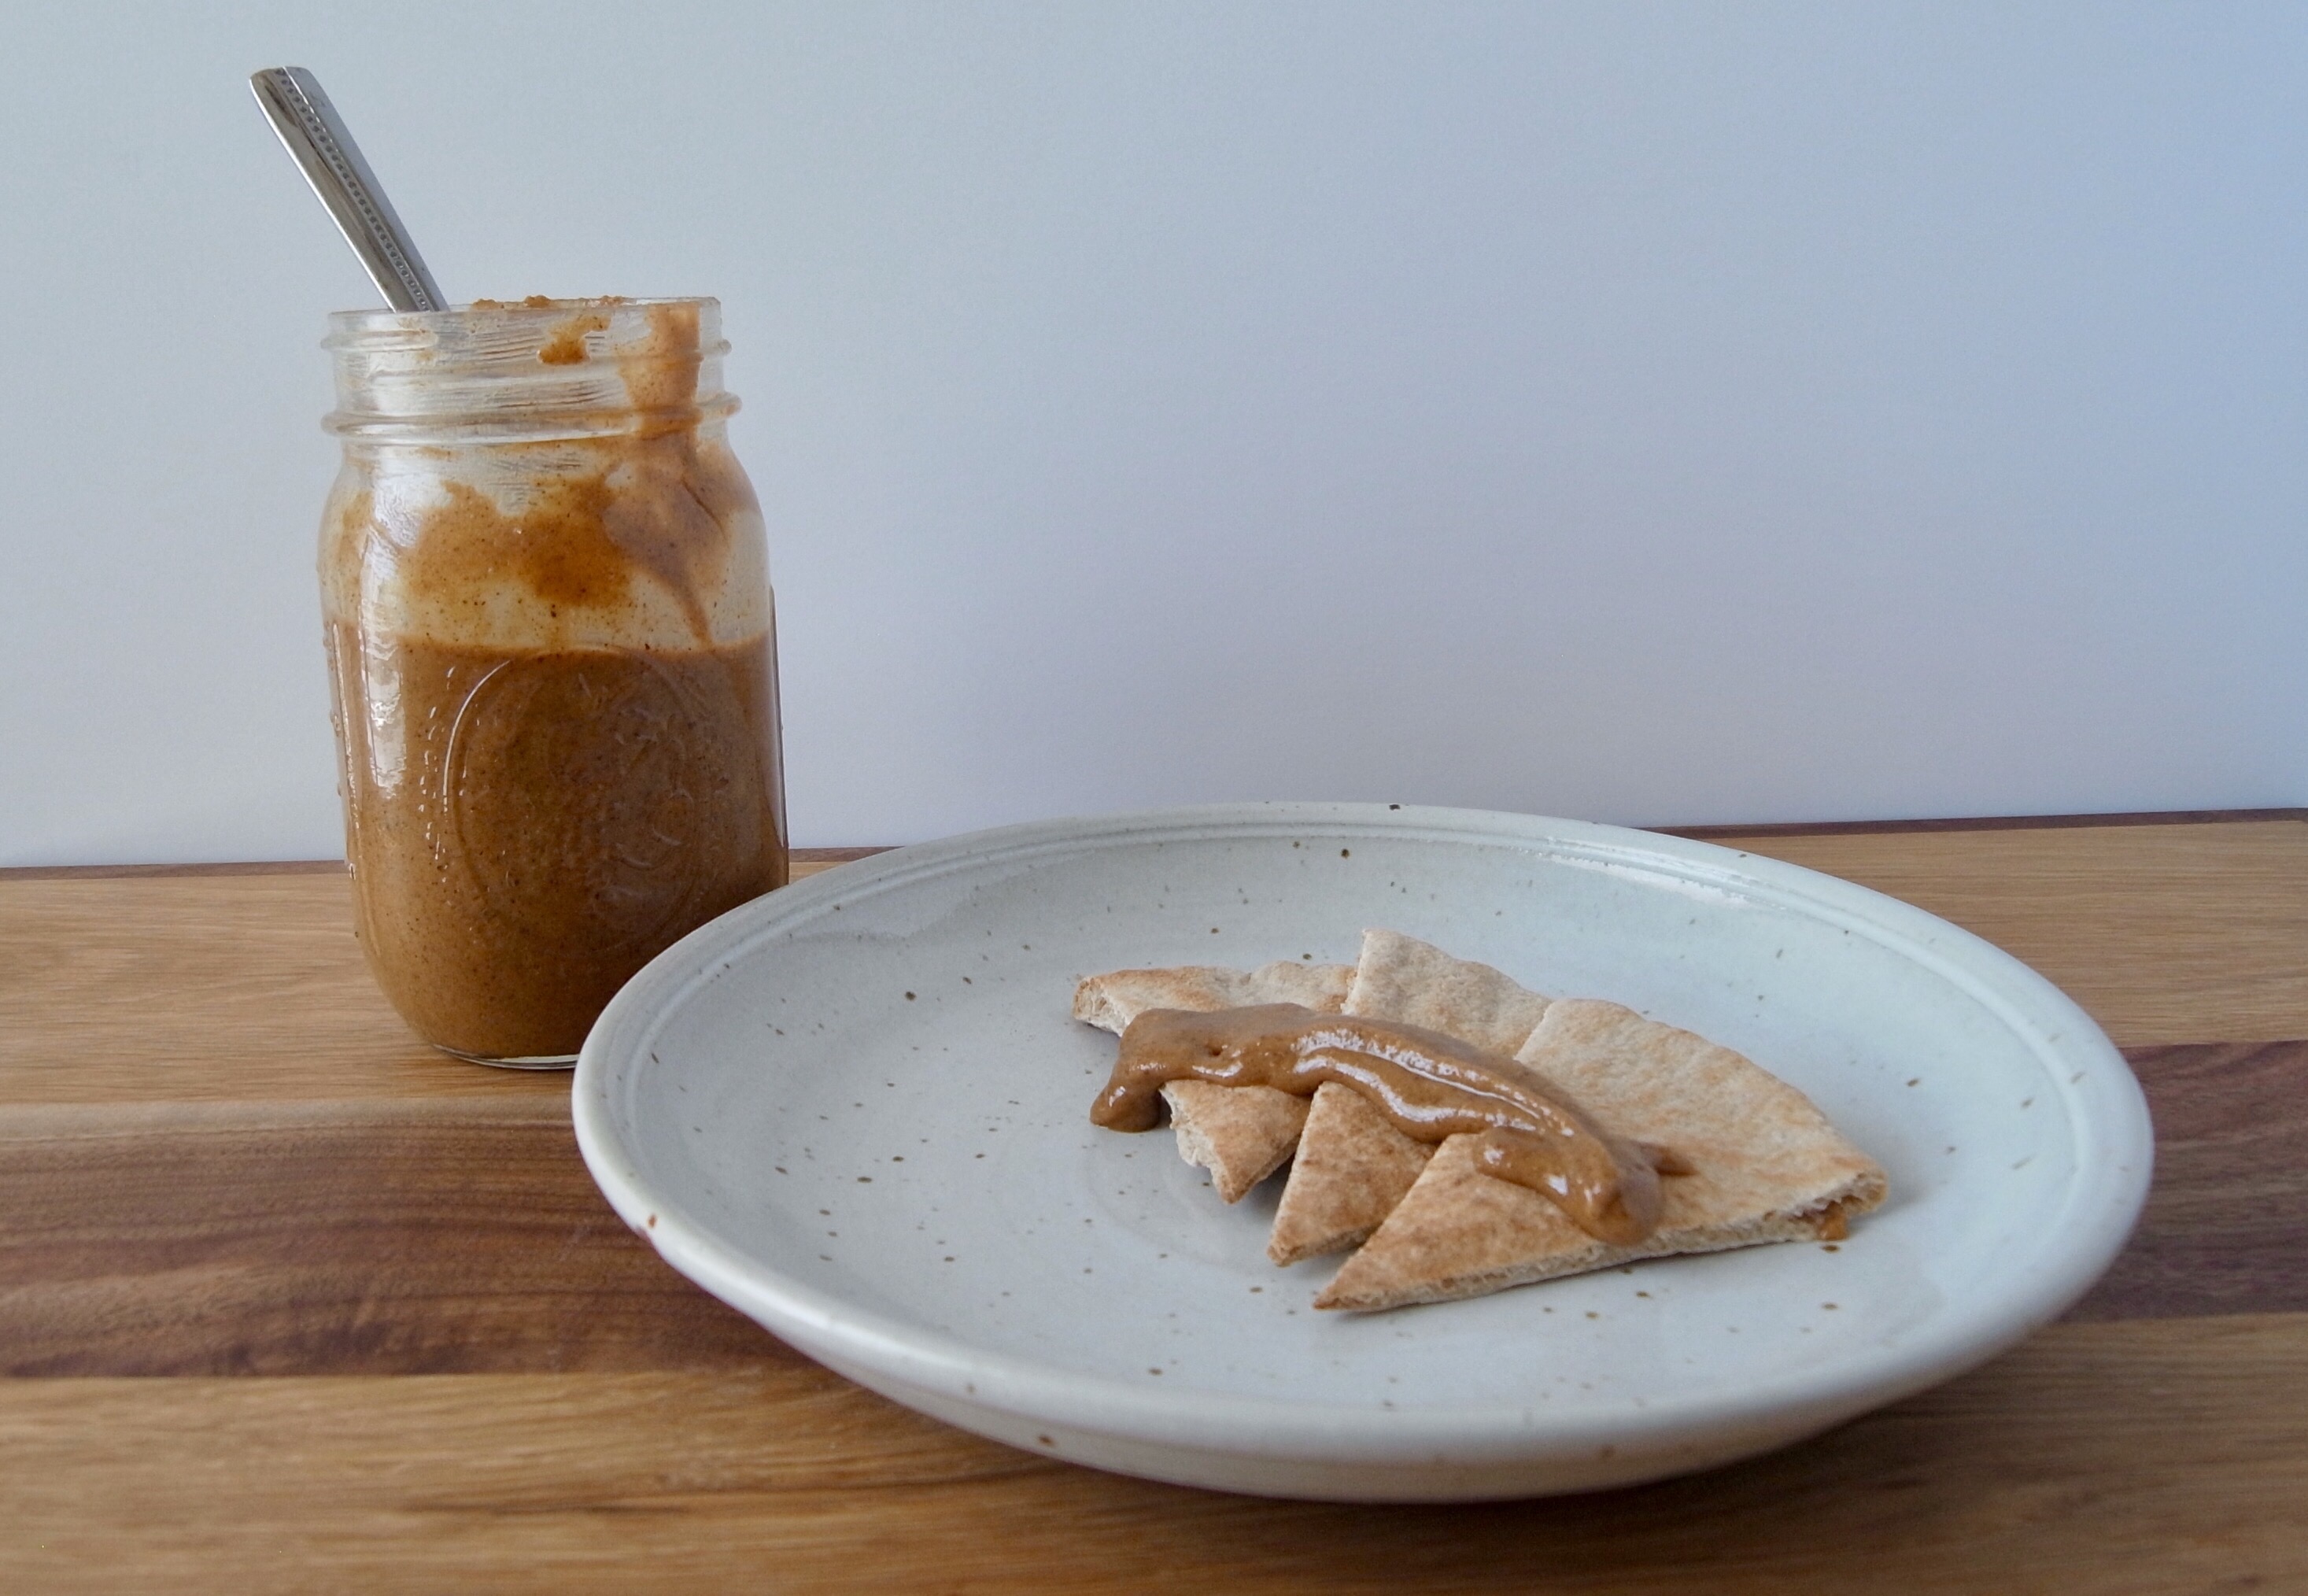
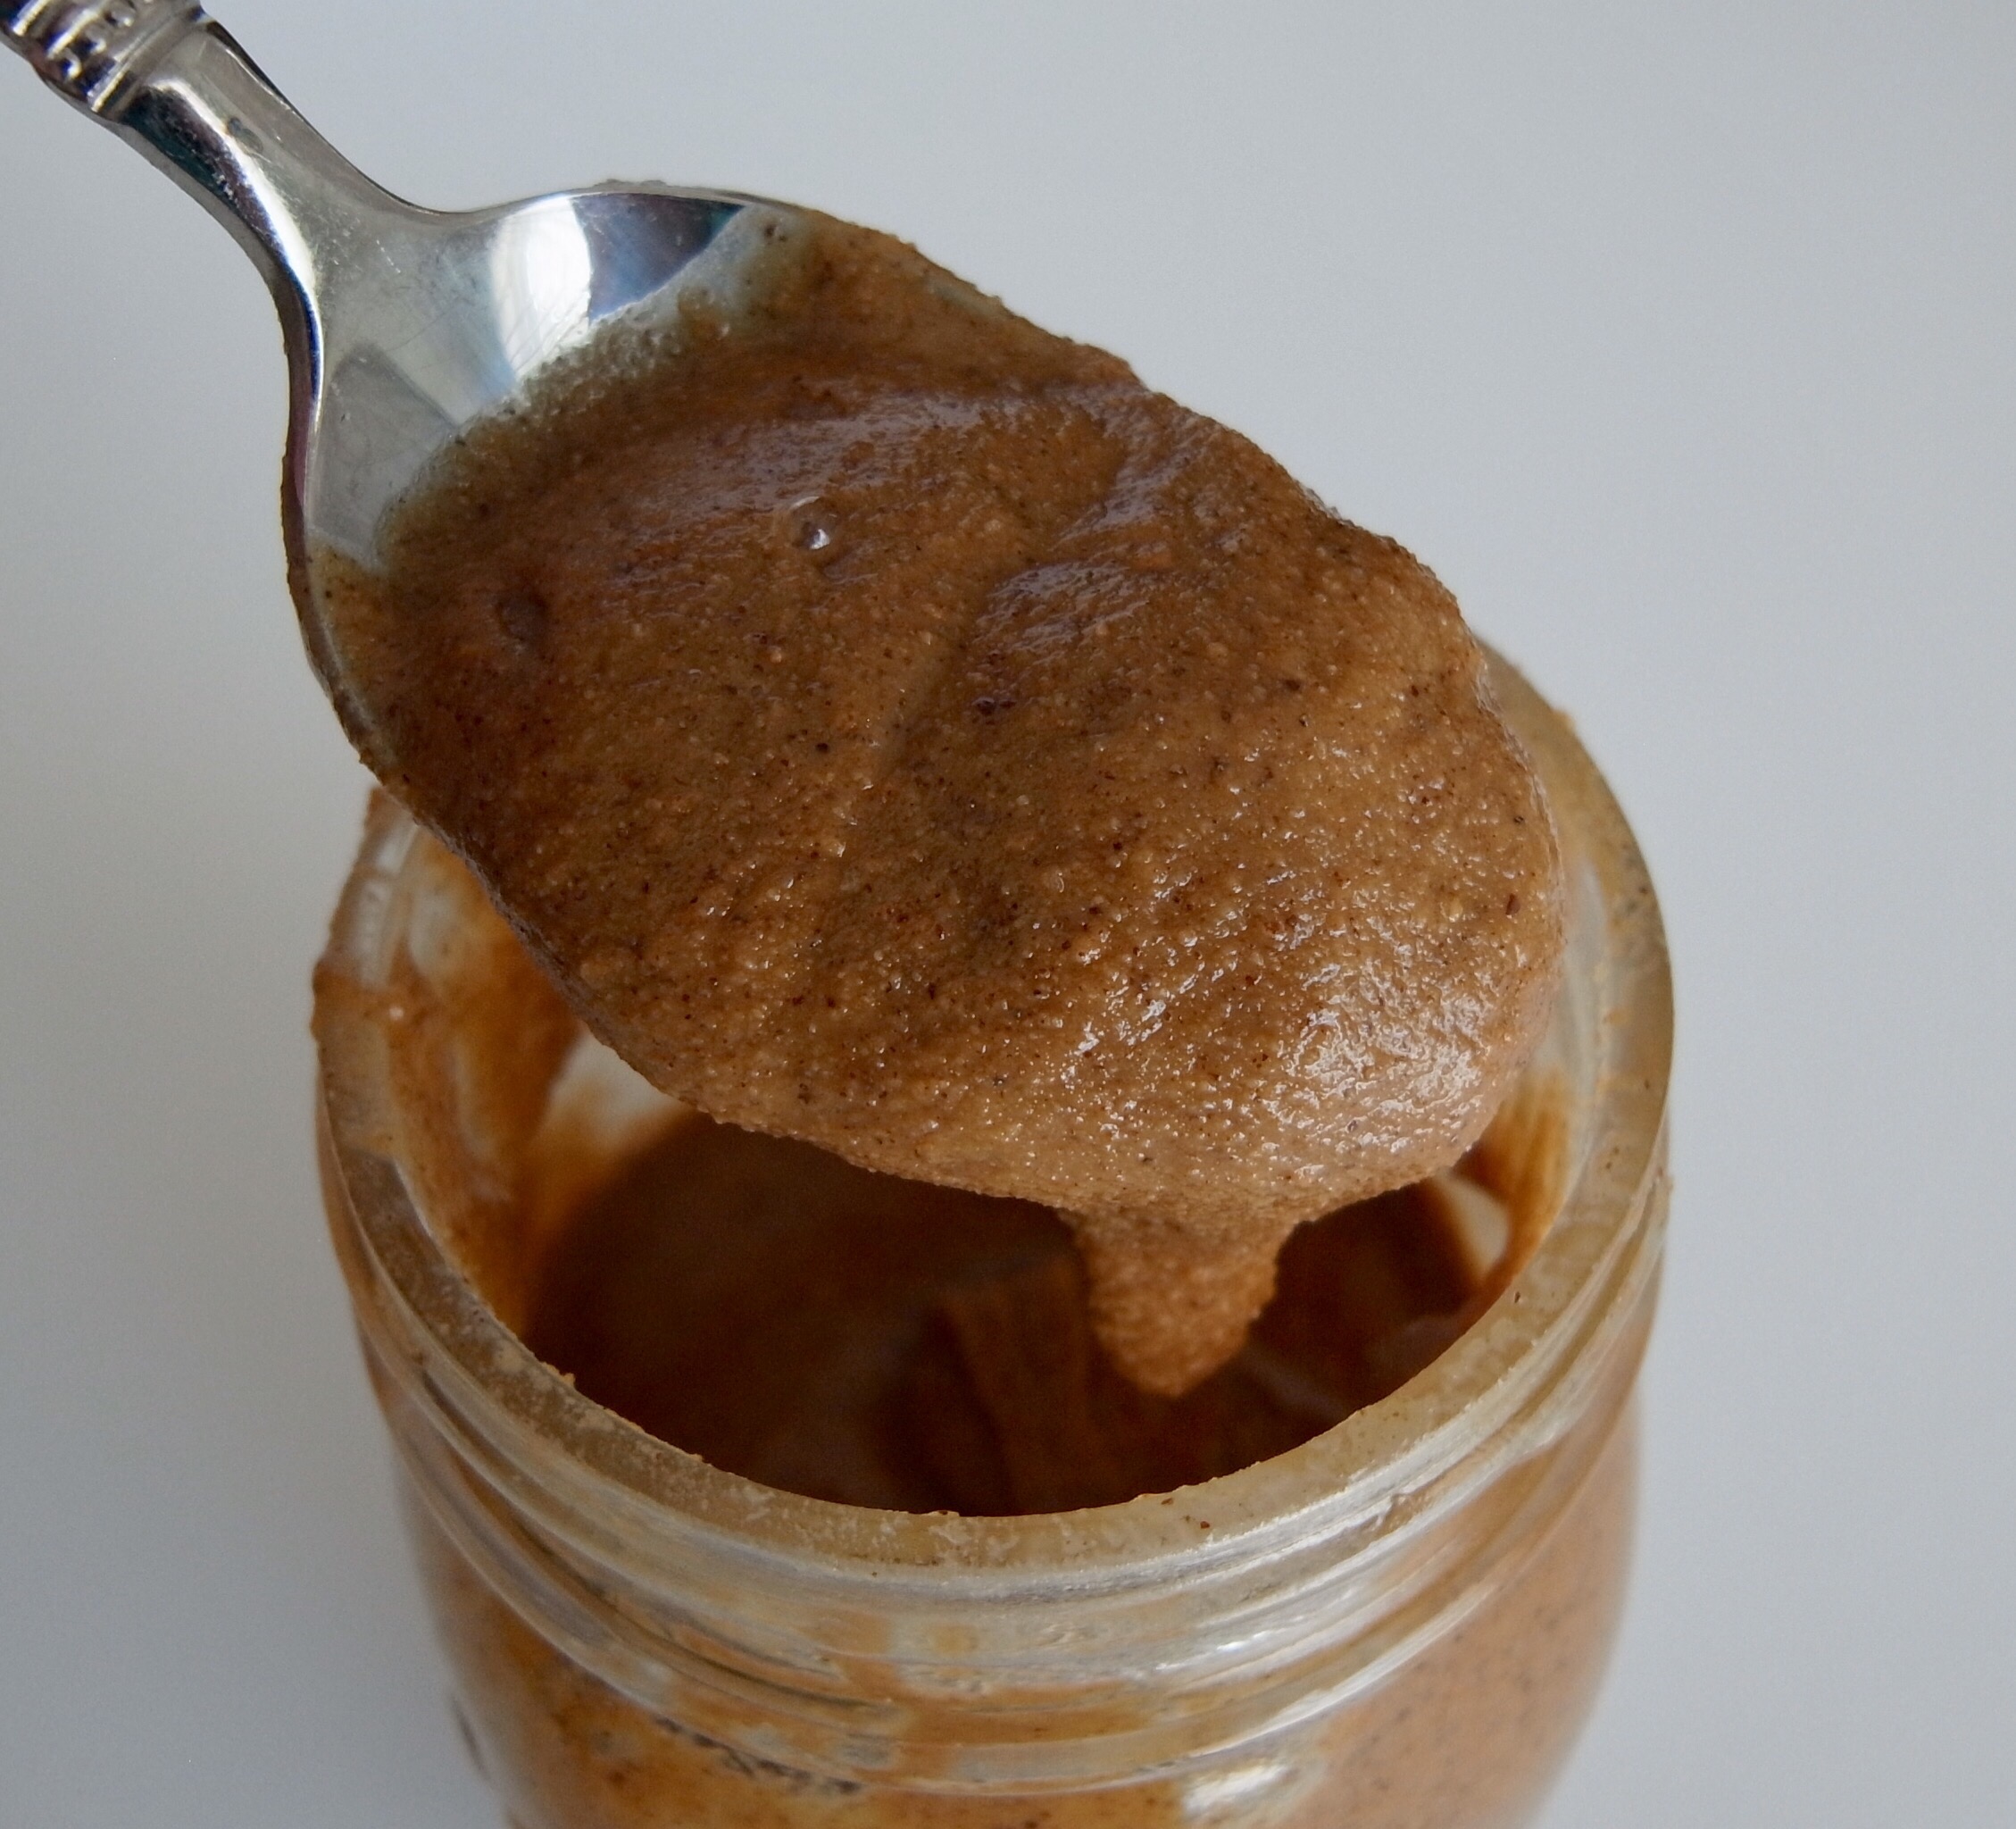
The base of the crust is ground, roasted pistachios and almond butter (in addition to the flavors of lemon and lavender) but a small difference from the regular energy bites is that I incorporated some coconut oil and less almond butter. I think the coconut oil hardens up a bit better and allows the crust to keep more of its shape when cooled. (Ignore the crumbs below – I was a bit over zealous in diving in for a bite.)

A bit about the food grade lavender. I get mine from a local farm, Los Poblanos, but the great thing now is that they ship nation-wide and have a whole bunch of other boutique body products. And another side note – their restaurants is super super delicious – I’ve been for breakfast, brunch, and dinner and always want to go back. They built a new restaurant onsite and just re-opened in the new place within the last year. If you have a chance to visit  Albuquerque, NM, I totally recommend visiting their Farm Shop for the lavender and restaurant, Campo, just to eat… and I suppose stay overnight in their inn too if you can.

But back to the food.

IMG_0143 (1)

Lemon Lavender No-Bake Cheesecake

Makes 2-3 mini cheesecakes or one larger pie

Ingredients

Lemon Lavender Crust

  • 1/2 c raw, unsalted, pistachios (meats, shelled)
  • 1 tsp grated lemon
  • 1/2 cup almond or coconut flour
  • 1 T turbinado sugar
  • 1/2 tsp salt
  • 2 T creamy almond butter (do not use peanut butter – it will overpower the other flavors)
  • 3 T coconut oil
  • 1 tsp whole culinary lavender (add an additional 1/2 tsp based on strength of lavender flavor)
  • 1/4 c honey
  • 1/2 tsp lemon extract
  • 1/4 tsp vanilla extract

Cheesecake

  • 8 oz. cream cheese, room temperature
  • 1/3 c powdered sugar
  • Pinch of salt
  • 1/2 c plain Greek yogurt, room temperature
  • 1/2 c heavy cream
  • 1/2 -3/4 tsp whole culinary lavender, crushed
  • 1 tsp lemon zest
  • Favorite lemon curd for topping

Directions

Crust

  1. Place nuts and flour in the food processor first. I used a 2 cup food processor or small option if using a larger processor. Pulse until nuts resemble a course meal.
  2. Add in sugar, salt, lavender, and extracts. Process for another 3-5 second or until well combined.
  3. Lastly, blend in almond butter, coconut oil, and honey. Pulse until well combined and the mixture holds its shape when pressed together. Add additional honey 1 T at a time until mixture holds a shape without crumbling.
  4. Divide the crust mixture between your three mini spring form pans or press into the bottom of a glass pie plate for a larger dessert.
  5. Place in refrigerator to cool while making the filling.

Filling

  1. In a medium bowl, beat cream cheese on medium-high speed until light and creamy. Beat in sugar, lavender, lemon zest, and salt until evenly incorporated.
  2. Add in the Greek yogurt and beat until evenly incorporated.
  3. In a separate bowl, whip heavy cream until stiff peaks form. Carefully fold the whipped cream into the cream cheese mixture with a spatula.
  4. Add your filling to the mini spring form pans or pie plate, evenly spreading the mixture over the top.
  5. Cover and refrigerate for at least 5 hours. Served chilled, topped with lemon curd and sprinkles of lavender and additional lemon zest if desired.

IMG_0128 (1)

Lavender and lemon just scream spring and summer to me, but when I went to the store looking for some lemon curd (and you can totally make your own BTW), I was told it was seasonal – Thanksgiving. Hmmm. For me lemon can be used all year round, but is particularly bright like summer. I guess you learn something new everyday. 🙂

Enjoy and I’m glad to be back in the realm of creating recipes again!


Sweet Potato Carrot Cake Donuts

One of the gifts I put on our wedding registry was a donut pan! And after couple months, I finally made my first attempt at some delicious baked donuts. If you’re living in the Southwest, or really most parts of the US right now, it still feels like fall even though we’re fast approaching the end of the year. In which case, I think that the fall flavors of carrots and sweet potatoes are are completely still acceptable.

And since the only frosting I really like is cream cheese frosting, I needed flavors it would compliment. Is anyone else like me? Other frostings just get too sweet or buttery? (My husband would probably disagree.) But the tang in cream cheese frosting is just perfect.

I’ve been sitting on this recipe for almost a month and with Thanksgiving and a trip to Seattle in November, the time has just flown by! I have a bunch of recipes and photos  just sitting waiting to be shared! My December goal is to back on the recipe and blogging track with exciting news to share in 2018!

Sweet Potato Carrot Cake Donuts

Makes 6 donuts

Ingredients

  • 1 cup whole wheat flour
  • 1 teaspoon baking powder
  • 1/2 teaspoon ground cinnamon
  • ¼ tsp allspice
  • 1/4 teaspoon salt
  • 1/2 cup cooked mashed sweet potato (from 1 medium to large sweet potato)
  • 1/4 cup pure maple syrup
  • ¼ cup melted butter
  • 2 T brown sugar
  • 1 large egg
  • 1 1/2 tablespoons coconut oil, melted and cooled (olive oil also works well)
  • 1 teaspoon vanilla extract
  • ½ c shredded carrots

Frosting

  • 4 oz cream cheese, softened to room temperature
  • 1 1/2 c powdered sugar (plus more for desired sweetness)
  • 1 tsp vanilla

Directions

  1. Preheat oven to 350 degrees F. Grease a donut pan with nonstick cooking spray.
  1. In a large bowl, whisk together flour, baking powder, cinnamon, ginger and salt; set aside.
  2. In a separate bowl, mix together the sweet potato, maple syrup, egg, coconut oil and vanilla extract until smooth and creamy. Add wet ingredients to dry ingredients and mix until just combined. Avoid overmixing here as it can make the donuts tough instead of light and fluffy.
  3. Gently fold in shredded carrots. Do not over-mix.
  4. Spoon the batter into the donut pan, filling almost to the top.
  5. Bake for 9-11minutes or until cake tester comes out clean. Turn the donuts onto a wire rack to cool completely.
  6. Once donuts are cooled, make the frosting.
  7. For frosting, beat cream cheese, powdered sugar, and vanilla together until no lumps are present.
  8. Spread a thin to medium layer of frosting onto each cooled donut.

Enjoy with a nice cup of tea or coffee and share with a friend. Or not, you do you.

I certainly see more baked donuts in my future. 🙂

*Baking was done at high altitude. 


Peach and Ricotta Crostini

It might be fall, but I’m still obsessing over peaches, especially the ones I can grow in my own back yard! That’s right, we have a fabulous peach tree that grow giant peaches – like the kind you need to grab with two hands. Even though I massively hacked and pruned the tree earlier that year (like I thought nothing would grow back and we’d have this ugly stumpy looking tree), but it still branched out all over the place and we had peaches everywhere – even after C took half off at the start of their growing. We removed some so the others get more nutrients and grow bigger.

FullSizeRender 15

So after having a refrigerator full of peaches, I thought why not do some sort of appetizer with them – I had some left over ricotta and we always have honey, so a super easy snack was born. 🙂

FullSizeRender 16

Peach and Ricotta Crostini

Serves as many as you’d like

Ingredients

  • 1 long baguette
  • Part skim ricotta (it has more protein)
  • Fresh peaches
  • Honey
  • Aged balsamic vinegar

Directions

  1. Slice the baguette on a diagonal and arrange on a parchment lined baking sheet.
  2. Toast baguette slices under the broiler for 30 seconds to a minute or until toasted to desired toastiness.
  3. Slices peaches (can leave skins on or off if you prefer).
  4. Spread each toast with 1-2 T of ricotta.
  5. Arrange peach sliced on toast and drizzle with your choice of honey or balsamic vinegar. If you’re using vinegar, make sure to have the kind that is aged and really think. If it’s not already thick, you can place it in a pot on the stove over a simmer and reduce down to desired syrup consistency.

Eat and enjoy! Preferably with some wine.

R0017131

It’s my 4th summer in this house and each year I’m enjoying the fruit produced more and more – peaches, apples, and figs. After finishing the creation of the patio and fencing around it, I’m also enjoying the backyard more and more – when I’m out there, it really does feel like home. When everything is put away (a wind storm tore down our temporary pergola), I’ll post a video of the space – we have a waterfall too and the sound of falling water is just so relaxing!

50244F8D-F665-4F48-90E2-61E46D6B94D0

Cheers to the ending of summer and the beginning of fall!


Everyday Arugula Salad

I recently made this salad for a small wedding reception we held at our home. I was looking for something light yet super tasty at the same time and satisfied the need for something green with all the smoked meats we had. And since the party, I’ve been wanting to eat this every day! It goes with basically every meal, IMHO.

I also neglected to get any pictures of the party or food set-up! Who am I? Maybe it’s just me trying to live in the moment more? Or for a more positive spin, I was just too involved in the people who were there to think about taking pictures – although they would have been nice to have after the fact.

At least I remade one of the salads to capture these shots! And did remake the Raspberry and Whipped Hazelnut Tart for a couple of the desserts. 🙂

R0017119

This type of lightly dressed tangy greens reminds me of the salads we ate in France with just about every meal. It’s a great way to eat your greens and get all of the nutrients they provide without needing to be dosed in Ranch or smothered in so many additional toppings the healthiness becomes obsolete.

Everyday Arugula Salad

Serves 1 or a whole table

Ingredients – in no particular quantities

  • Arugula
  • Marcona almonds
  • Golden raisins
  • Shaved parmesan cheese

Vinaigrette

  • 3 T Olive oil
  • 1 T Lemon juice
  • 1/2 -1 tsp Dijon mustard
  • Salt and pepper to taste

Directions

  1. Place desired amount of arugula in a bowl.
  2. Sprinkle with almonds, raisins, and cheese. (If making a bowl for one, measure about 1 T of each topping – maybe double the nuts.)
  3. Measure vinaigrette ingredients into a mason jar, seal lid, and shake to combine.
  4. Lightly drizzle desired amount of dressing onto salad and toss to combine. Leaves should be very, very lightly dressed.

R0017122

Sometimes simple is just better.


Raspberry and Whipped Hazelnut Tart

Has anyone been watching the Great British Baking Show or the Great British Bake Off if you’re from the UK? I know we’re sort of behind on the times, but Netflix just released their first season of it last year (which was actually season/series 4?) and now they’ve added 2 & 3 (or 5 &6).  C and I did some binge watching and after finishing what Netflix had, sort of freaked out that there were three seasons prior to what we’d seen and had to get them to watch. Well…. to wrap things up, if you haven’t seen it, watch it now. And their opening cake was somewhat of an inspiration for the flavors of this tart.

A couple weeks ago I made hazelnut butter. And while it was really delicious on it’s own on toast, etc. I thought, what if it was a pie or fake-ish cheesecake? And Ta-Da! Idea born.

While the filling was a no-brainer for me with the tofu – since the same style works so well with peanut butter dip, I had a more difficult time trying to decide whether to do a fully “raw” tart (which you could totally do with this crust) or something more like a short crust pastry tart. I opted to go with the short crust pastry type and used inspiration from Sally’s Baking Addiction to make a pretty standard nutty pastry crust.

Raspberry and Whipped Hazelnut Tart

Serves 12-16

Ingredients

Toasted Hazelnut Crust

  • 3/4 c raw hazelnuts
  • 1 c all-purpose flour (or flour of choice)
  • 2 T sugar
  • 1/2 tsp salt
  • 1/2 c butter, cold and cubed
  • 3 T ice water

Whipped Hazelnut Filling

  • 1 ½ c creamy hazelnut butter
  • 14 oz firm tofu (1 package)
  • 3 T sugar or to taste
  • 1 tsp vanilla
  • pinch salt
  • 3-4 T vanilla soy milk (or other milk of choice)

Raspberry Sauce

  • 1 c organic raspberry jam
  • 2 T water
  • 1 c fresh raspberries

Directions

  1. If making your own hazelnut butter, I suggest you do that first before moving on to the rest of the recipe. Store bought is also fine, but difficult to find, and homemade is just that much better!
  2. Preheat the oven to 350°F. Spread hazelnuts out onto a foil or parchment lined baking sheet. Toast until slightly darkened, about 7 minutes. Watch these like a hawk! Allow to cool down for 5 minutes. Leave oven on to bake the crust.
  3. To remove the skins of the hazelnuts (they’re kind of bitter), lay a clean tea towel on your counter, and scoop the hot hazelnuts, into a pile in the center of the towel (take care due to the high heat of the nuts). Bring the four corners of the tea towel together and gather it up in one hand, so that all of your hazelnuts are scooped up in the bottom of the tea towel. Using your other hand, squish the bottom and the sides of the tea towel so that all the hazelnuts are rubbing up against each other. Do this for a couple minutes until most of the skins are removed.
  4. Separate out the skins from the nuts. I use a slotted serving spoon – it’s big enough to get more than a few nuts at a time and the holes are small enough that the nuts won’t fall through but the skins will.
  5. For the crust:Using a food processor, pulse the toasted hazelnuts, the flour, sugar, and salt together until it reaches the consistency of coarse meal. Add the cubes of cold butter and pulse until the mixture turns into pea-sized crumbs. I used frozen butter since I was working in a warm kitchen – you don’t want it to get too soft.
  6. Transfer mixture to a large bowl. Using a rubber spatula or wooden spoon, slowly stir in 3 Tablespoons of ice water. You only want to add enough water to bring the dough somewhat together. Using floured fingers or the bottom of a flat and lightly floured measuring cup, press the dough evenly into a 9 inch tart or pie pan. (If you’re making smaller tarts, depending on the number of pans you have… I had three smaller spring form pans, reduce the recipe by one quarter.) You want it extremely tight in the pan. You’ll need to use baking beans or pie weights for the next step, so line the crust with aluminum foil or parchment paper and add pie weights or dry baking beans.
  7. Bake at 350F (with pie weights) for 18-20 minutes. Remove from the oven and place on a wire rack so it can slightly cool as you prepare the filling.
  8. For the filling: In a clean food processor, blend together the hazelnut butter, tofu (drained), sugar, vanilla, salt, and soy milk until it comes to a super creamy and fluffy consistency.
  9. Spoon filling into tart crust, creating a slight ridge around the outside that can hold in the filling, and place in refrigerator while preparing the topping.
  10. For the sauce: Mix the raspberry jam/preserves with 1-2 T water. Using a wire mesh sieve, press the mixture into the mesh to collect the seedless topping below. (You can also choose to make your our raspberry jam, I just find it to be a little bit of a time saver to by your own and tweak it.)
  11. Spread the raspberry sauce over the top of the tart, staying within the “dam”. Place in tart in refrigerator to chill and set – 4 hours or overnight. When ready to serve, line the edge of the tart with raspberries (bottoms up).

This might be my heaven. Luckily a few bites are already pretty filling, so it’s easily shared. 🙂

After making this amazing tart, I find out C doesn’t like hazelnuts. WHAT!? What crazy person doesn’t like hazelnuts? So not wanting to eat the equivalent of an entire tart by myself, I brought two of the small tarts to work. And they were a complete hit! That creamy nutty filling, the tart raspberries, and crunchy crust is what my summer dreams are made of.

Even though the recipe looks long and maybe a bit overwhelming, I promise that if done in steps, it’s super easy and almost completely fool proof.

Tofu is one of my favorite additions to all things creamy that need some sort of structure. What are some of your favorite “hidden” ingredients?


Greek Farro Salad

While Greece has made its way into the news within the last 8 years for aspects they’d prefer to move past, it will always be a place that for me is filled with friendly, welcoming people, thousands of years of history, small towns tucked into mountains, and my first real taste of adventure. And I will always remember it and be thankful to this place for turning my fear of food completely around. I realized here what good, fresh food actually tastes like and to not fear gaining a few pounds because life is more important than the size of the waist band on your jeans. In the three months I spent there in 2008, I learned a lot about food – but most importantly that it doesn’t need to be extravagant to be good.

Enter the Greek salad.

Although I like to experiment with making new foods, I find that I sort of stay in a recurring pattern for the lunches I take to work. If I can, I try to make it revolve around a salad or vegetable of some kind. Ideally a salad with a whole lot of protein and healthy fats.

La Pepita Salad usually enters the rotation every other month or so, then occasionally a roasted vegetable and tortellini salad, and then I tended to have a Greek themed salad about every 2-3 months. For the longest time I kept it like a pasta salad with orzo, but after finding whole wheat orzo became too challenging, I began to branch into other similar shaped grains. I landed on farro being the best option. It’s full of fiber and more protein than orzo, and has a great chewy texture while the orzo used to get really mushy soaking up all of the dressing.

Greek Farro Salad

Makes 4 large portions or 6 smaller

Ingredients

  • 1 cup farro, cooked
  • 1 can/15oz garbanzo beans, rinsed
  • 1 large cucumber, quartered and sliced
  • 3 small or 2 medium tomatoes, deseeded and roughly chopped
  • 4oz feta, crumbled
  • 10oz can sliced black olives, drained
  • 1/2 red onion (optional)

Vinaigrette

  • 1/3 c red wine vinegar
  • 1/2 c olive oil
  • 1/2 tsp dijon mustard
  • 1/2 tsp dried basil
  • 1/2 tsp dried oregano
  • Salt and pepper to taste

Directions

  1. Cook the farro – in a large pot, bring water and a pinch of salt to a boil (it doesn’t matter the amount as long as it is at least 2 times as much farro). Add in one cup of farro and cook until farro is tender yet chewy. Most grains will not split open.
  2. While the farro is cooking,  wash and chop the vegetables and place in a large mixing bowl.
  3. Drain excess water and rinse farro under cold water. Dump into the mixing bowl with the rest of the salad ingredients.
  4. Toss to combine.
  5. In a mason jar or other sealable container, shake up the vinaigrette ingredients until well combined.
  6. Pour about half of the dressing over the salad and mix together. Add in as much of the rest of the dressing as you would like to suit your tastes.
  7. The salad holds well for a few days and potentially longer if you dress is on the day you will be eating it.

And although I like black olives, if you want a bit more authenticity, go for some kalamata. For ease of eating lunch, I go with what is already pitted.

The flavors definitely bring me back to those vegetable salads I ate while studying there almost 10 years ago. (Has it already been that long!?) Contrary to what you will see on Greek restaurant menus here in the US, the typical salads did not have lettuce – unless you ordered a green salad which was different than the regular salad of quartered tomatoes, red onions, cucumber, and a block of feta on top.

2008_0223(013)

The authentic Greek Salad – and dinning alfresco is imperative.

Most often if you want the traditional style someplace other than Greece, they may call it a village salad or something to that effect. But whatever you decide to do, get as close to the farm fresh vegetables as you can get – they will make all of the difference.

2008_0214(008)

Greece, I love you and some day I’ll be back. And until that time, I’ll try to recreate some of my favorites to the best of my ability.

What are some favorite foods from your travels and have you tried to re-create them?


Creamy Roasted Hazelnut Butter

About five or six years back, I was in a Middle East specialty grocery store and found a jar of hazelnut butter.  Not just the normal Nutella themed chocolate and hazelnut, but straight up hazelnut butter and it was delicious! Since that time I have yet to locate it in another grocery store and I’m too lazy and/or cheap to buy it online when it’s so easy to make!

Basically, so stupidly easy I’m kicking myself for not doing it sooner, but to be fair, I was on a regular old peanut butter kick and then cashew butter – both also delicious.

Creamy Hazelnut Butter

Makes about 2 cups

Ingredients

  • 1 pound raw hazelnuts
  • 1/2 tsp salt
  • 1 T sugar, honey, or agave
  • 1/2 tsp vanilla

Directions

  1. Preheat over to 350F.
  2. Arrange hazelnuts on a foil lined baking tray and roast in the over for 7-10 minutes or until a light golden brown.
  3. Let cool just slightly and transfer to a clean towel. To remove the skins of the hazelnuts (they’re kind of bitter), scoop the hot hazelnuts into a pile in the center of the towel (take care due to the high heat of the nuts). Bring the four corners of the tea towel together and gather it up in one hand, so that all of your hazelnuts are scooped up in the bottom of the tea towel. Using your other hand, squish the bottom and the sides of the tea towel so that all the hazelnuts are rubbing up against each other. Do this for a couple minutes until most of the skins are removed.
  4. Separate out the skins from the nuts. I use a slotted serving spoon – it’s big enough to get more than a few nuts at a time and the holes are small enough that the nuts won’t fall through but the skins will.
  5. Place warm nuts* in a food processor and grind until smooth. Add in vanilla, salt, and sweetener (if desired) and continue to blend until a smooth butter is formed – yes, it should be kind of runny. If it hasn’t yet reached that consistency, just be patient, it will get there.

*Warm nuts tend to work a little better and faster by making the oil more available during the processing.

You can keep it stored in an air tight container. I like mason jars because you can easily see through them and they store about 2 cups perfectly.

My hazelnut butter is a little on the darker side because I toasted the nuts just a bit extra. If you like you’re lighter, just watch very closely and removed when they’ve gathered just a hint of golden. You can also make the butter raw, but won’t be able to remove the skins. Just a bit of trade offs. I also added a touch of sweetness to mine because I was trying to get as close as possible to the flavor I found in that Middle East grocery (which was akin to the chocolate hazelnut without the chocolate, but still some sweetness).

Stick around for a to-die-for dessert coming to the blog in the next couple of weeks that features this fantastic spread – hazelnutty goodness.

What are your favorite nuts butters? Do you stick with the classic peanut butter or almond or branch out into walnut, pecan, cashew, and hazelnut?


Chocolate Chia Seed Pudding

A few weeks back, we were discussing different recipes for chia seed pudding. I had tried to make it in the past with almond milk, but the seeds always seemed to sink and clump up on the bottom. A co-worker suggested trying coconut milk if I wasn’t able to drink regular cow’s milk, so I did and now I’m hooked on the stuff! My favorite is plain with lemon curd (maybe I’ll share that in the future as well).

For today, I branched out a bit from the 3 Pleasures Dessert theme (dark chocolate, nuts, and fruit) to drop the nuts and do seeds instead – chia seeds! Chia seeds have fiber, protein, and most importantly healthy omega-3 fatty acids. The cocoa provides a rich/somewhat bitter chocolate taste that can satisfy just about any craving.

R0016994

If you’re looking for a more mousse like consistency and to have it ready in less time than overnight, you can put it into a blender. 🙂

R0016996

Chocolate Chia Seed Pudding

Serves 2 when sharing

Ingredients

  • 1 c plain coconut milk, room temp or warm works best
  • 1/4 c chia seeds
  • 1/4 c cocoa powder
  • 1 T granulated sugar
  • 1 tsp vanilla, optional
  • Favorite fruit to serve – I recommend raspberries or strawberries

Directions

  1. Measure all ingredients, except fruit, into a mason jar.
  2. Shake well for about a minute. It will be easier to mix in the cocoa powder without clumping if the coconut milk is warm or room temperature.
  3. Let sit a few minutes and shake a second time if seeds seem to settle to the bottom too quickly.
  4. Place in refrigerator overnight to allow seeds to “gel” and create a pudding like texture.
  5. Serve with fresh berries.

*The texture will still have the seeds since they don’t dissolve, but if a creamy texture is paramount in your pudding, I suggest the blender method – blend all ingredients instead of shaking and let sit a few hours in the refrigerator or until mixture is desired thickness.

R0016999

Have you tried chia seed pudding or using chia seeds in smoothies or over oats?